Building a new shower floor with a linear drain against a block wall
Older homes often hide block walls behind the tile in a bathroom. They are strong and they do not rot, but they are uneven and they make building a shower more demanding. This project started with a bare block wall and an empty floor, and finished with a sloped shower base and a linear drain ready to be tiled.
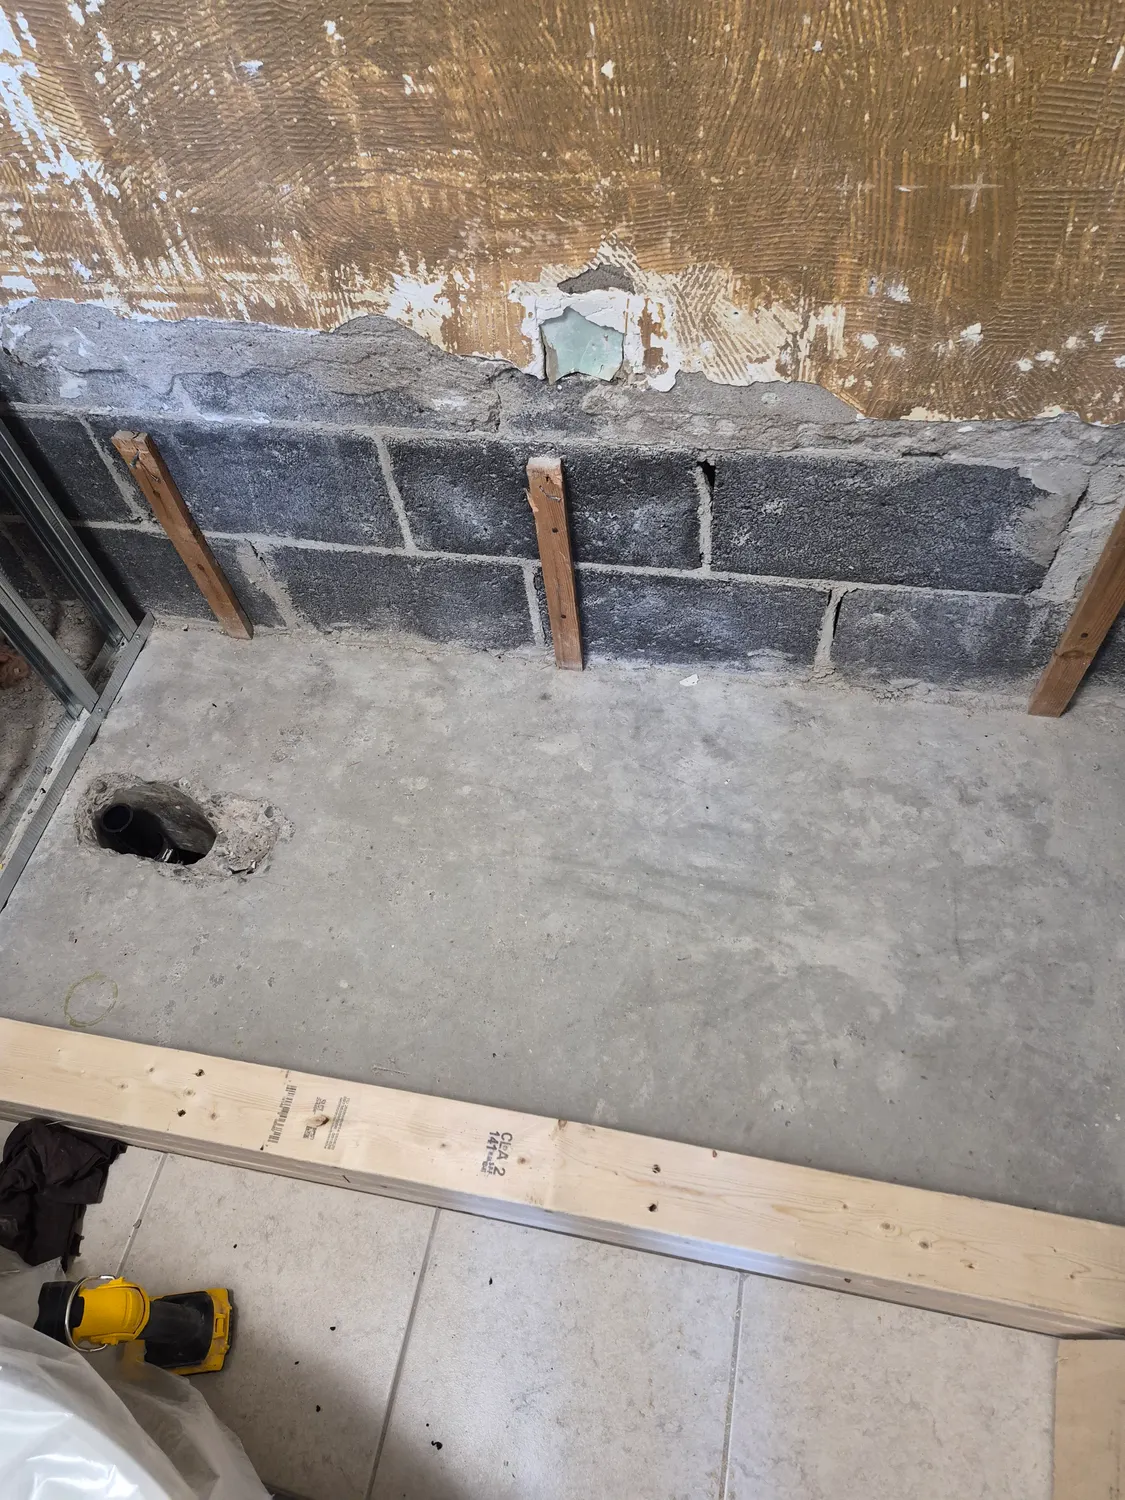
Starting with the bare wall
The old surface was taken off the wall, leaving block with leftover adhesive and a drain opening in the floor. Everything had to be cleaned back and checked before anything new could be installed.
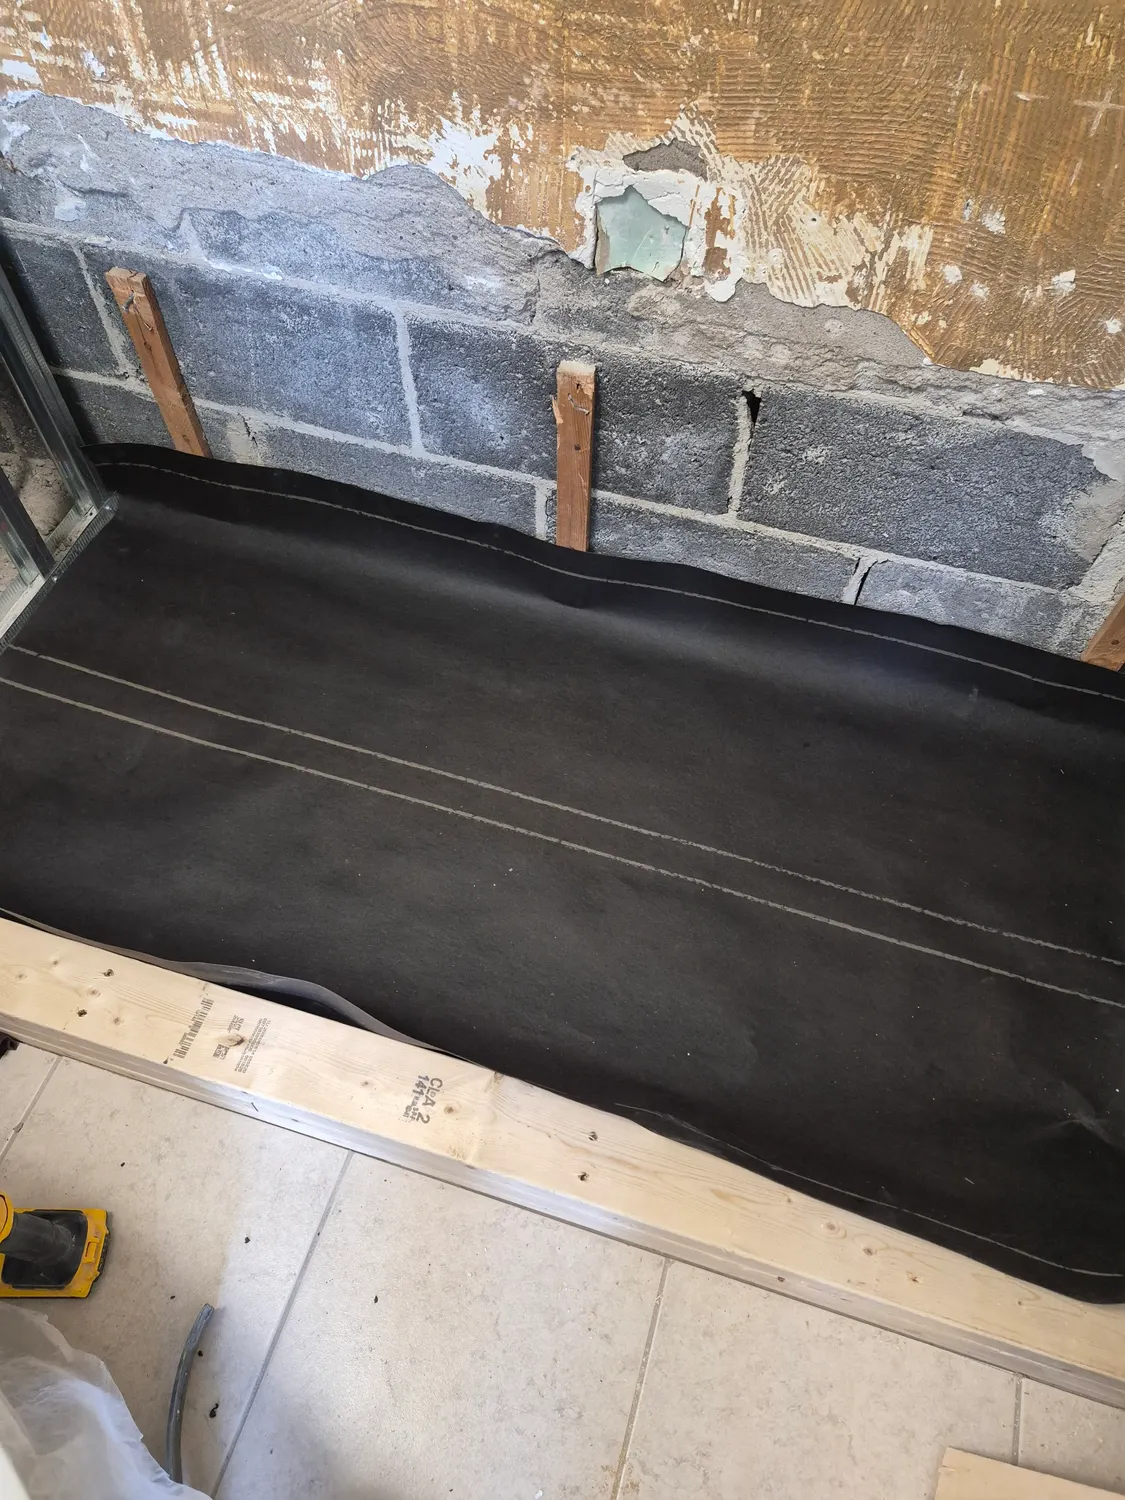
Waterproofing where the wall meets the floor
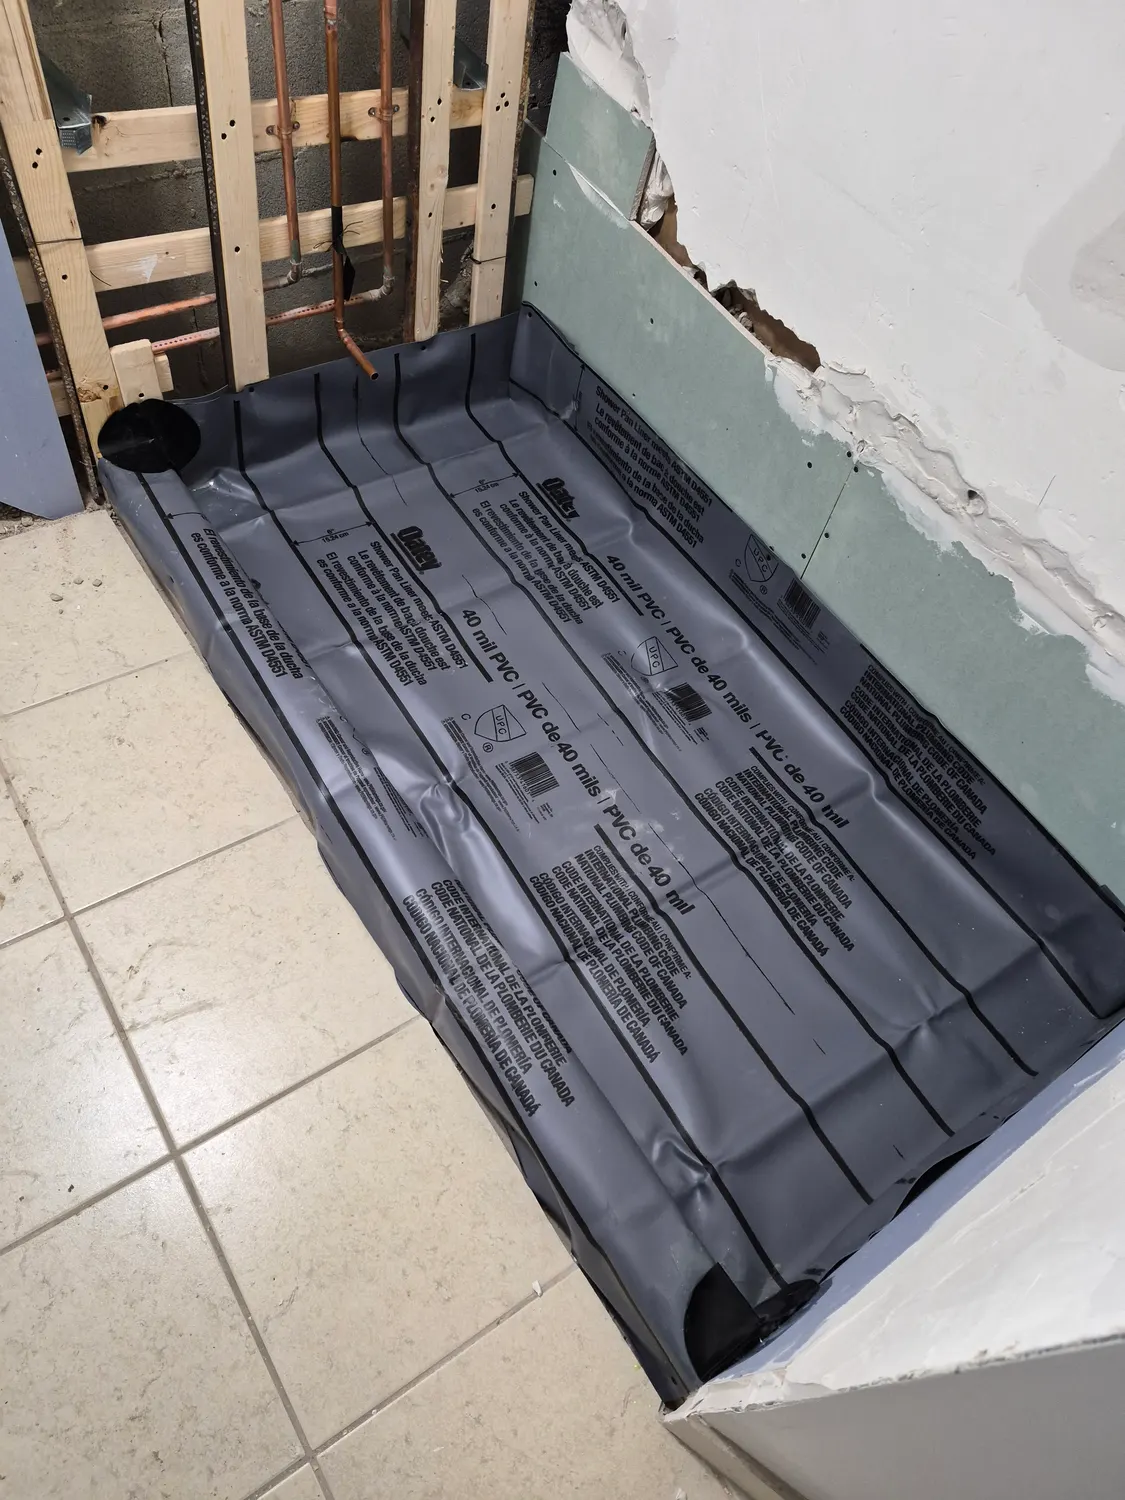
A black membrane runs up the wall and across the base. The join between the wall and the floor is where most shower leaks start, so this is where the membrane gets the most care.
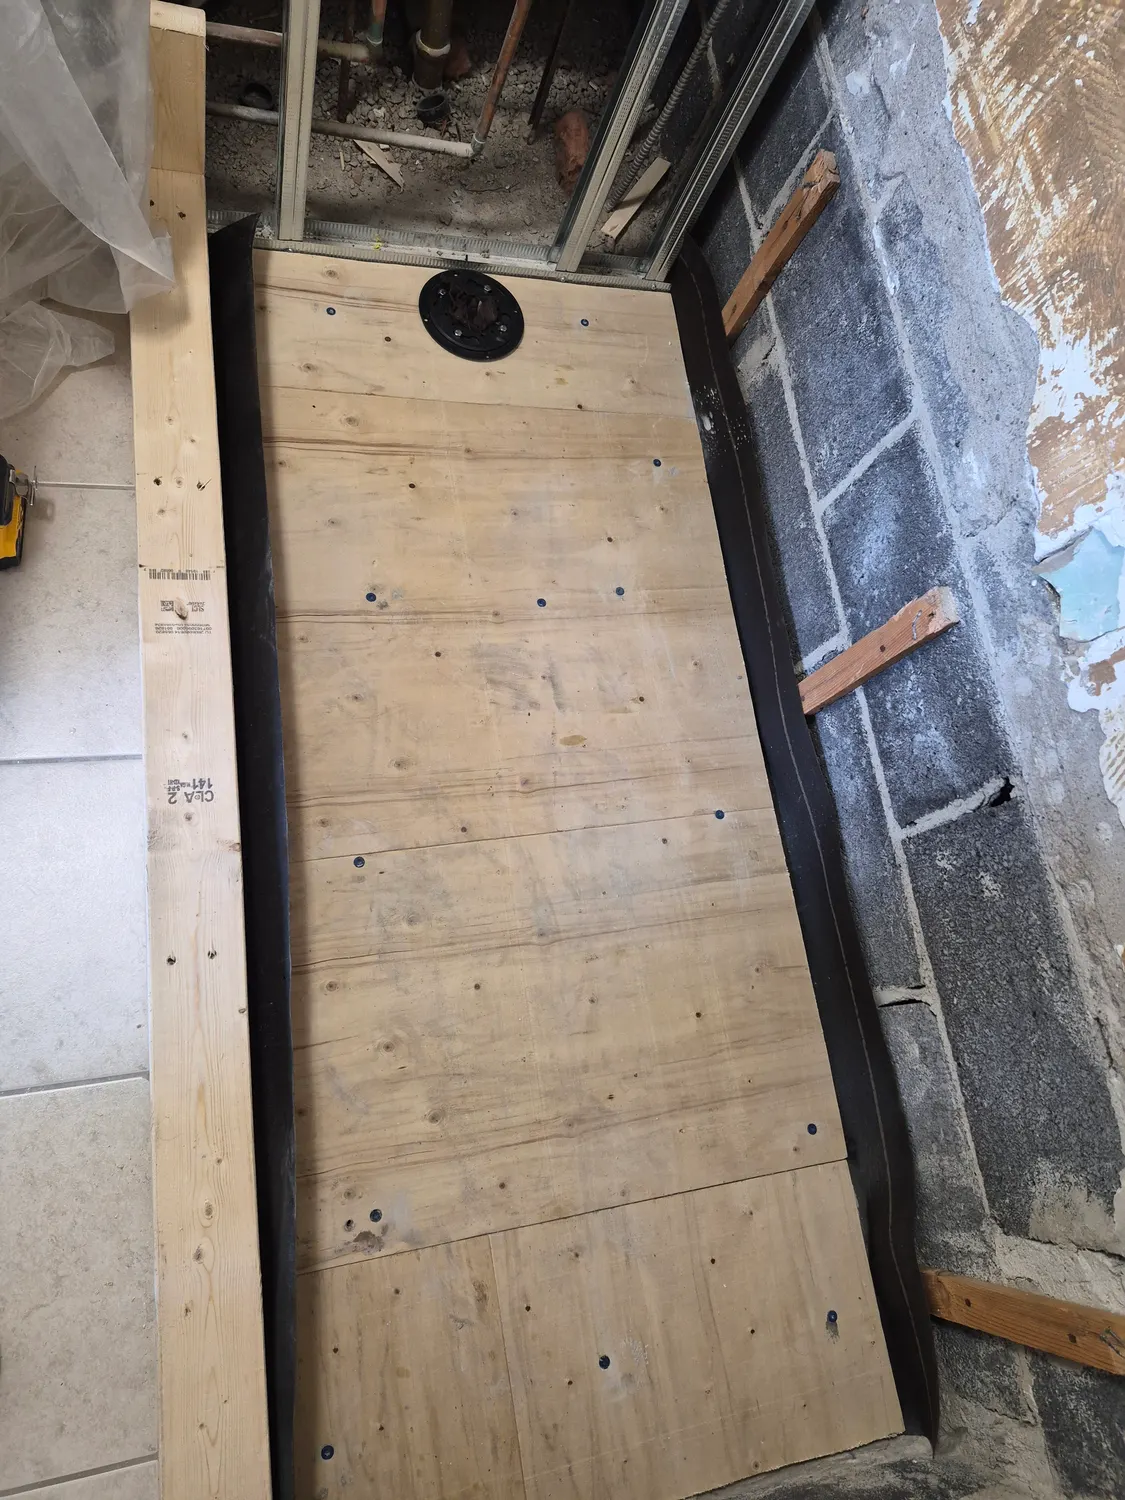
A solid platform for the floor
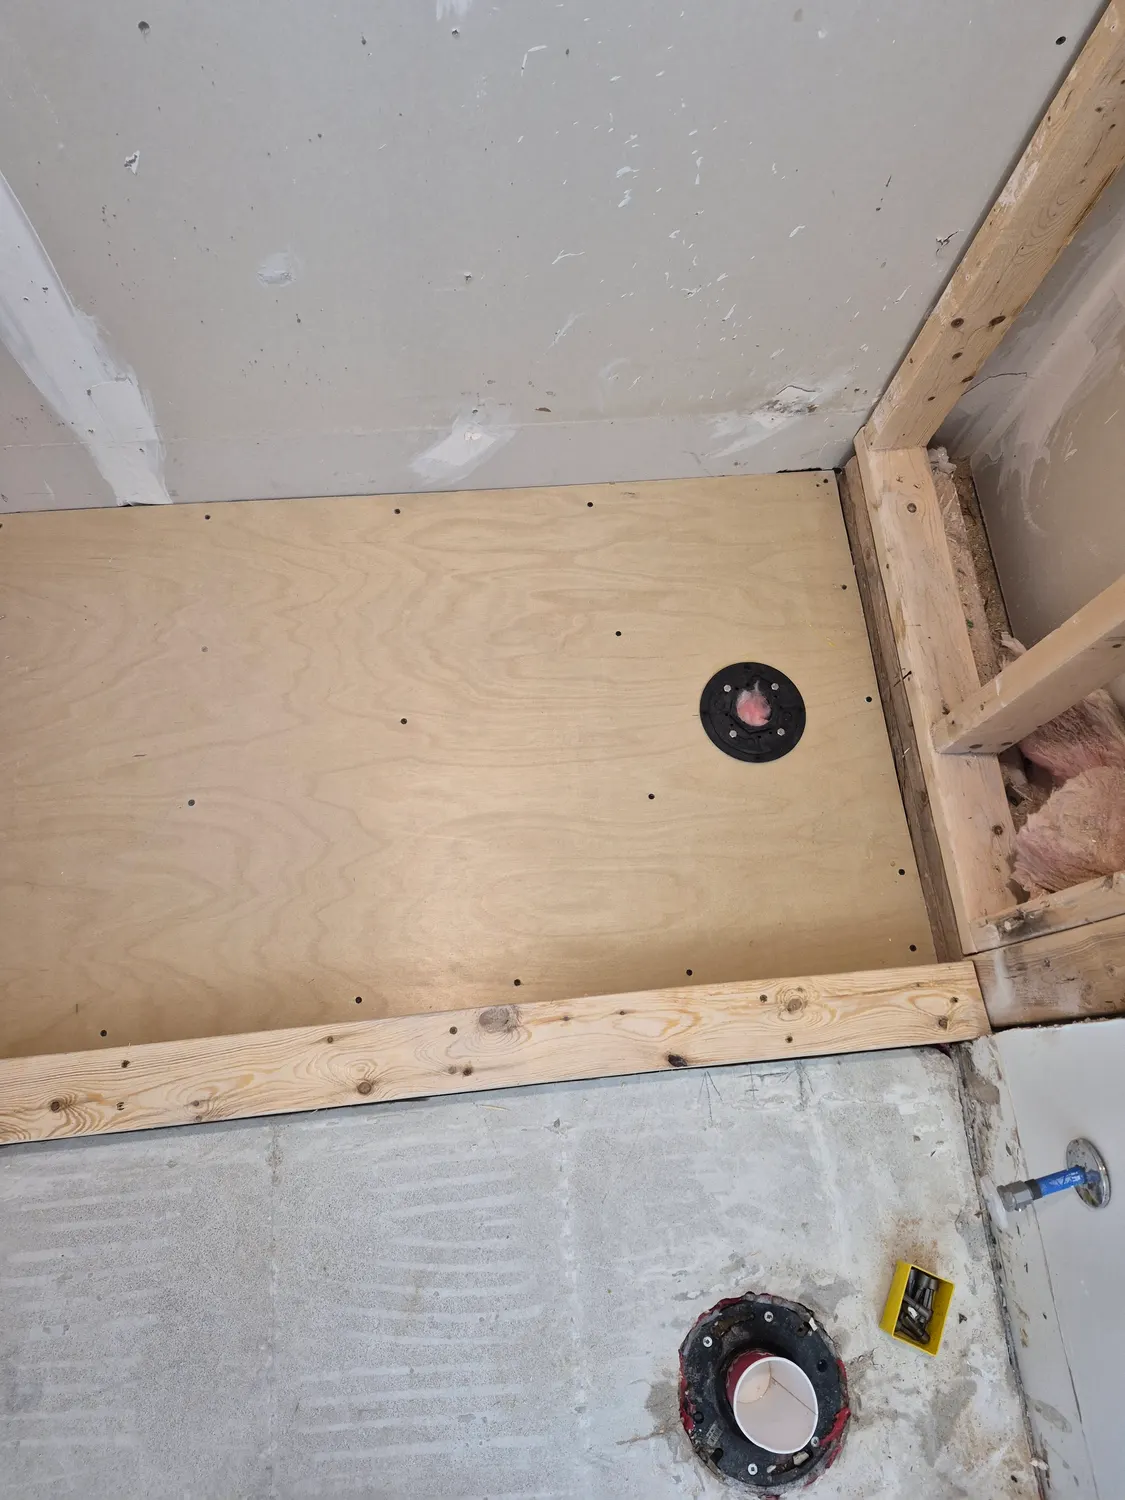
Plywood is laid and fastened to create a flat, firm platform, and the drain flange is set into it. The pattern of fasteners spreads the load, so the floor does not flex underfoot once tile and a person are on it.
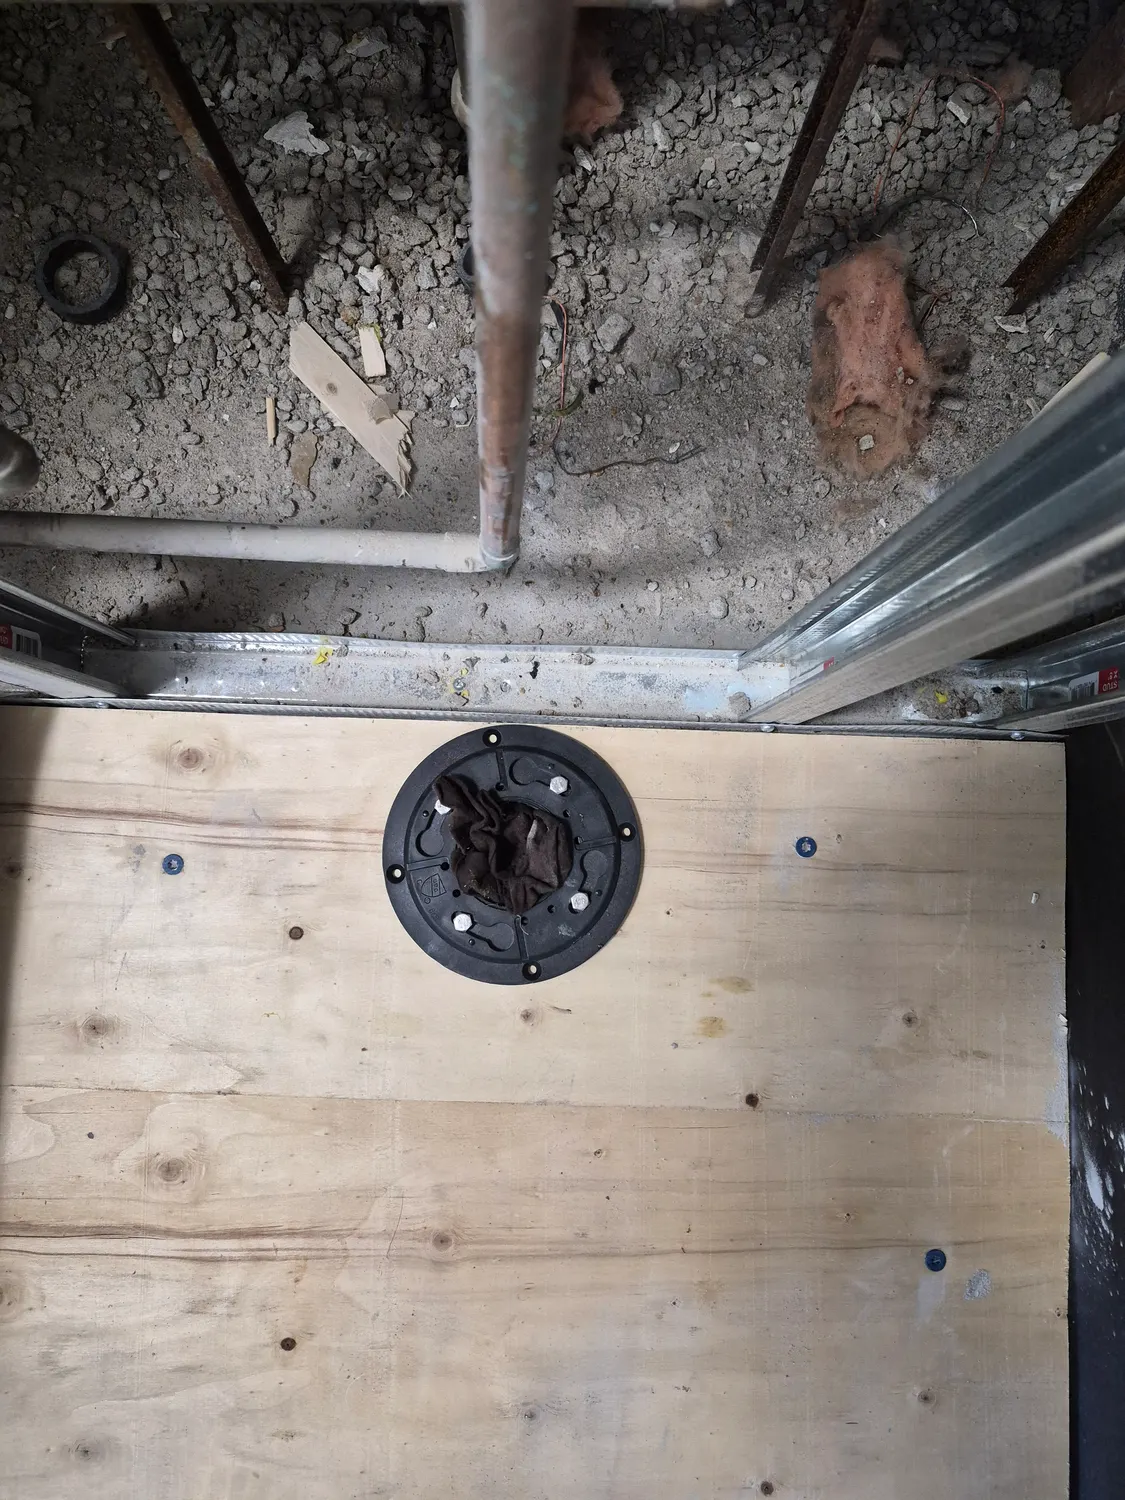
Underneath, the existing drain pipe is checked and connected so the new flange sits properly over it.
Cement board, edges and the curb
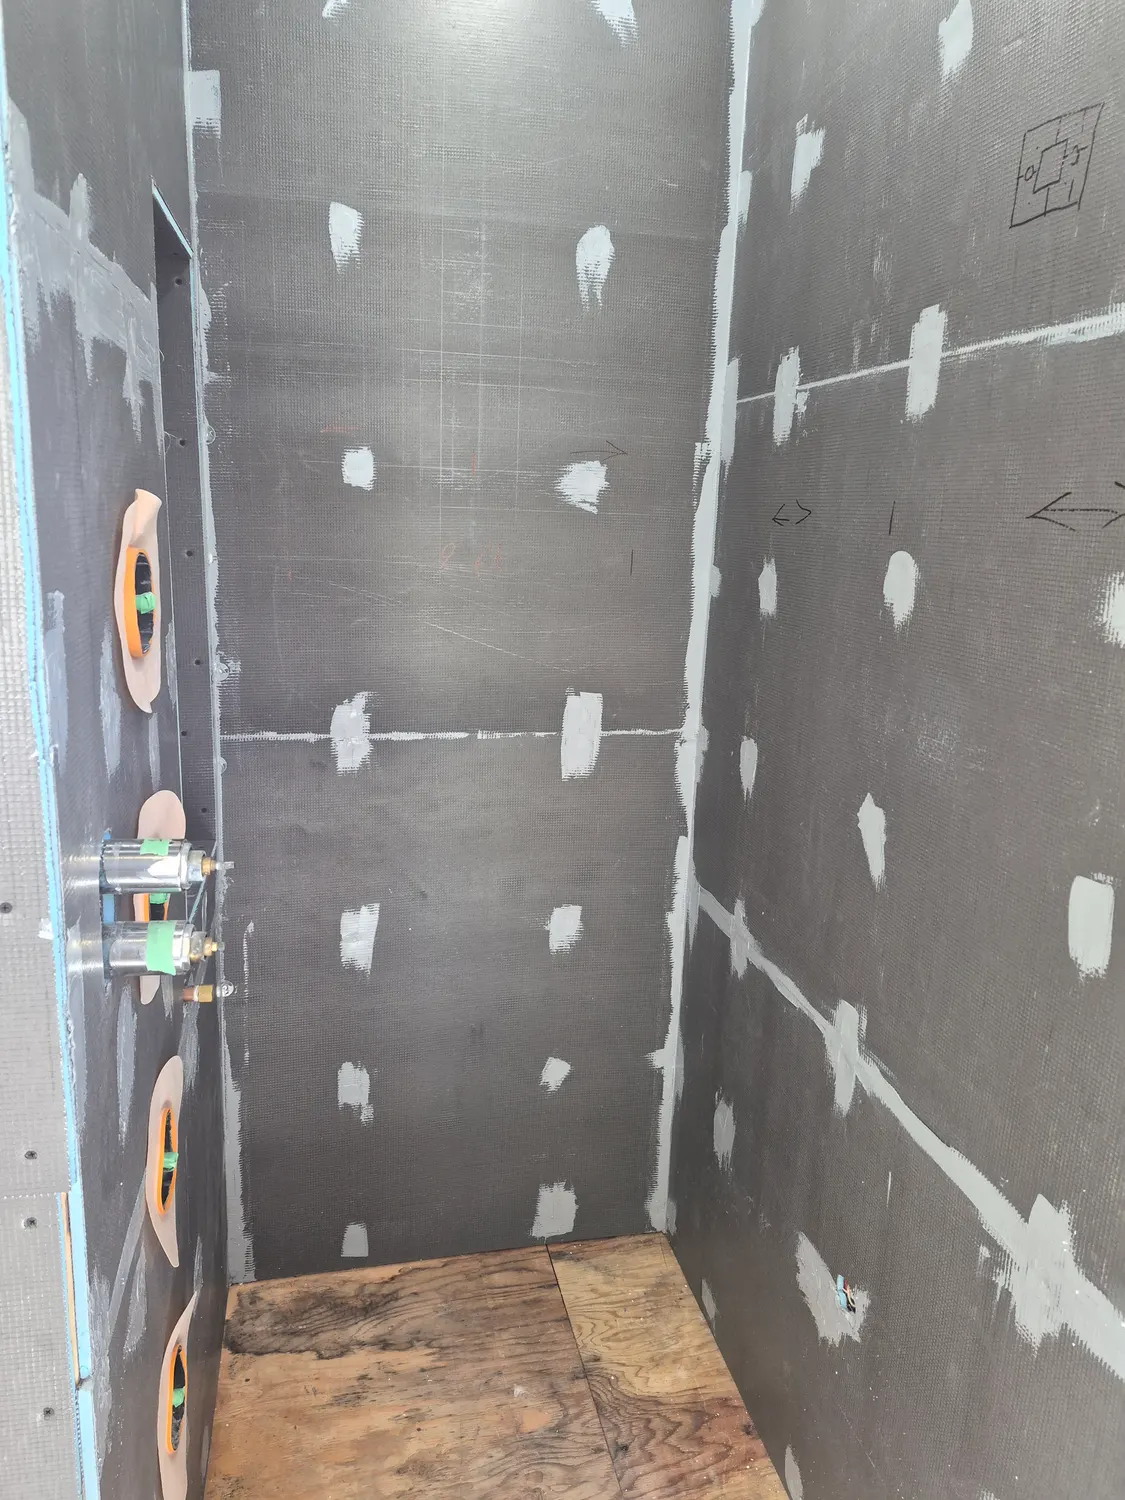
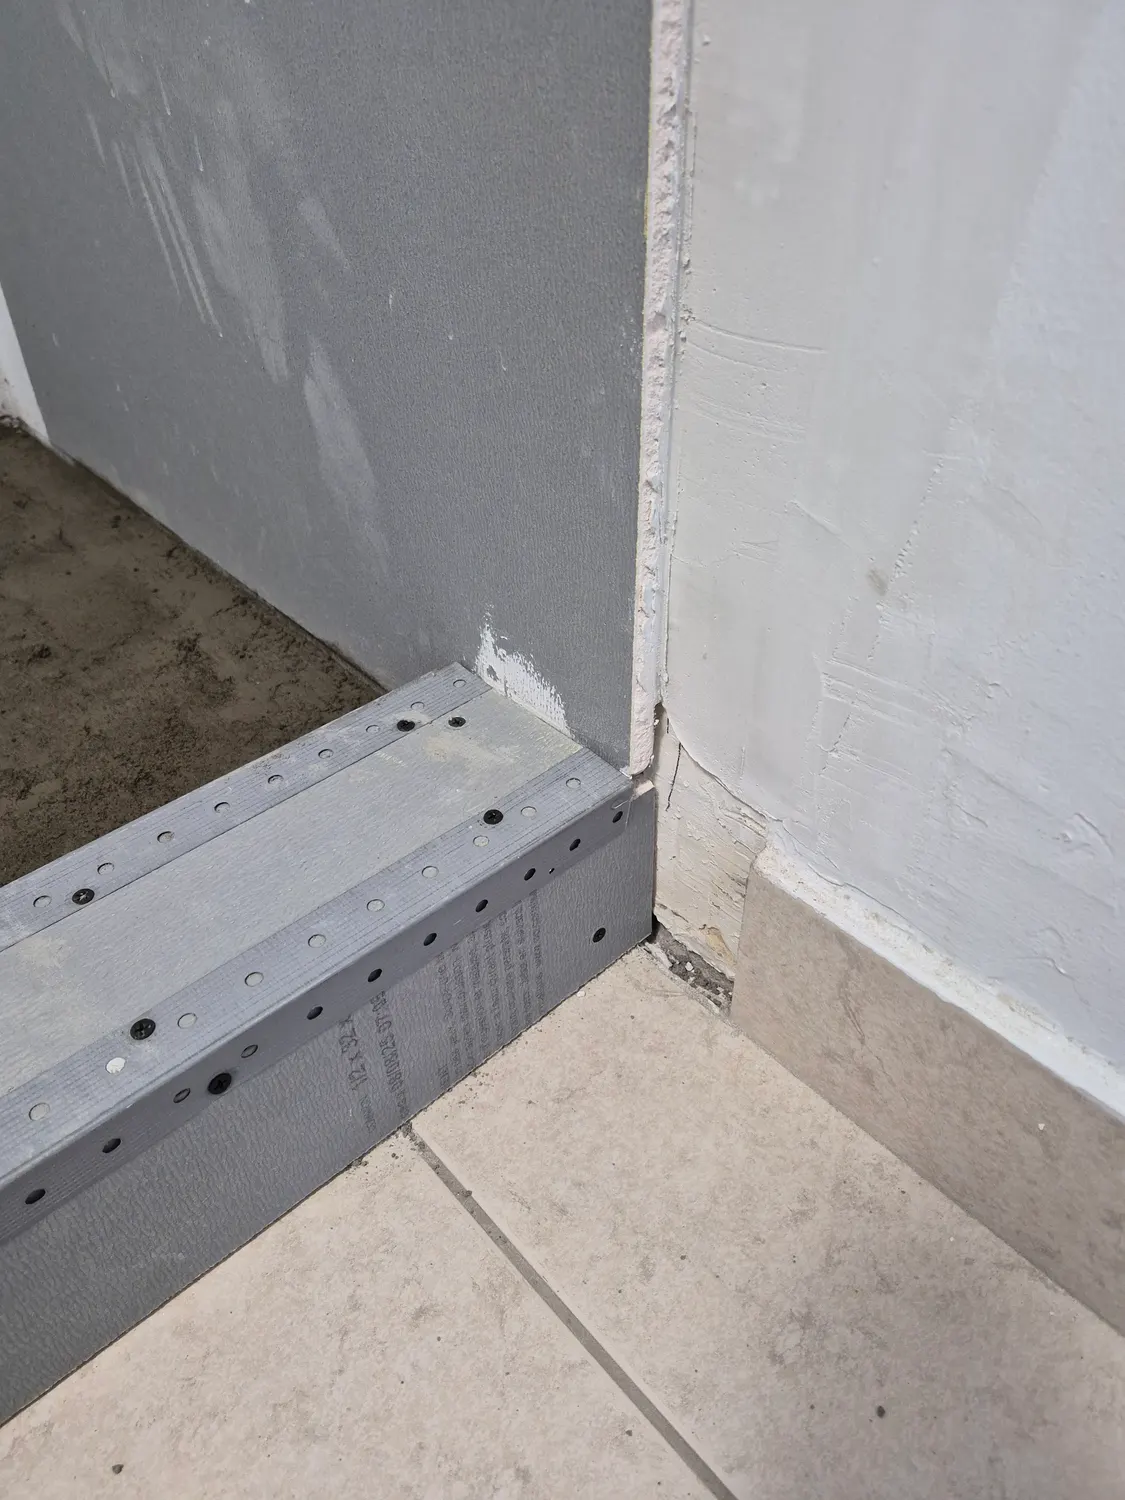
The walls are lined with cement board and the seams are finished so the surface is flat and ready for waterproofing and tile. A metal edge profile finishes the corner at the opening.
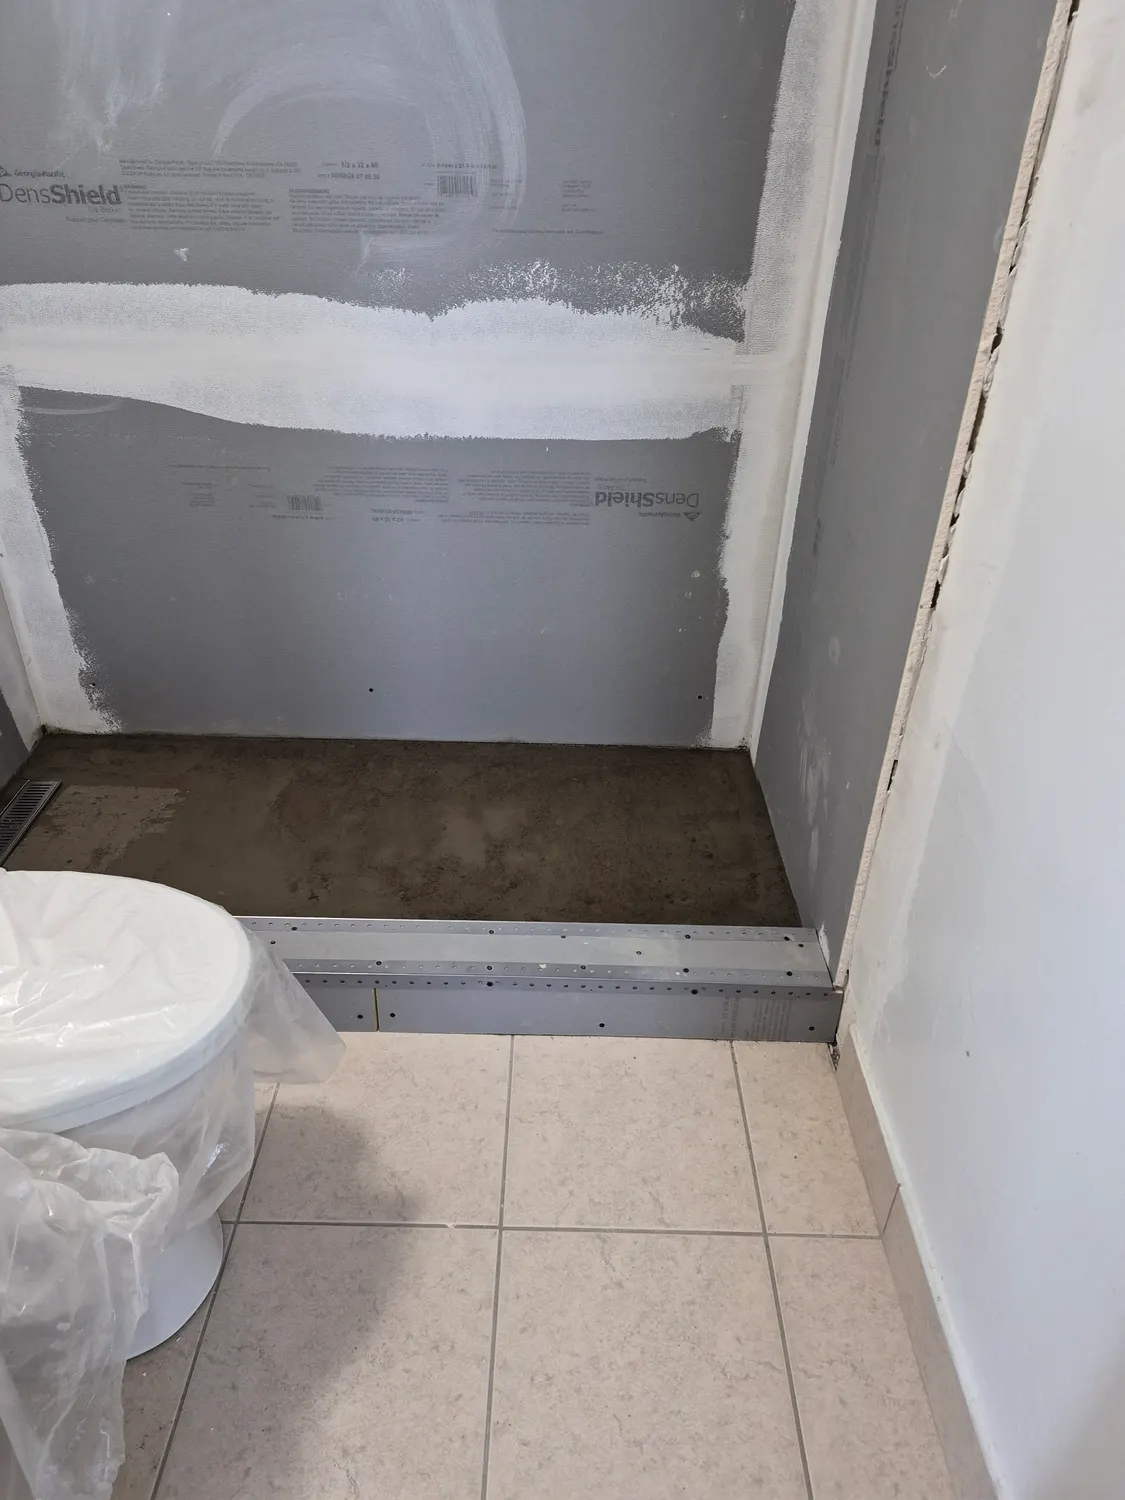
Details at the corners matter as much as the big surfaces. Cutting and fitting the edge cleanly means the tile and the sealant can follow a straight, protected line.
Forming the sloped base and linear drain
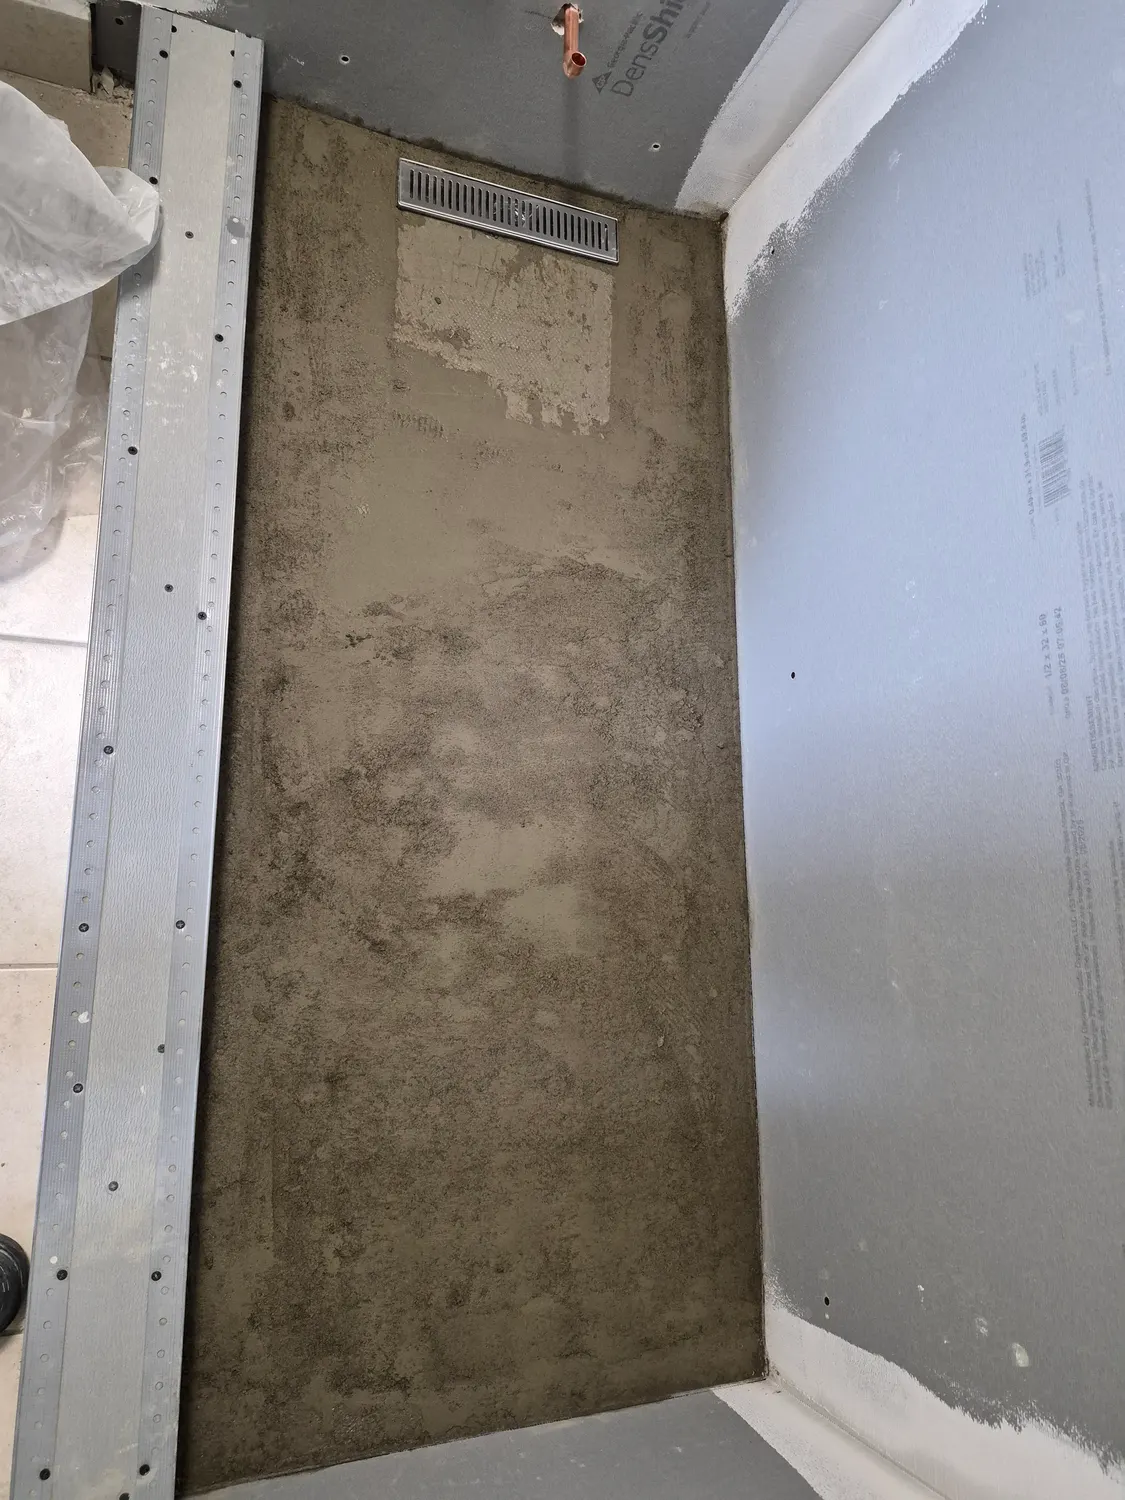
The last stage before tile is the floor itself, shaped so water runs to a long linear drain along the wall. Metal edge profiles frame the floor and keep the lines sharp.
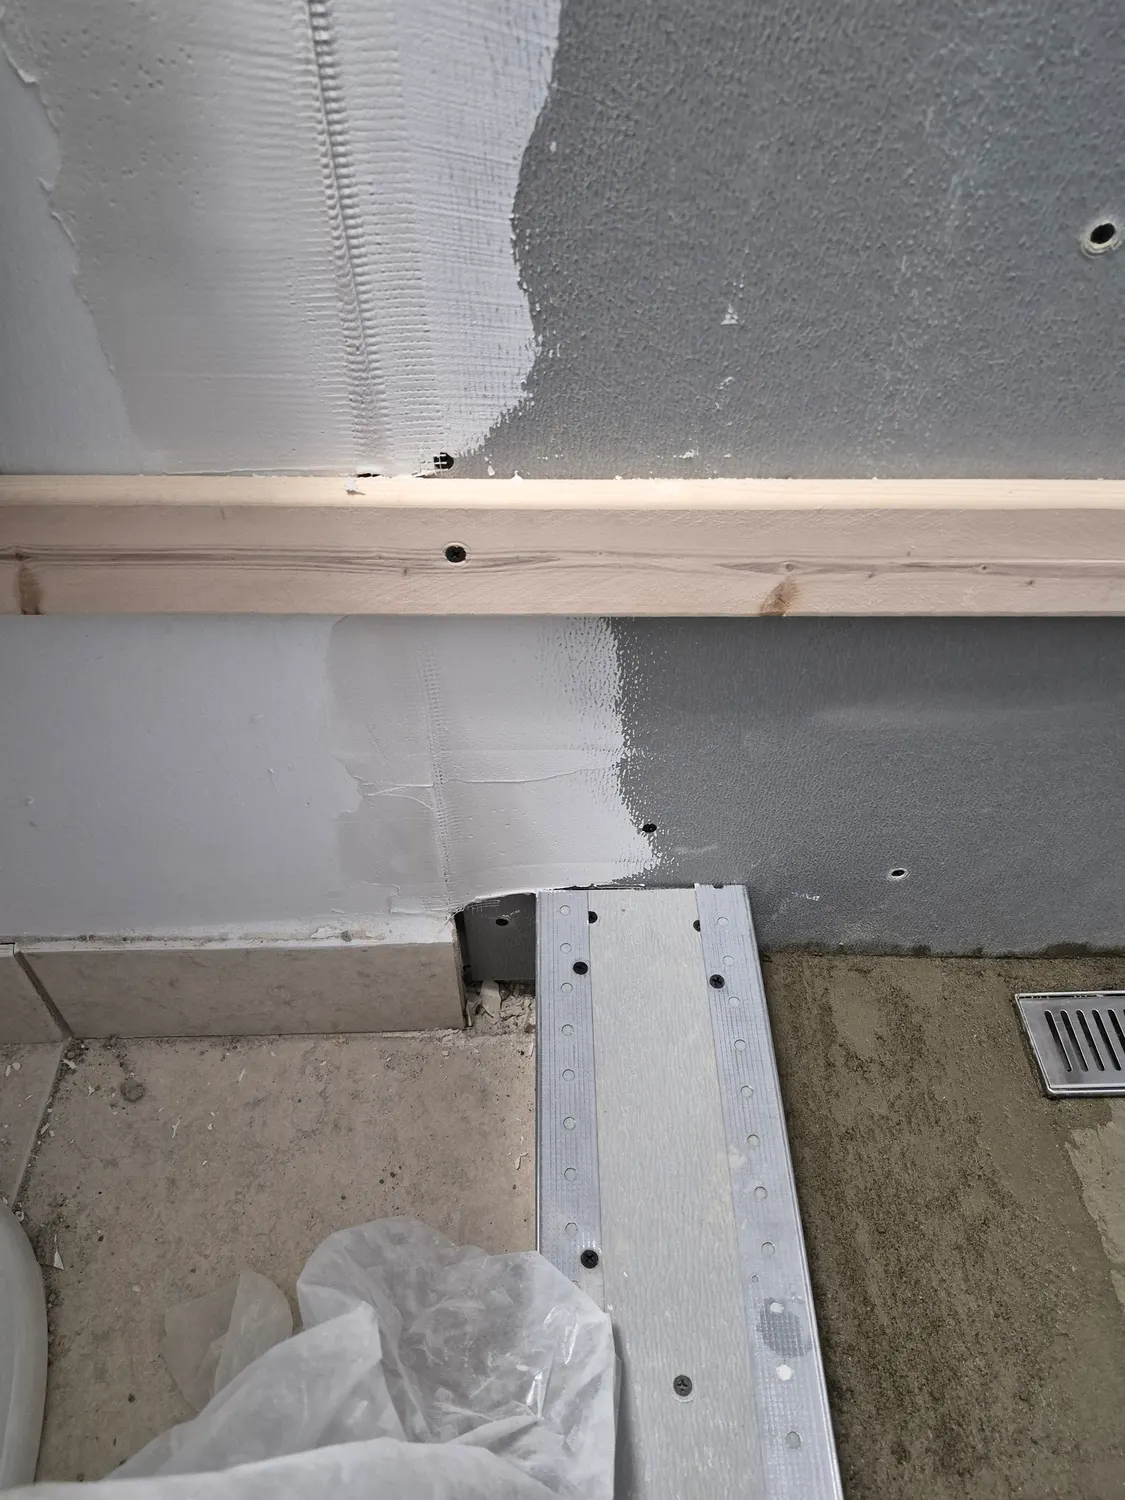
A linear drain lets the whole floor slope in one direction, which looks cleaner and allows larger tile. It also gives you a floor that is easy to keep clean.
Want a shower floor built to last? Request a free estimate and we will look at the job and quote it clearly before we start.
Need a hand with a project?
Book the VOL Handyman team for the work in this article, or anything else around your home or business.