Block wall, old plumbing and fresh framing: preparing a tub wall for new tile
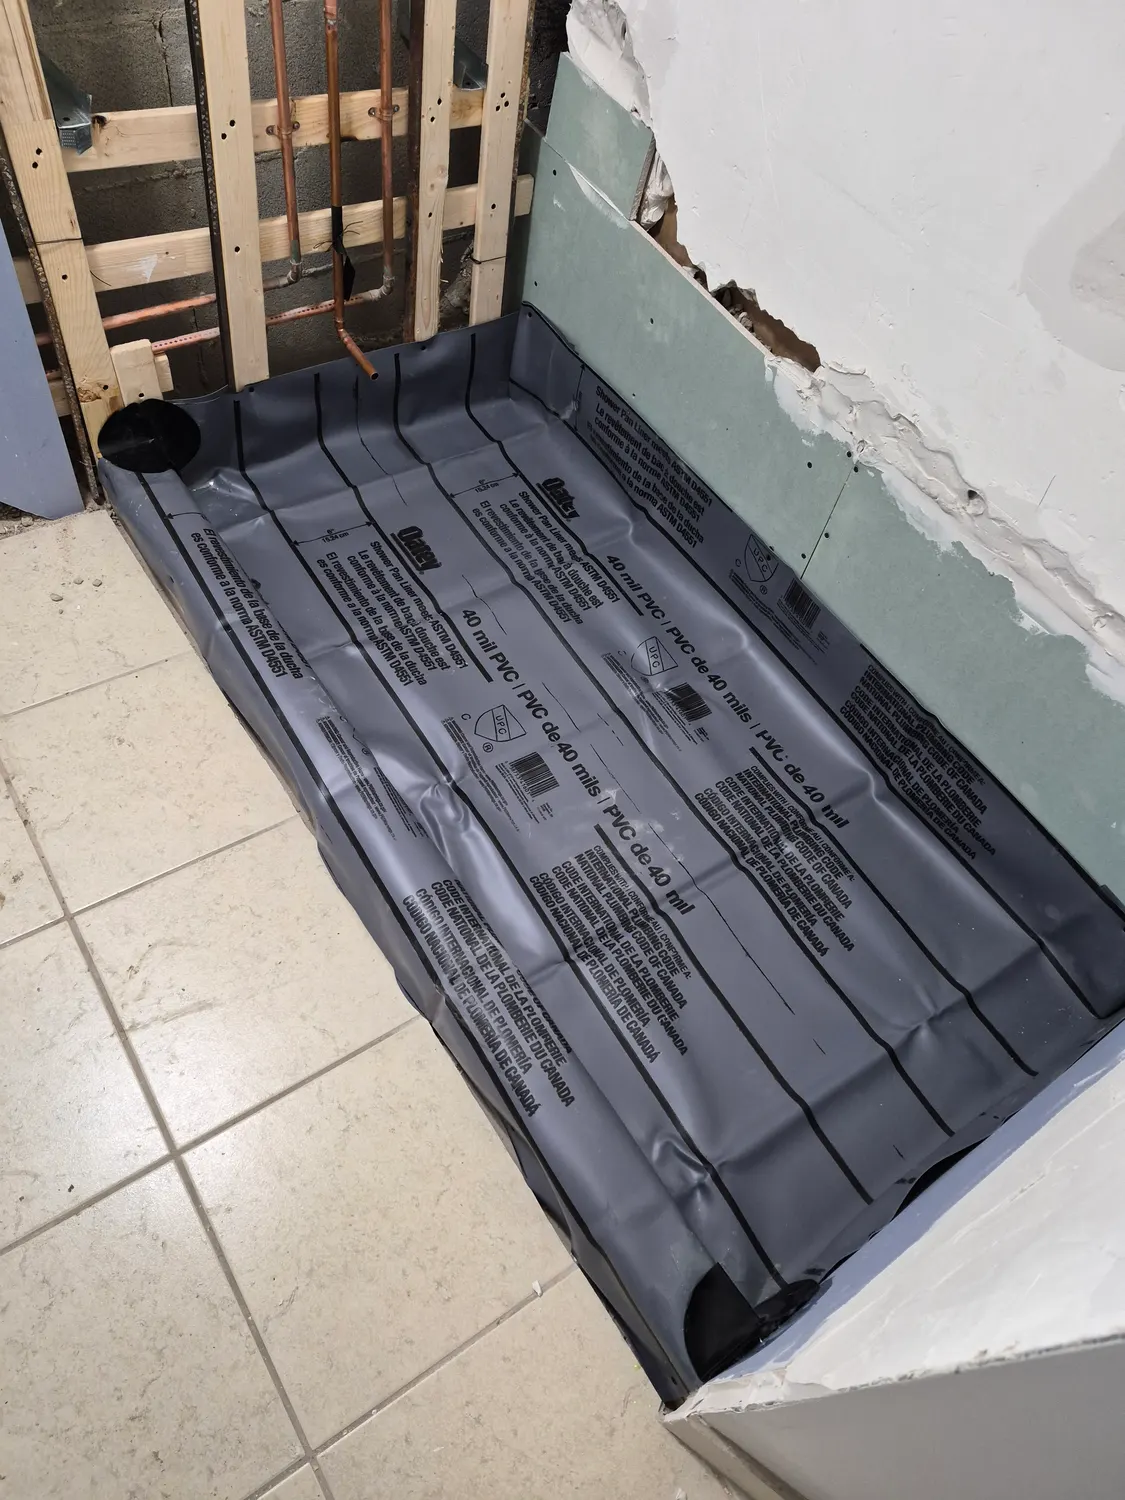
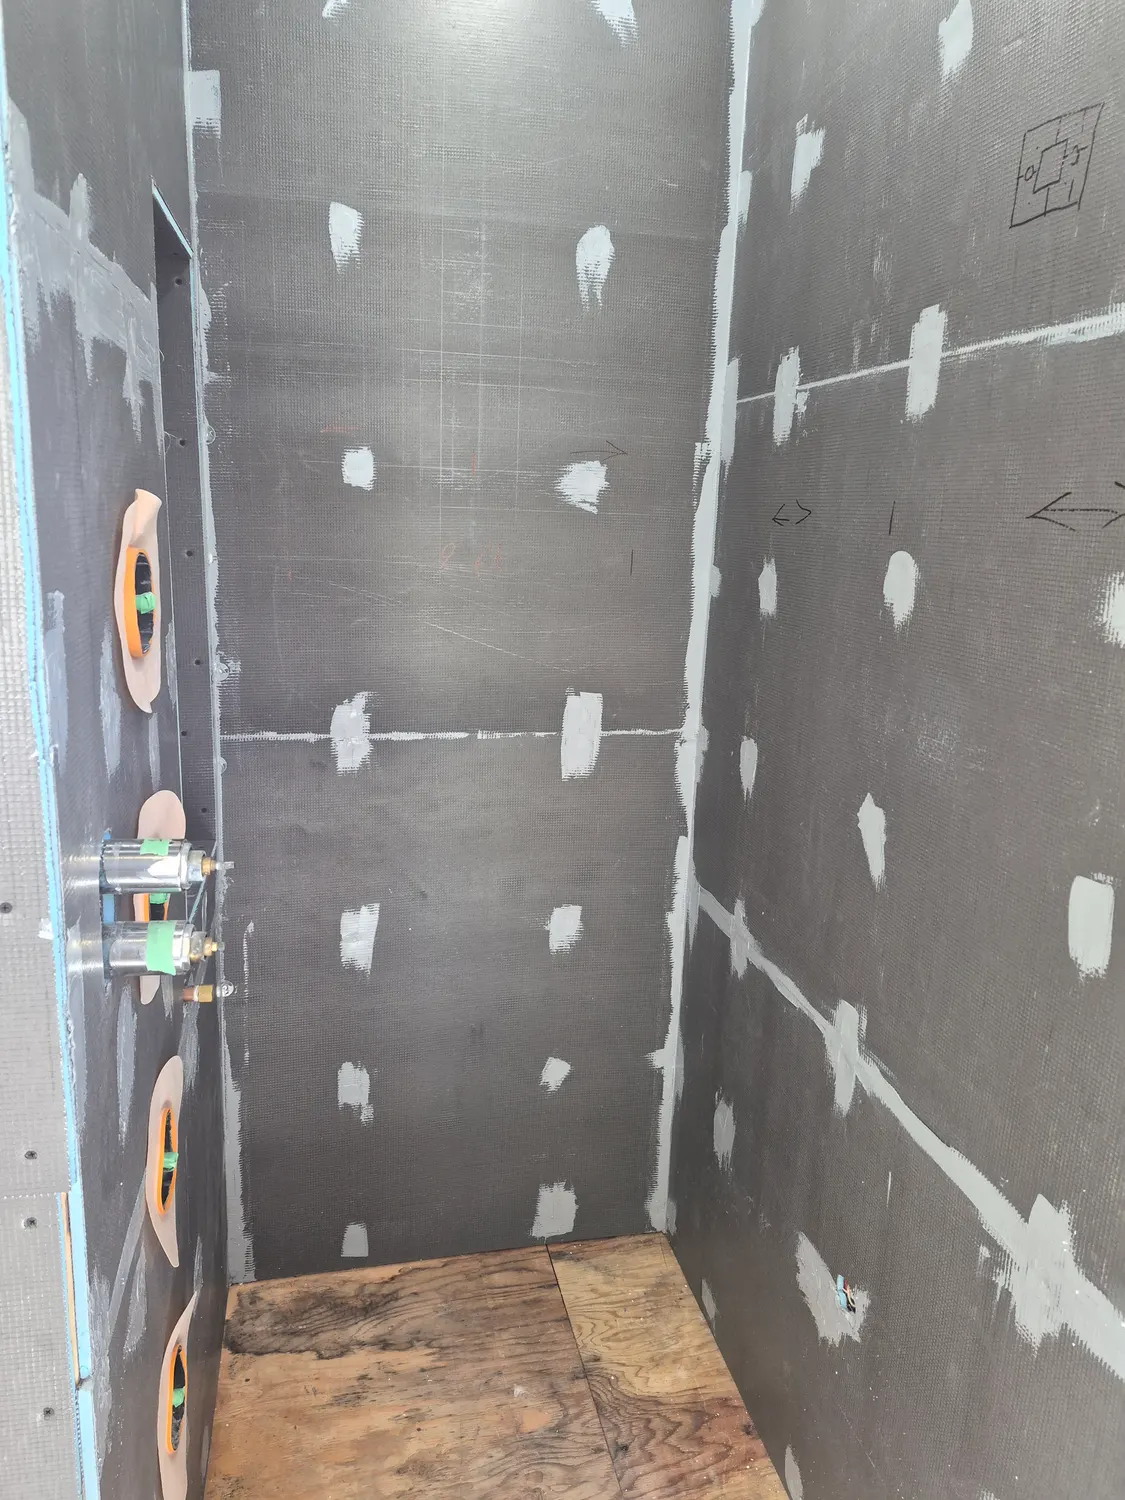
This is the same kind of bathroom we see often in older homes: a tub set against a block wall, with the plumbing run right on the surface of the block behind the tile. Taking off the old surface exposes everything, and it is the best chance to put it right. This is how the wall went from open block to ready for new tile.
Open wall, exposed block
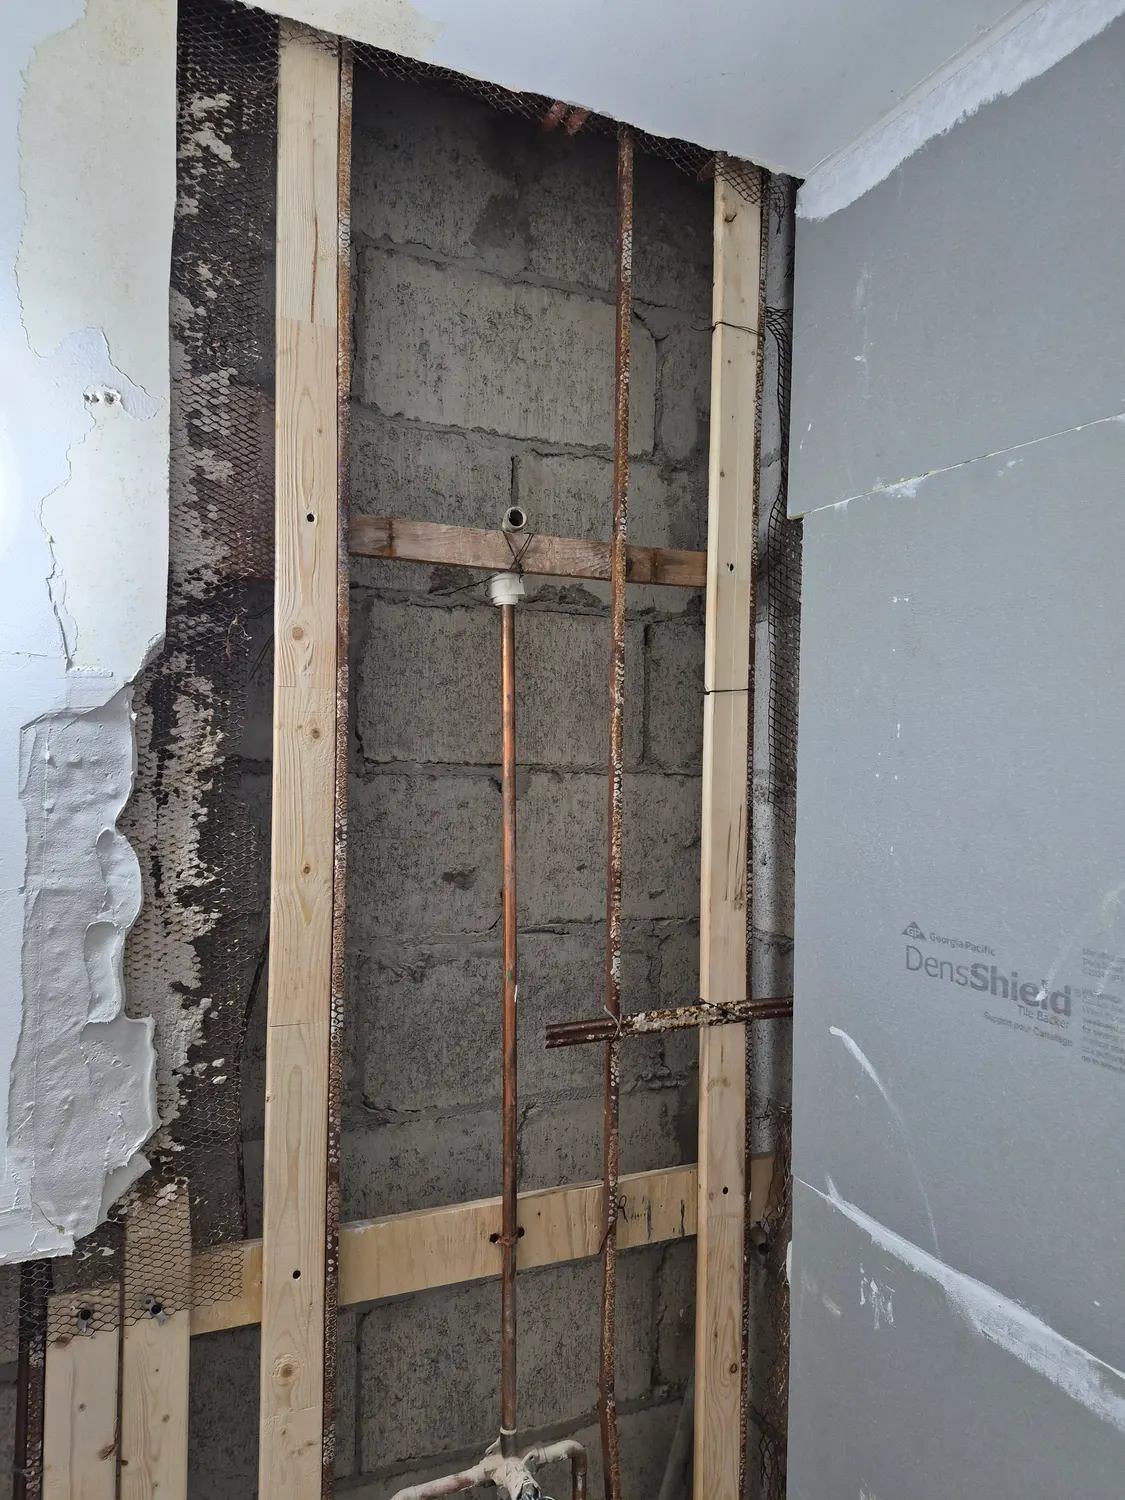
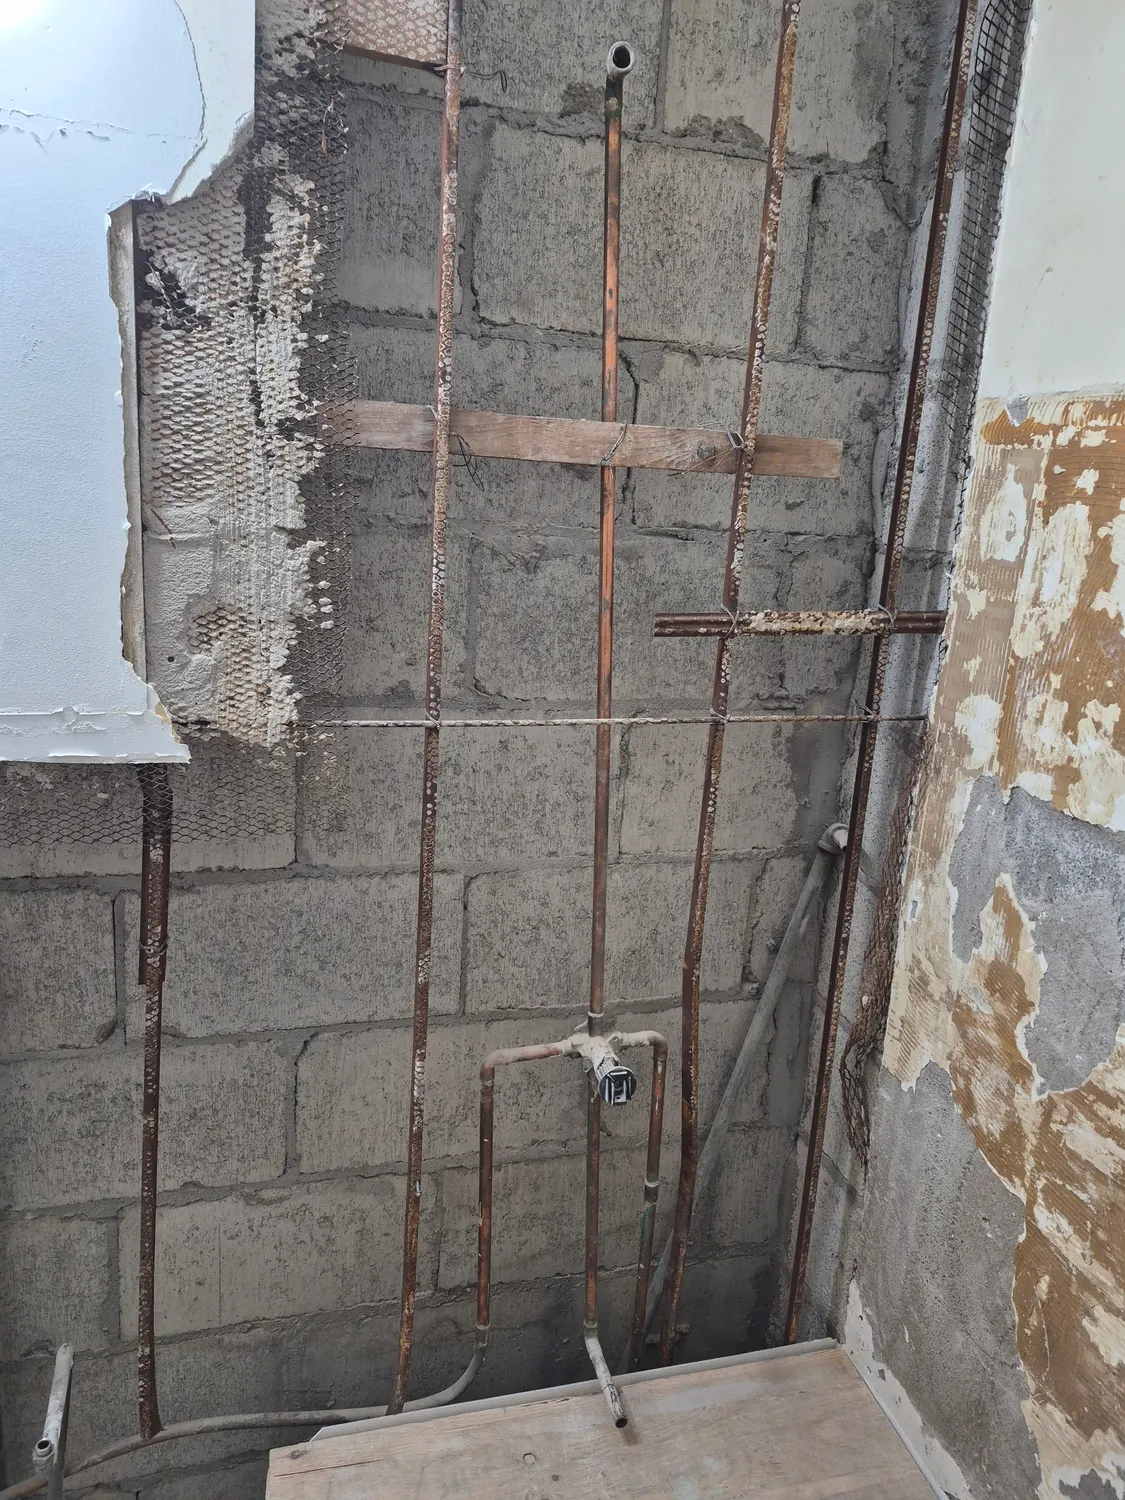
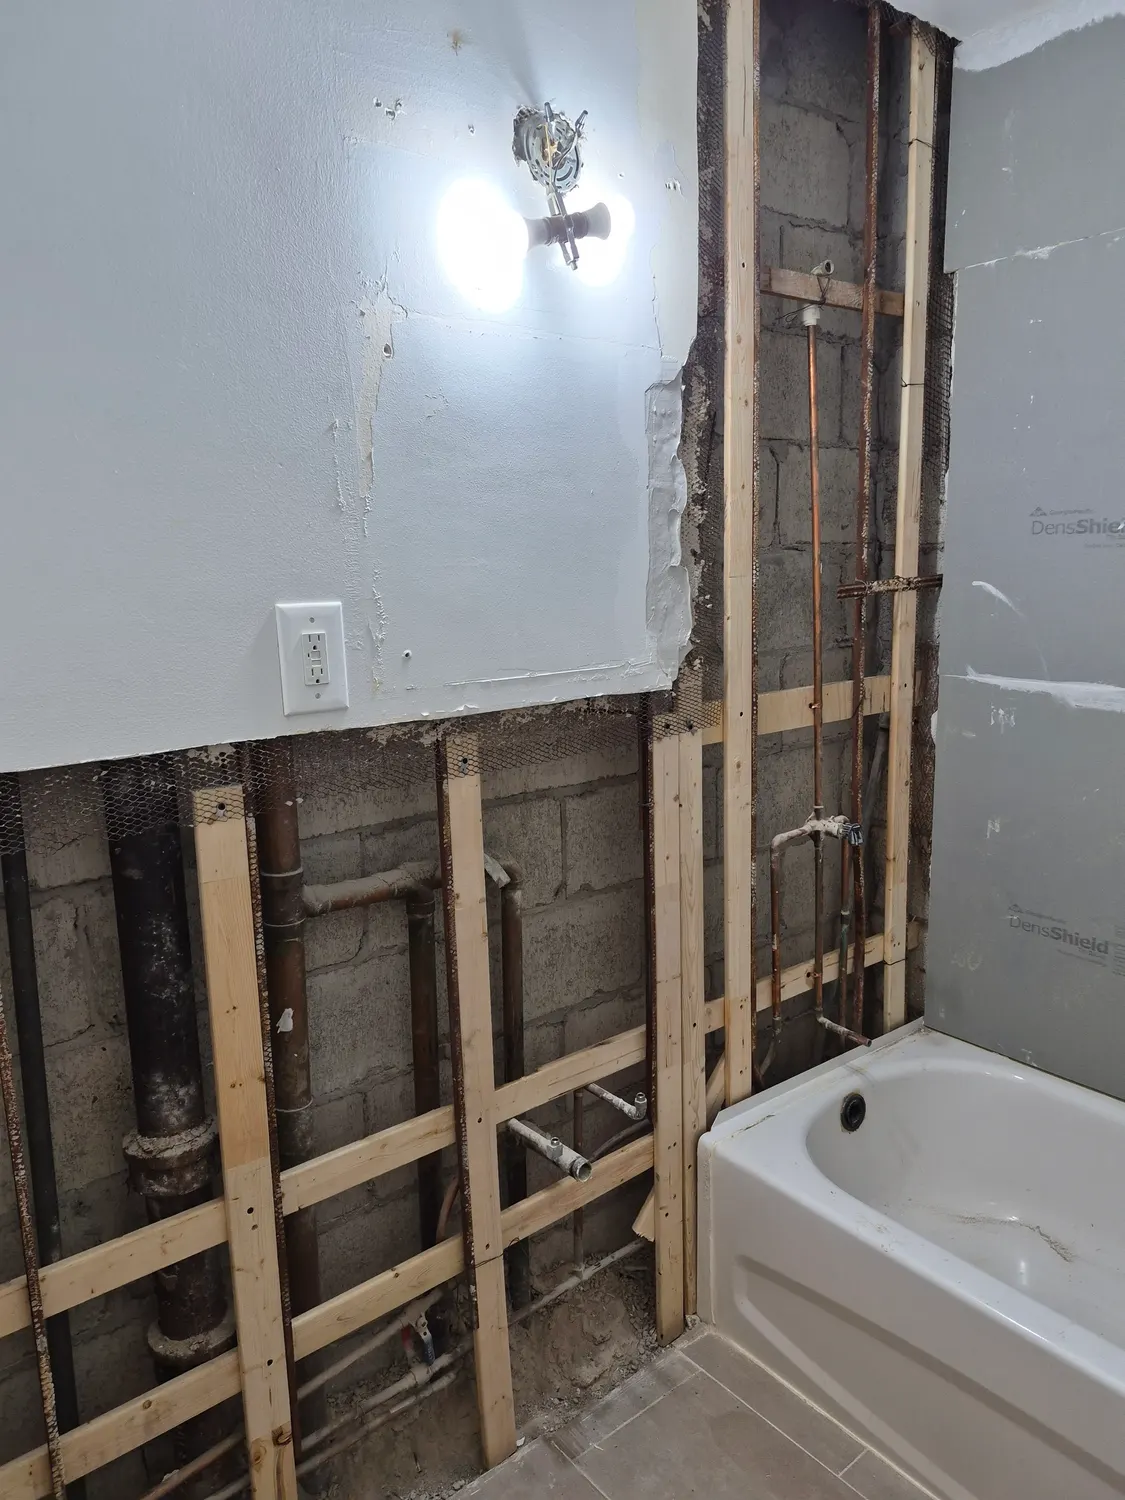
With the old finish removed, the block wall is visible, along with copper supply pipes running up it and the shower valve on the face. Furring strips are fastened over the block to create a straight, plumb surface.
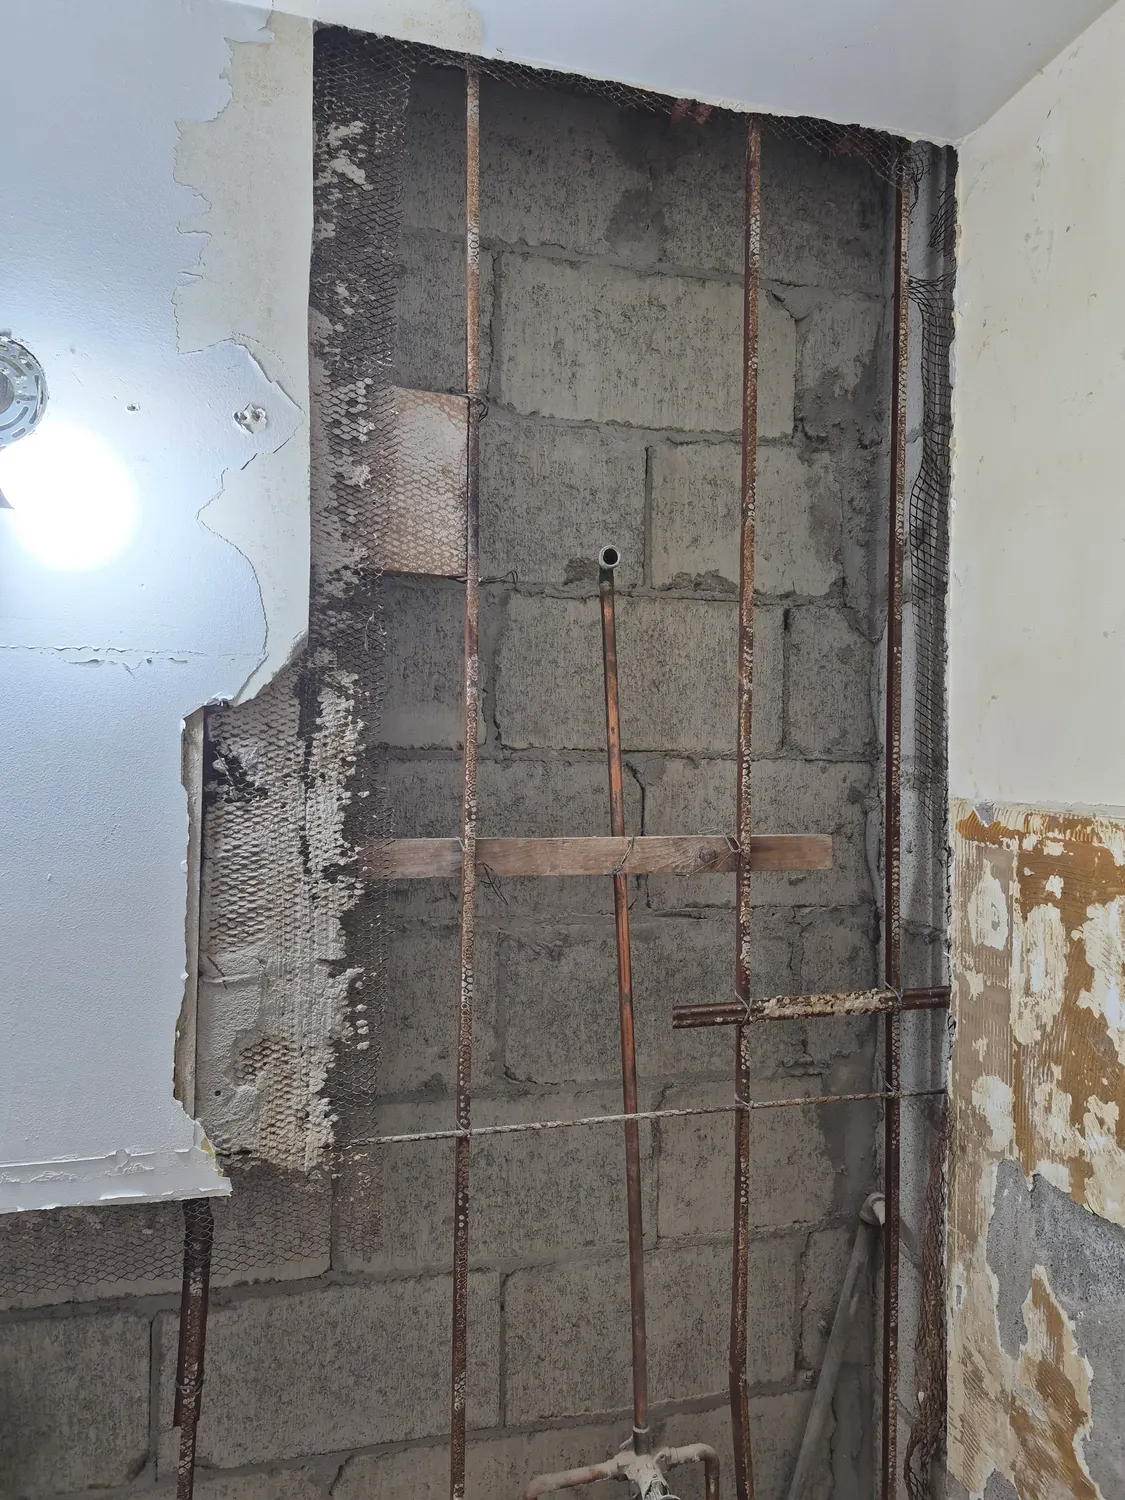
The pipes can be checked and adjusted at this stage, since nothing is hiding them.
The messy edge
The line where the tile stopped and the painted wall began is rough. Old adhesive and torn plaster make the transition uneven.
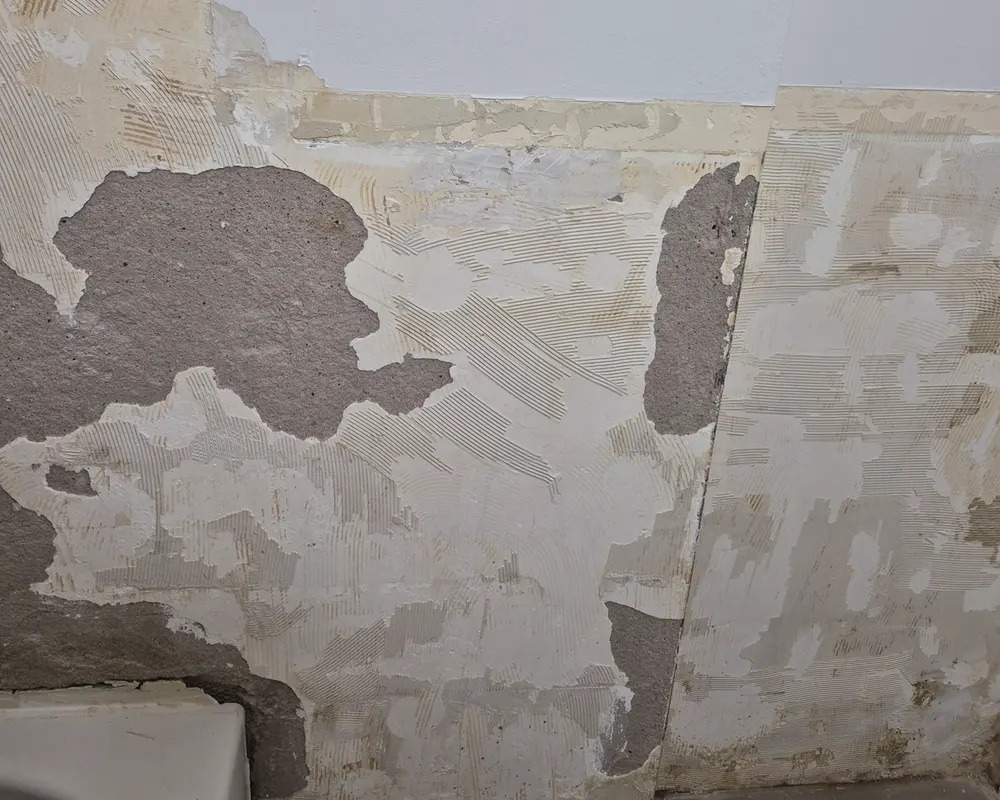
Another view of the same wall from a little further back shows how far the rough area runs.
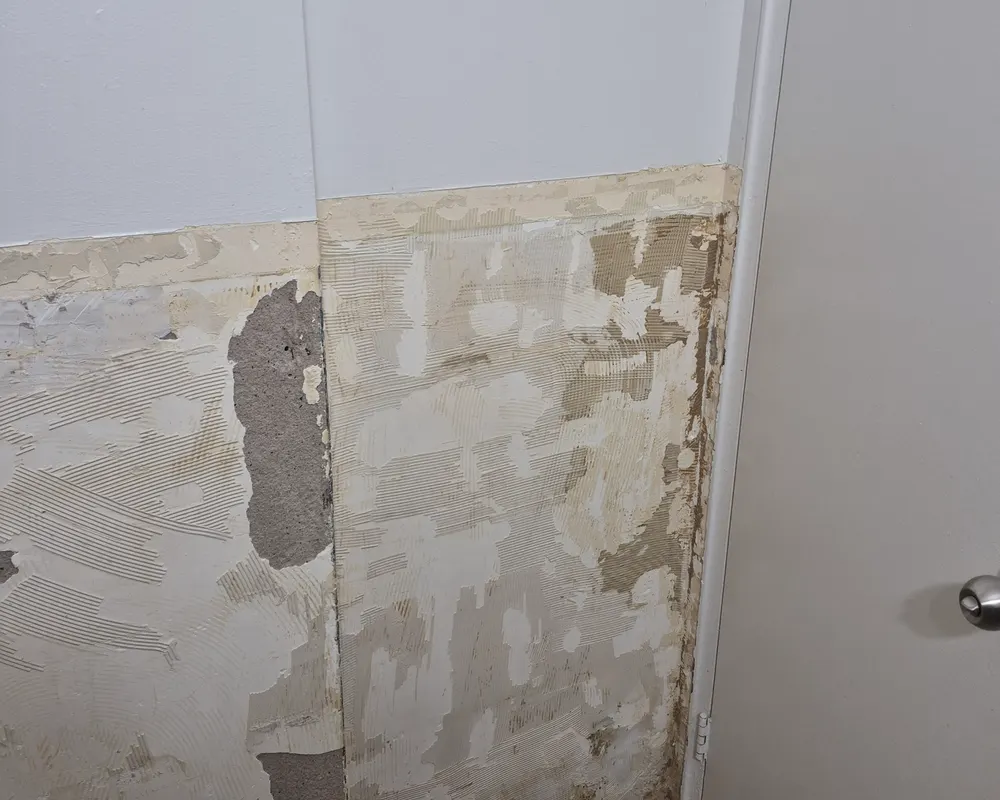
These areas are scraped and levelled so the new boards and tile meet the wall in a clean, flat line.
Rebuilding with wood framing
Vertical and horizontal wood framing is fastened to the block to give the wall something to attach to. The plumbing pipes pass through the framing at the right spots, and the framing sets the depth of the finished wall.
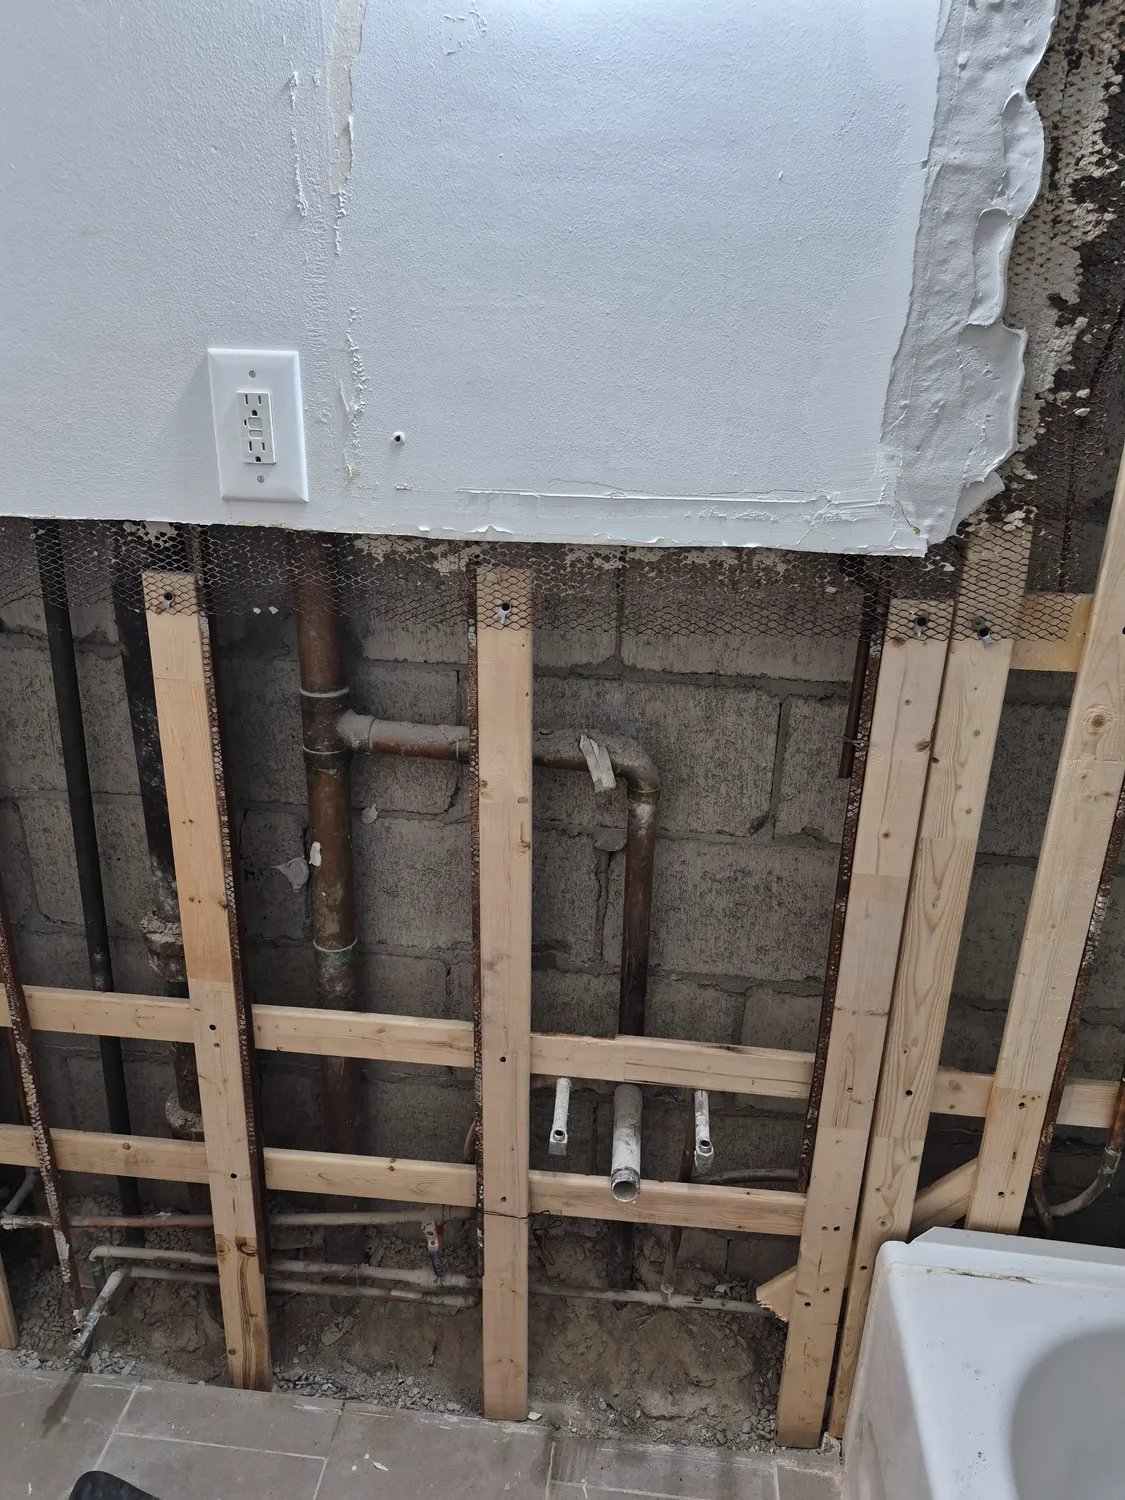
On the other side of the room, the same approach is used around the drain lines and the tub.
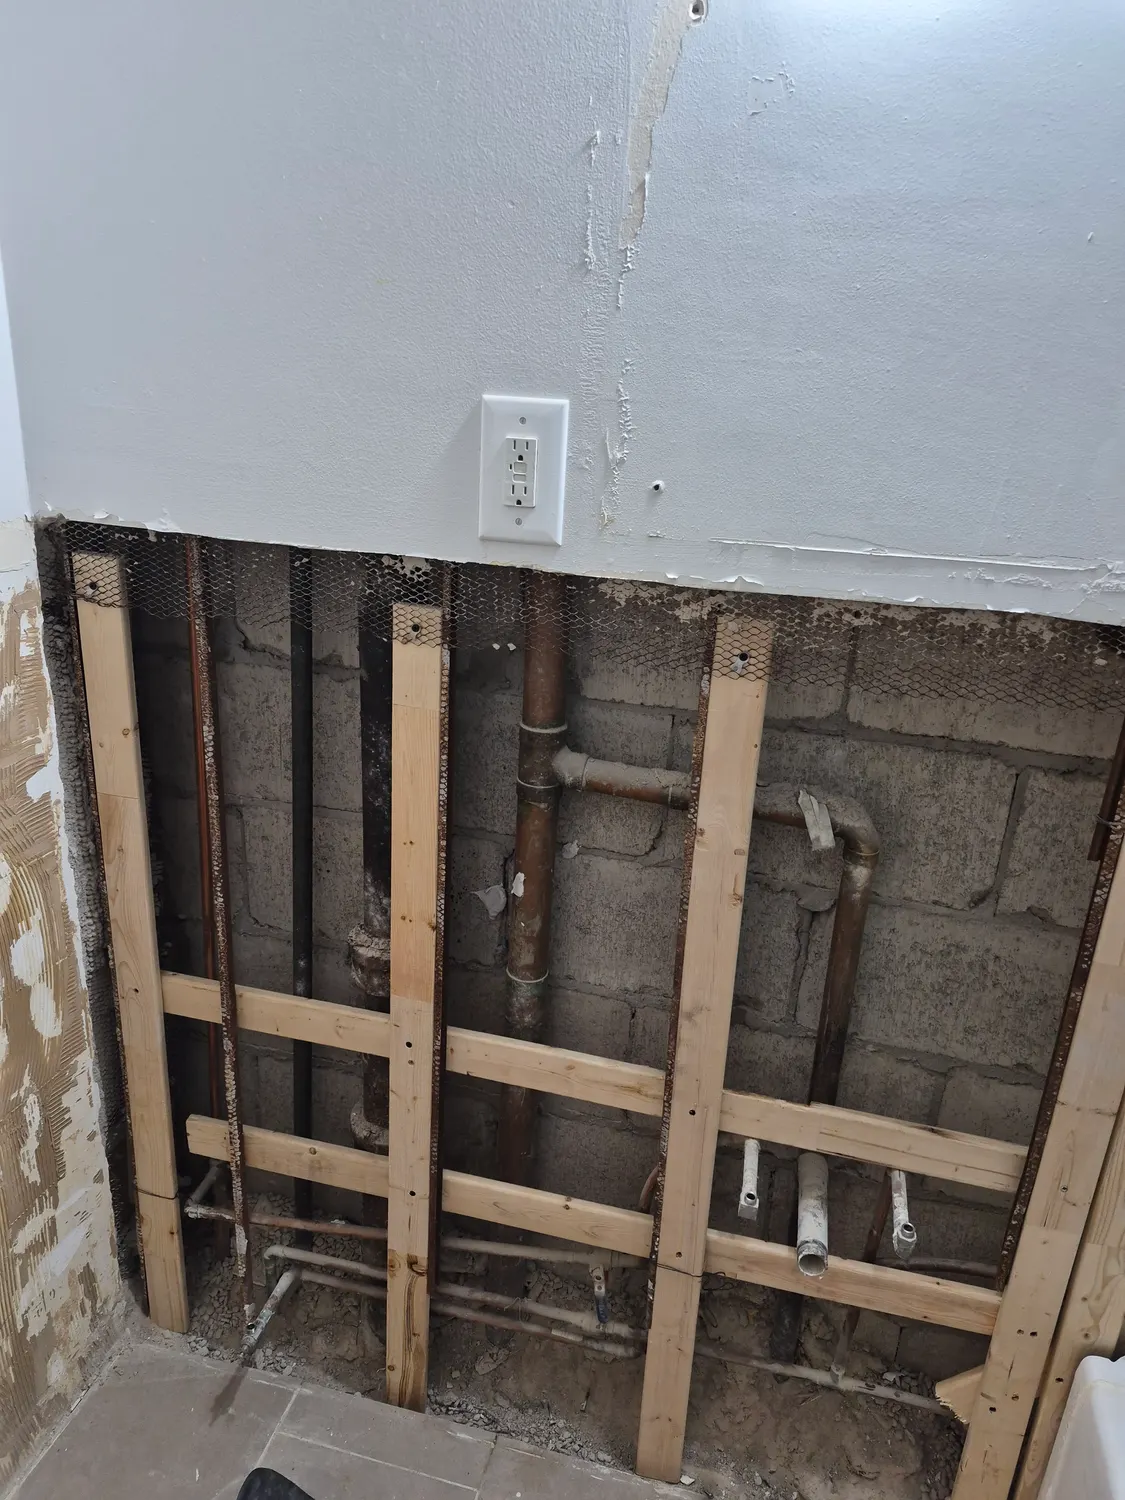
Working carefully around old pipes is one of the more demanding parts of the job. Each connection is checked for leaks before anything is covered.
Ready for boards and tile
Once the framing is in, boards go up and the wall becomes a flat, sound surface. From this view the whole wall can be seen coming together, with the tub below and a work light above.
New tile and an access panel
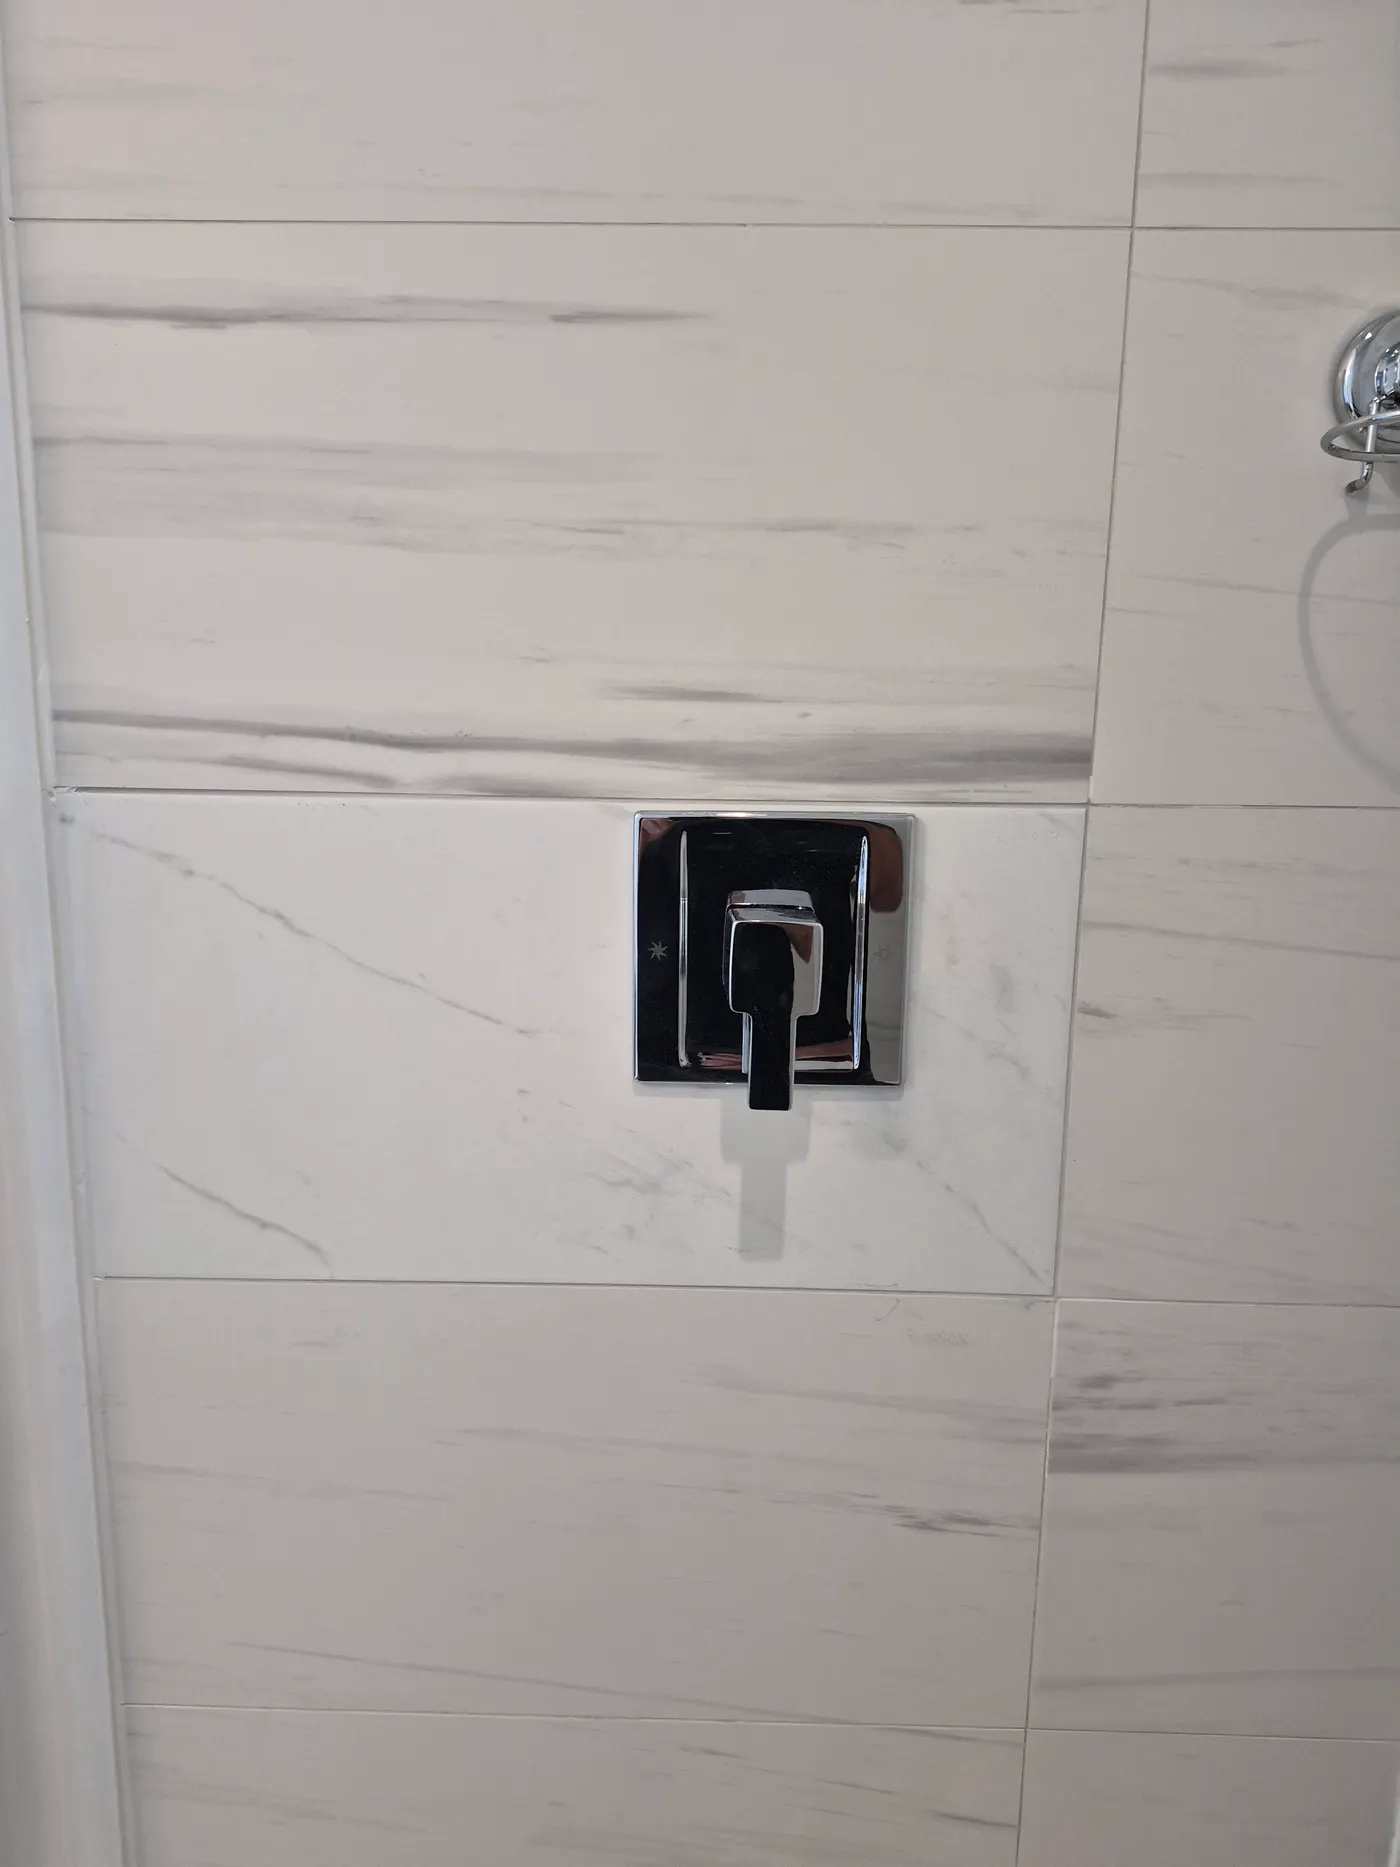
When the new surface is ready, large-format porcelain goes on. Cutting a piece around the valve is the stage that needs the most care.
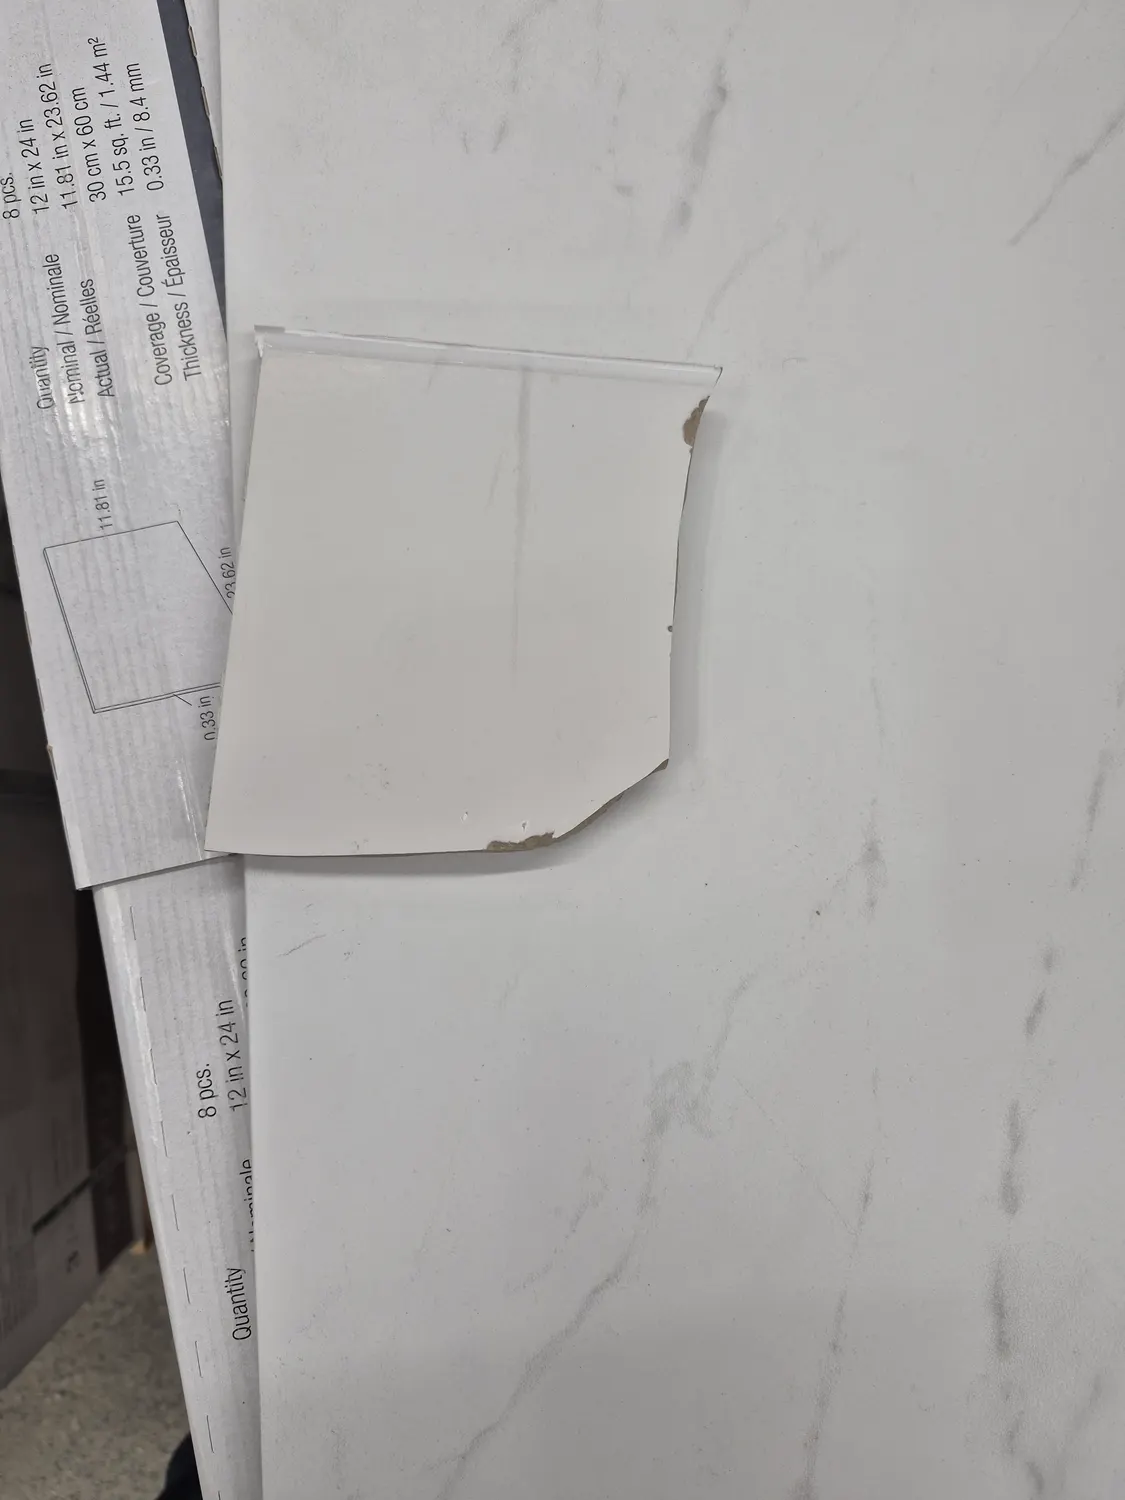
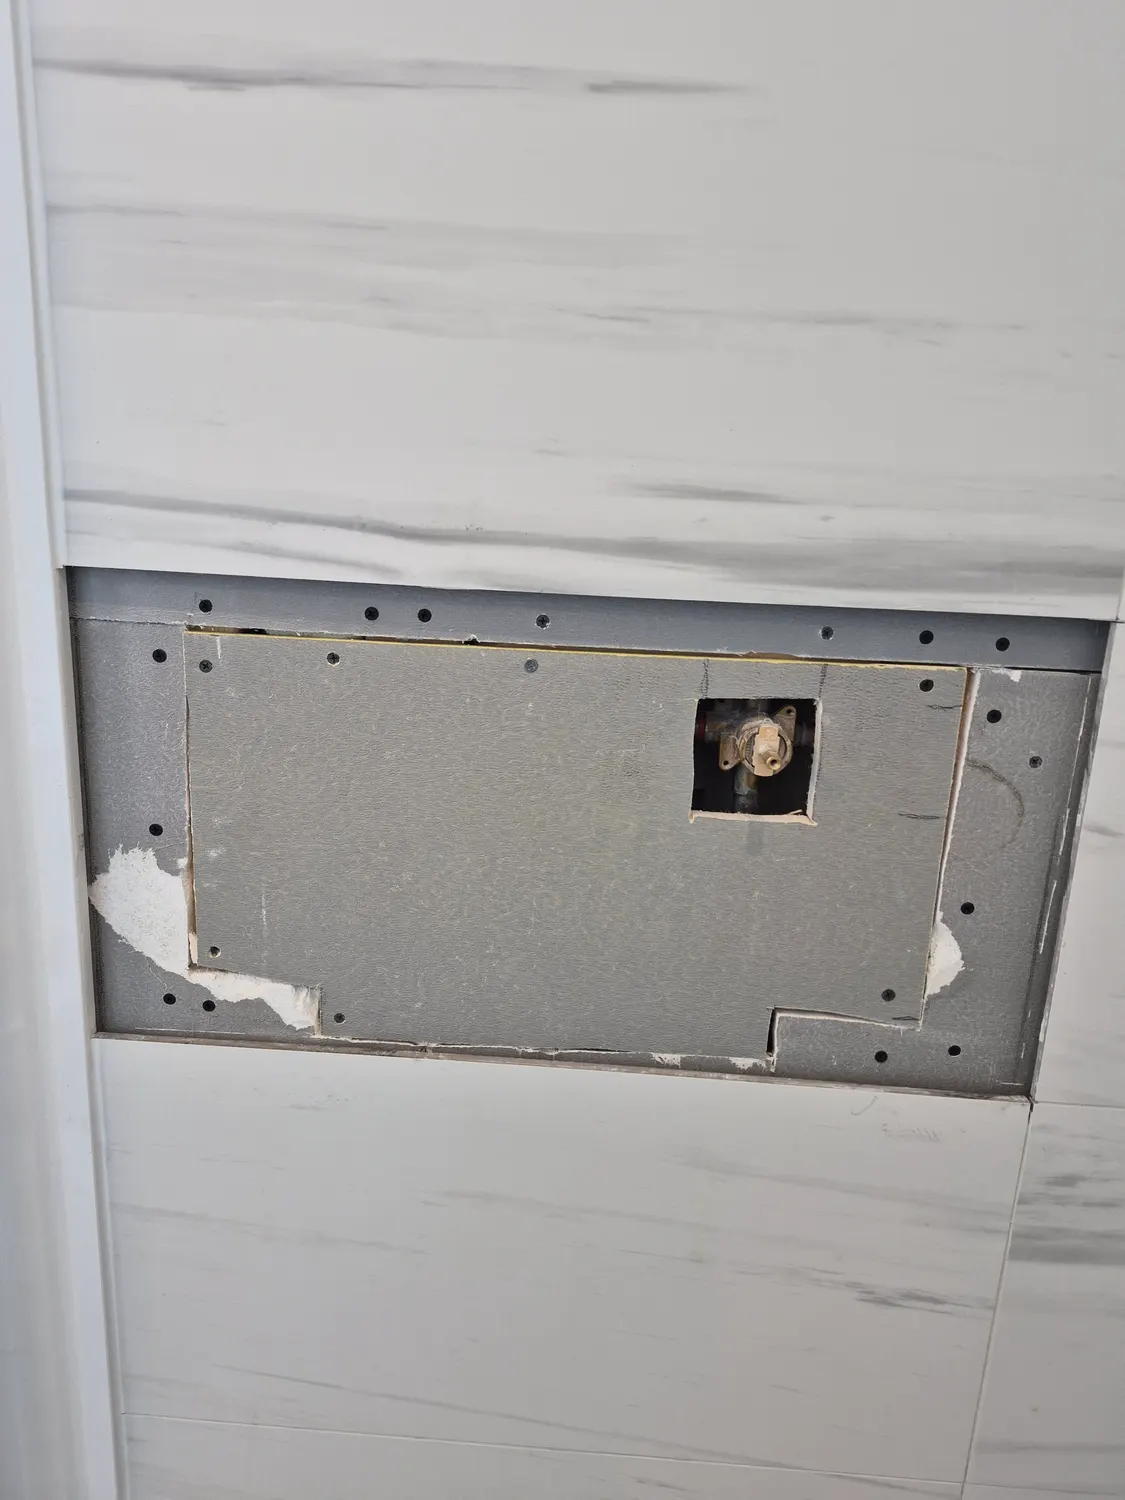
A cut-in panel around the valve keeps access to the plumbing for future servicing, which means it will never have to be torn open to reach the valve again.
Walking the finished wall
This short clip moves across the finished large-format wall and stops at the access panel around the valve.
A closer pass shows the opening itself, with the copper and PEX lines inside the wall and the valve body ready for service.
Have an older tub wall that needs a proper rebuild? Request a free estimate and we will look at the job and quote it clearly before we start.
Need a hand with a project?
Book the VOL Handyman team for the work in this article, or anything else around your home or business.