How a waterproof shower is built, step by step: framing, membrane, tile and finish
Most shower failures trace back to what happened before the tile was set. The finished surface looks the same whether the layers behind it were done carefully or not, until a few years later. This is a walk through a real shower rebuild, photographed stage by stage, to show what proper looks like.
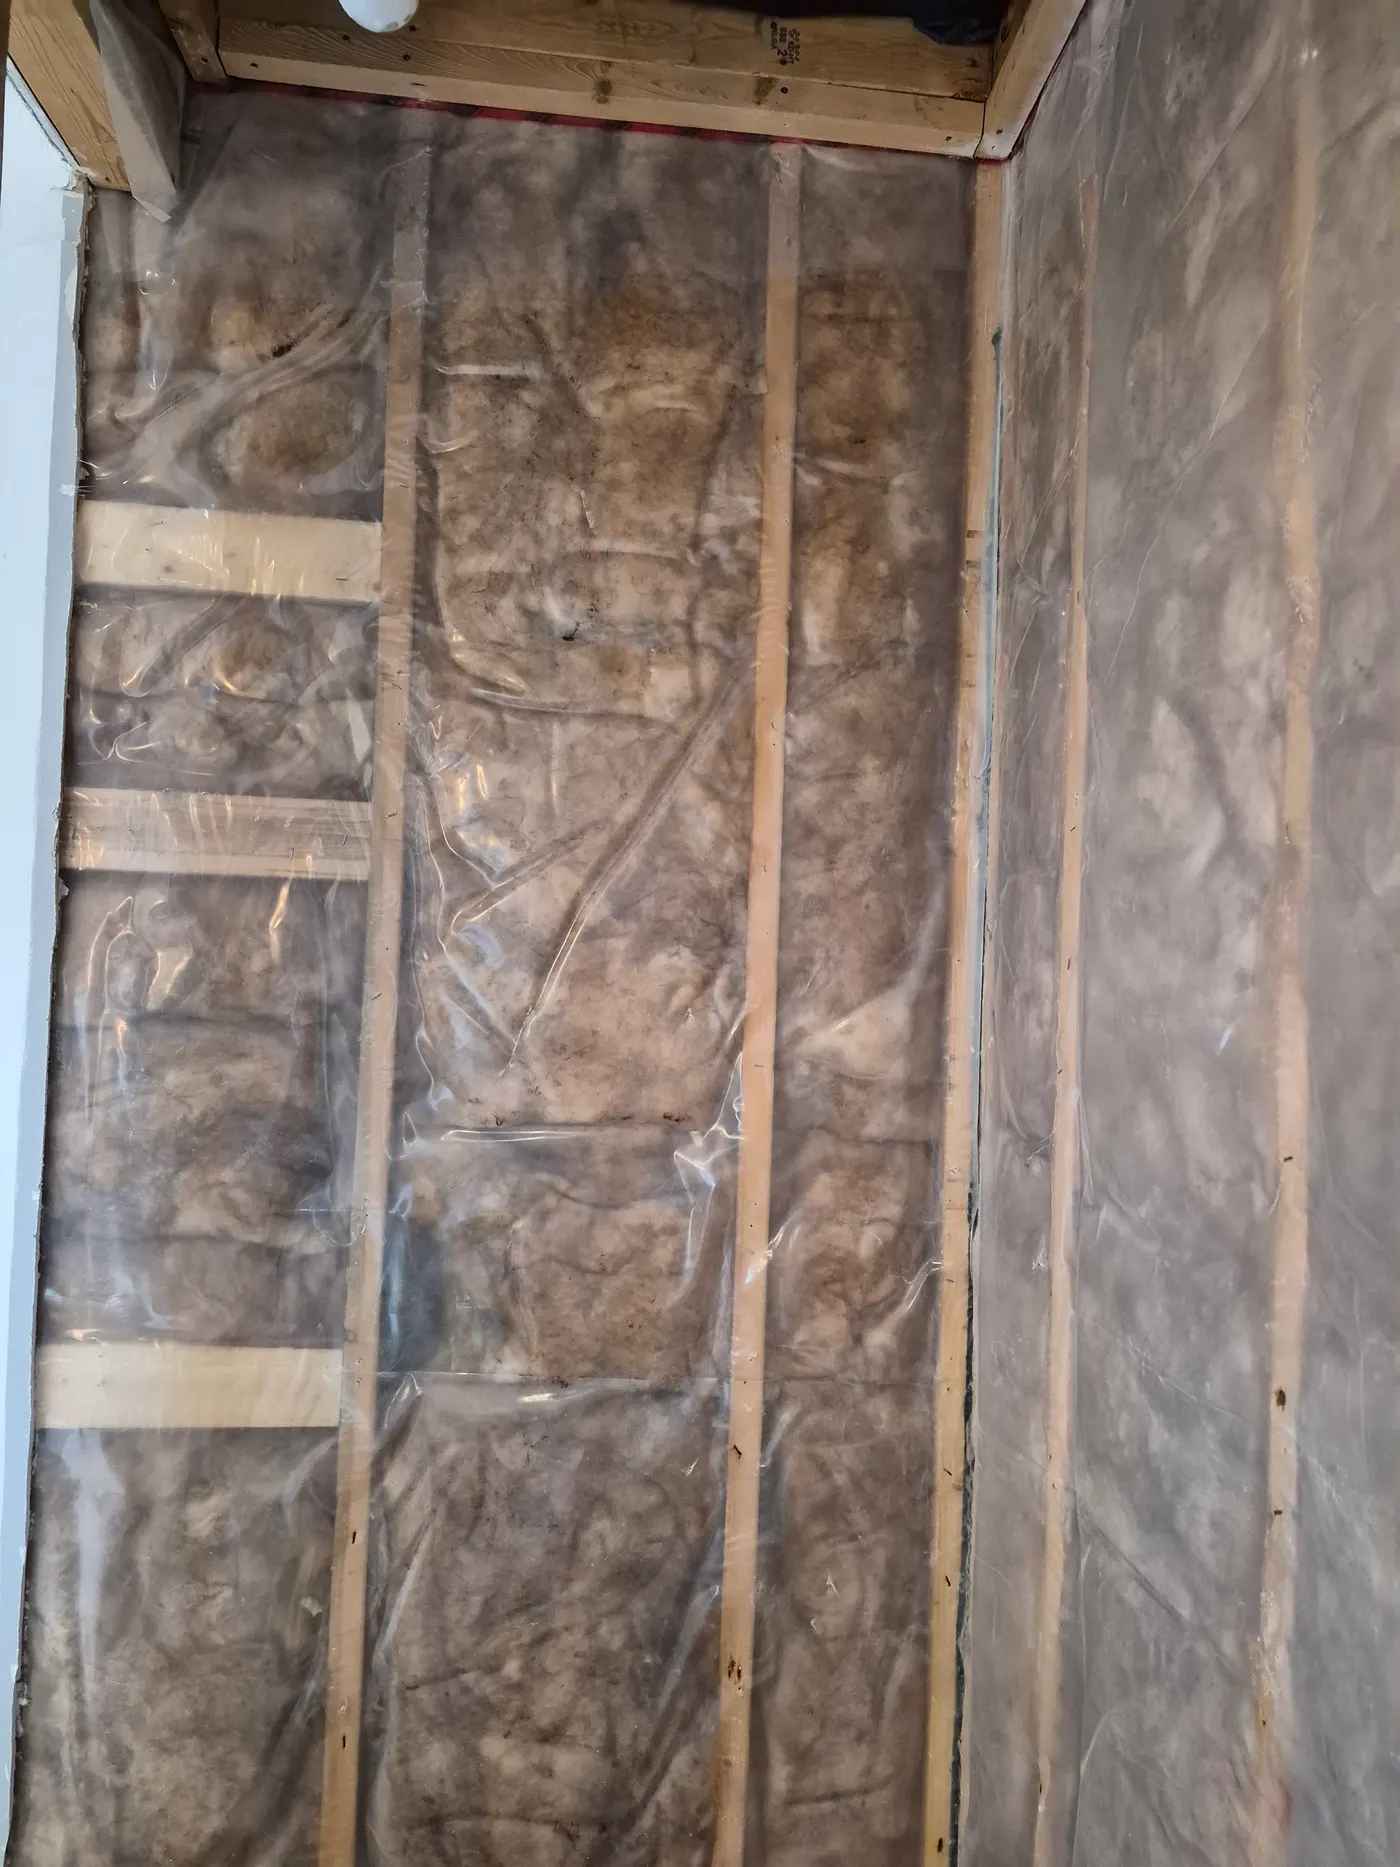
Step 1: open the walls and check the framing
Everything is taken back to the studs so the framing, insulation and moisture damage can be inspected. Nothing gets built on top until what is underneath is sound.
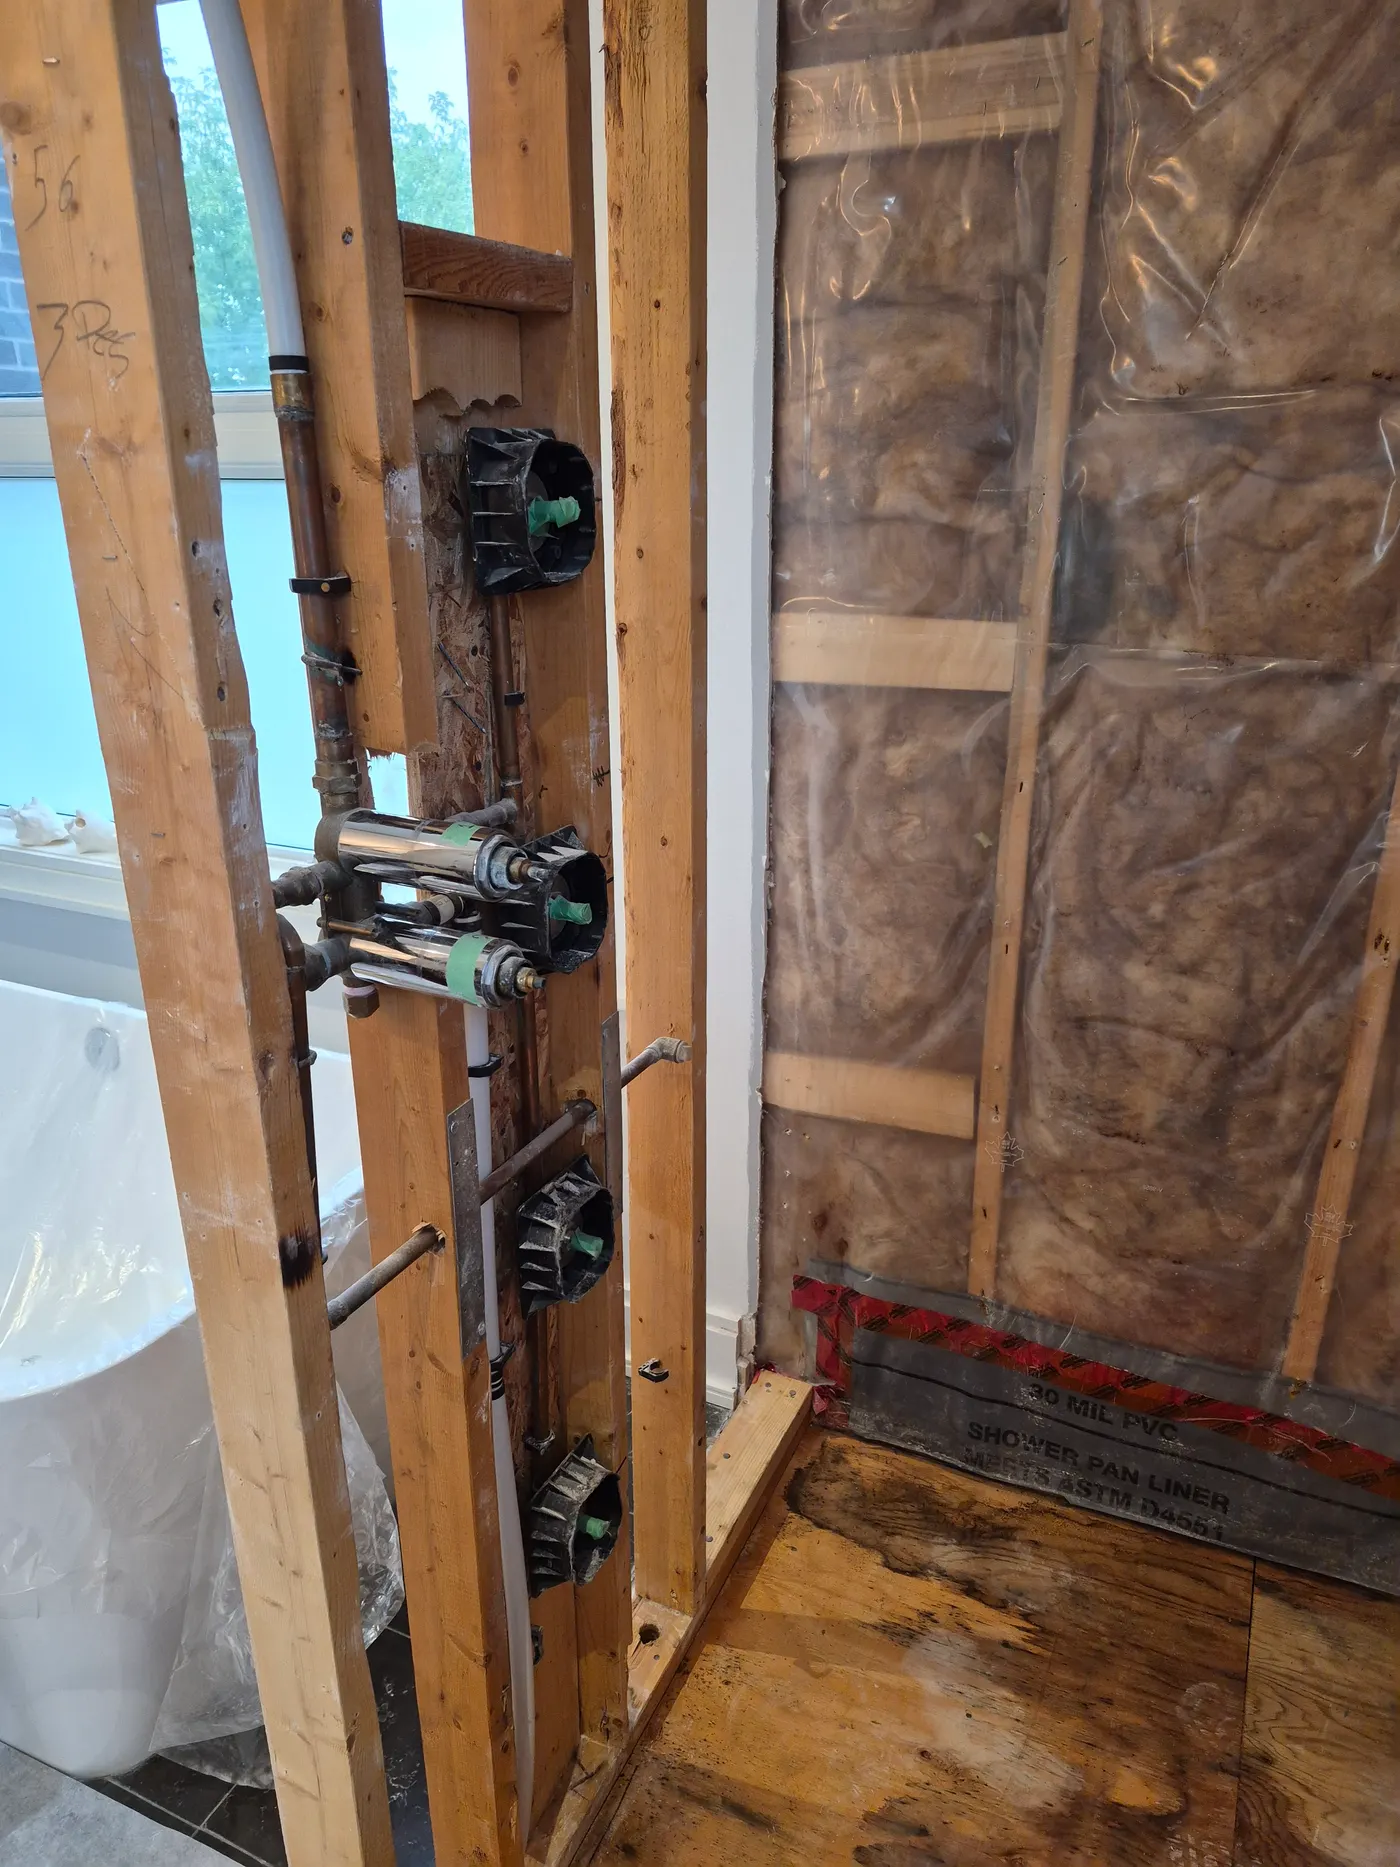
Step 2: plumbing and valves
With the walls open it is the best time to set the valve, run supply lines and make sure everything is properly secured, tested and ready for the board.
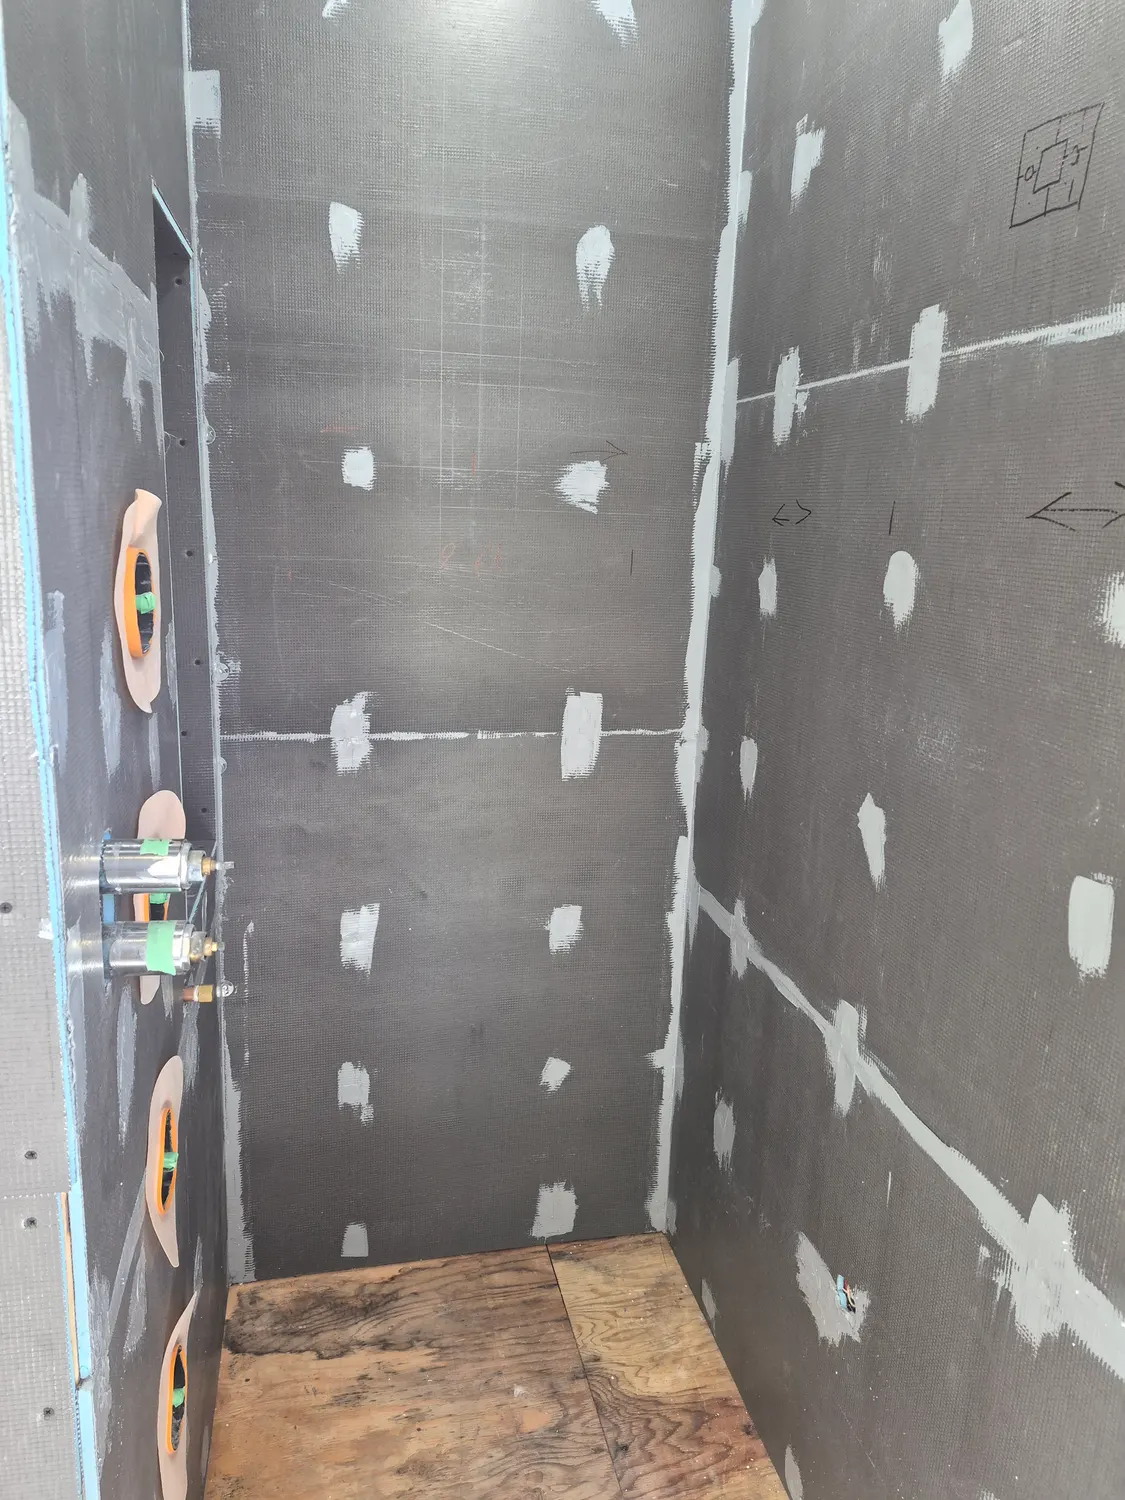
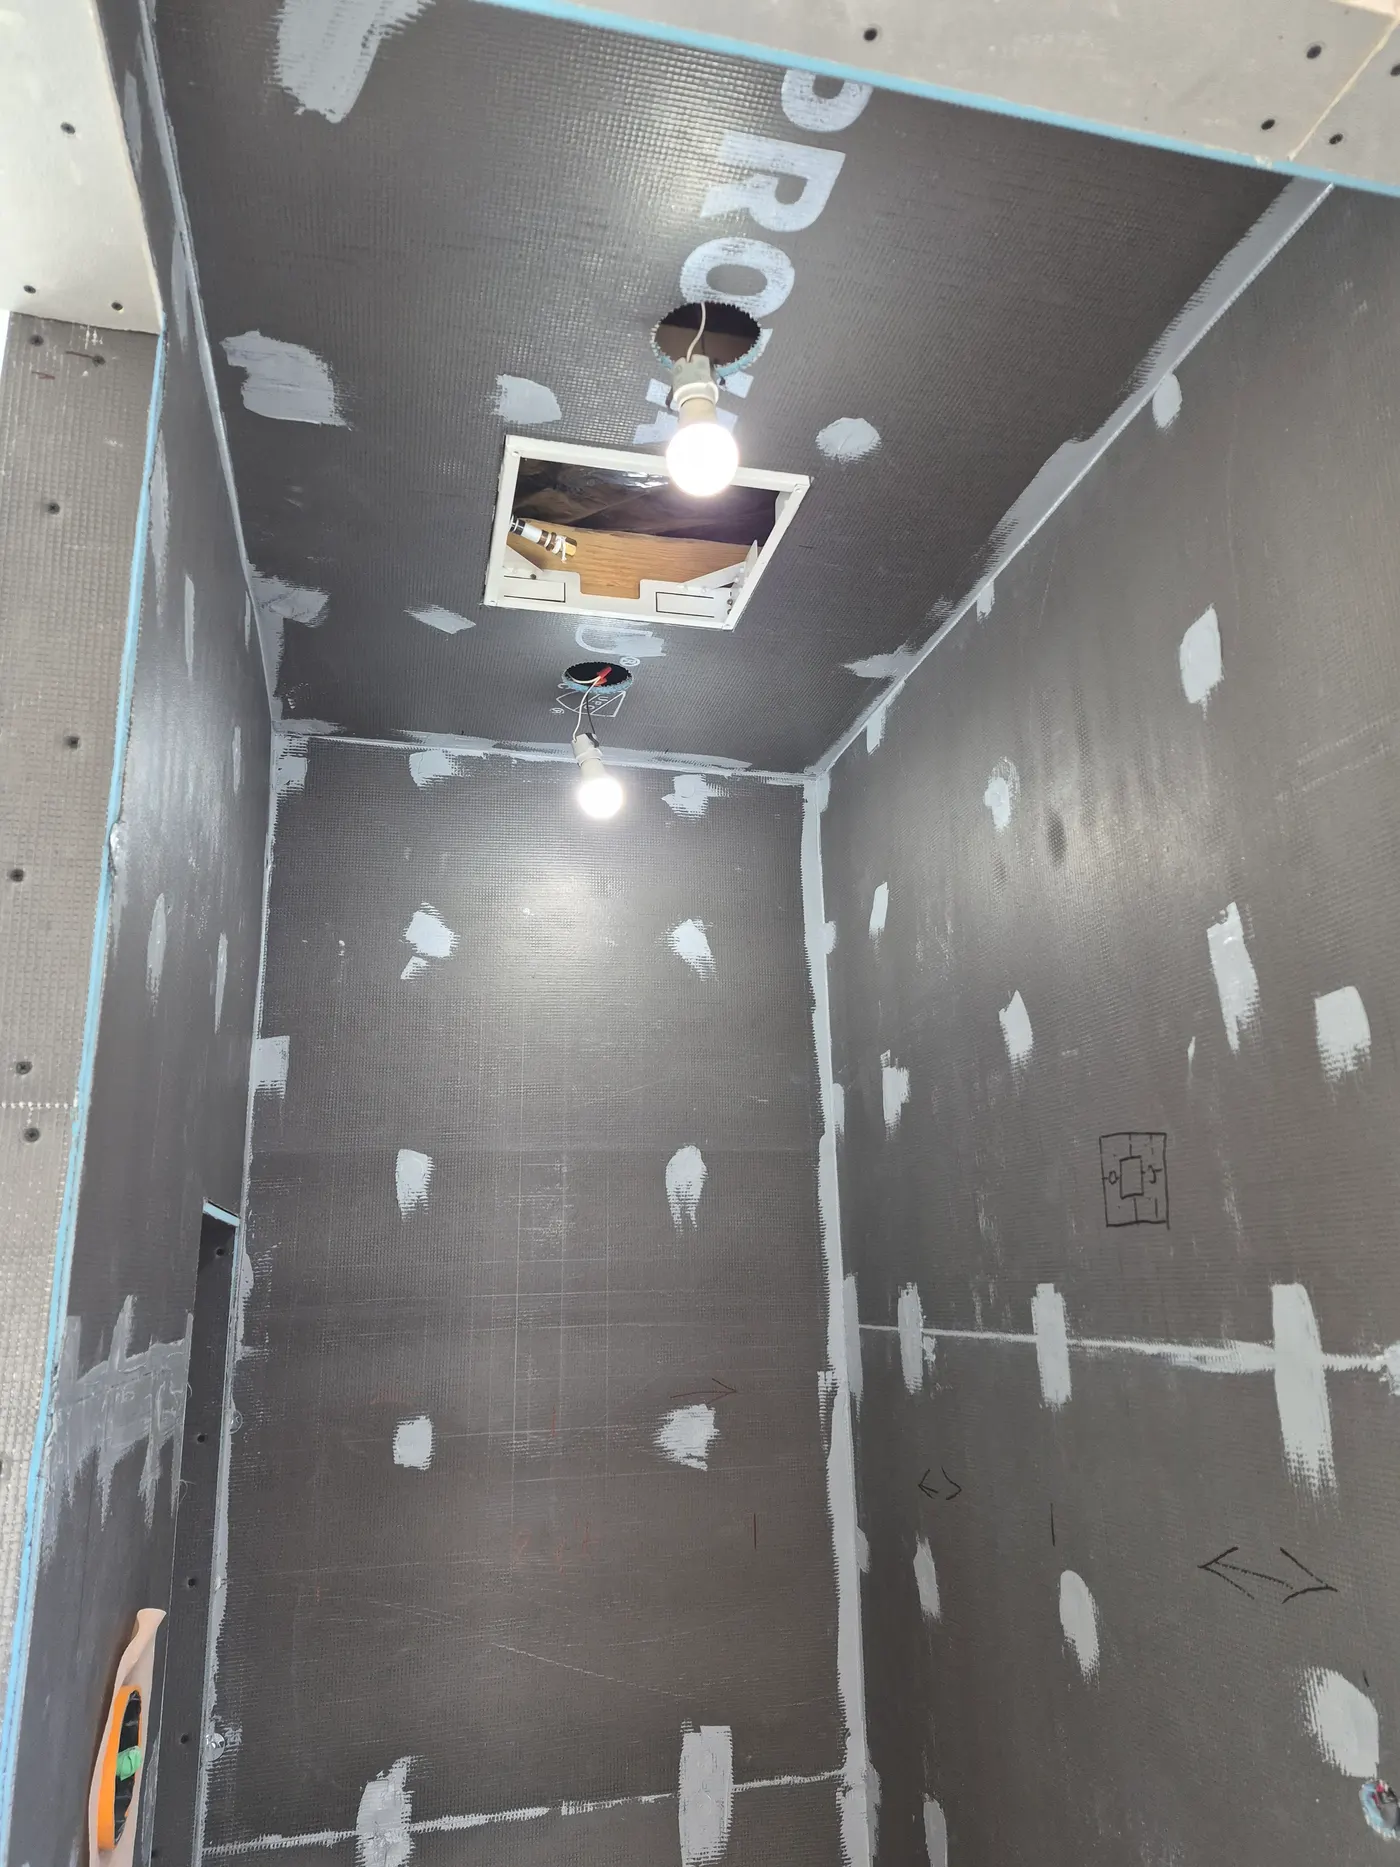
Step 3: waterproof backer board and sealed seams
Next the walls go up with a waterproofing membrane system. Every seam is taped and sealed, and each penetration for valves and fixtures gets its own sealed collar.
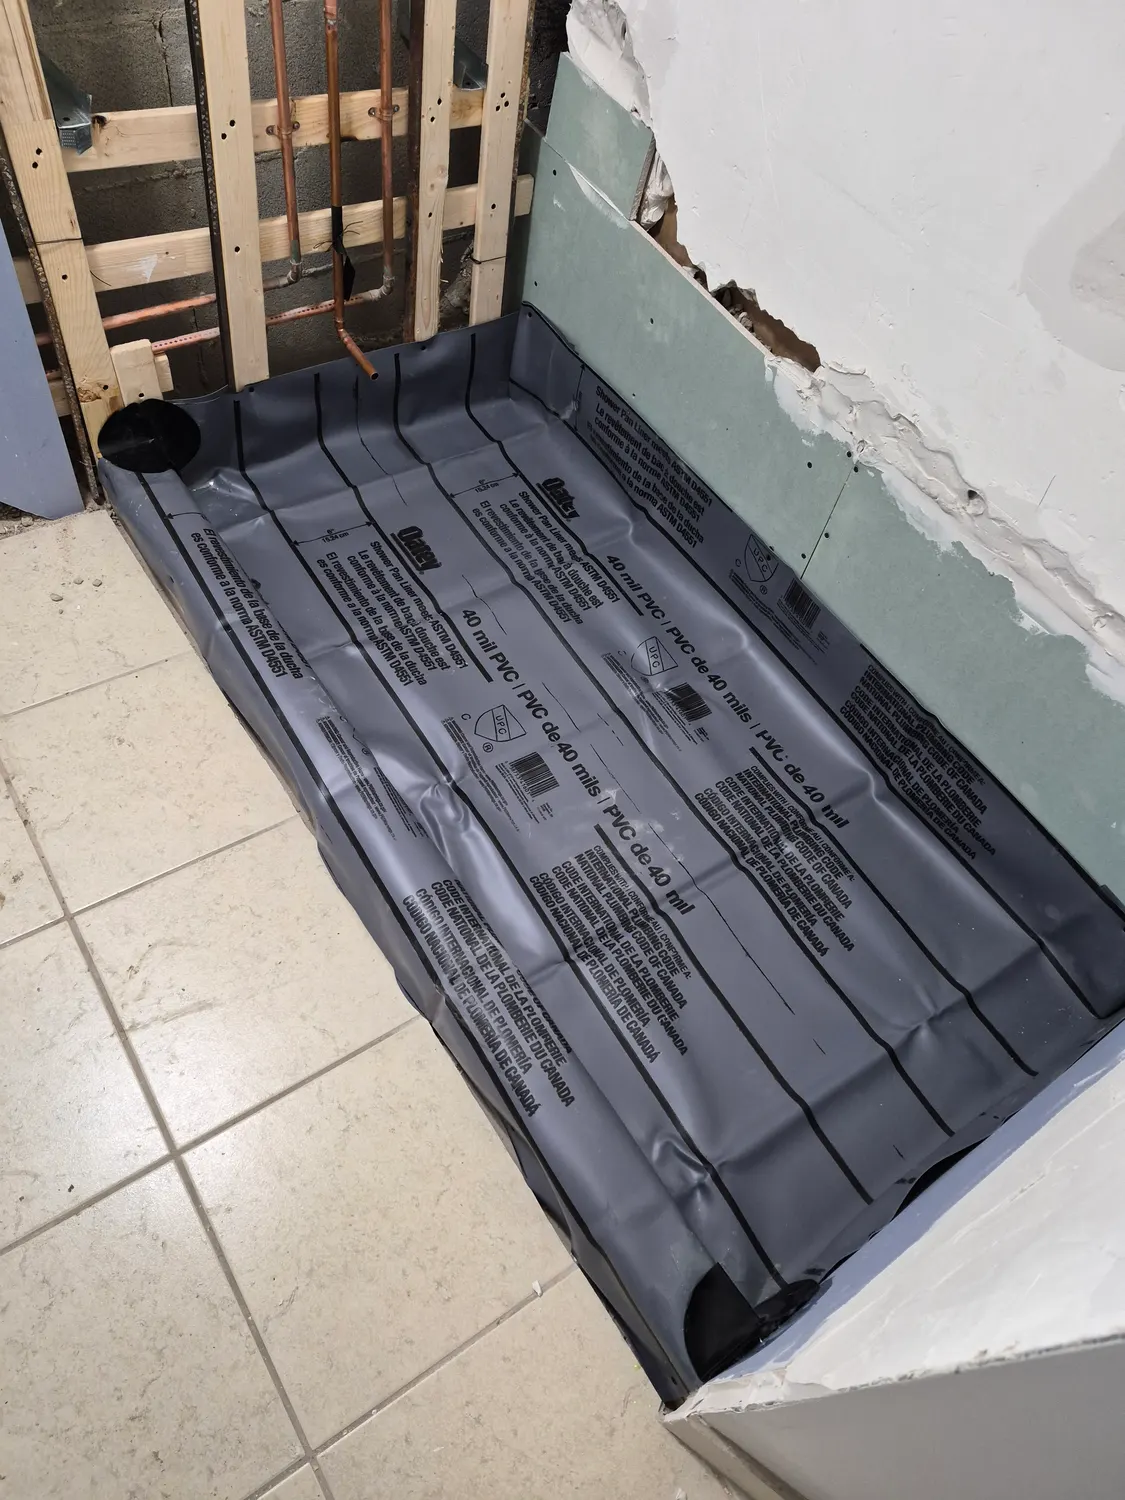
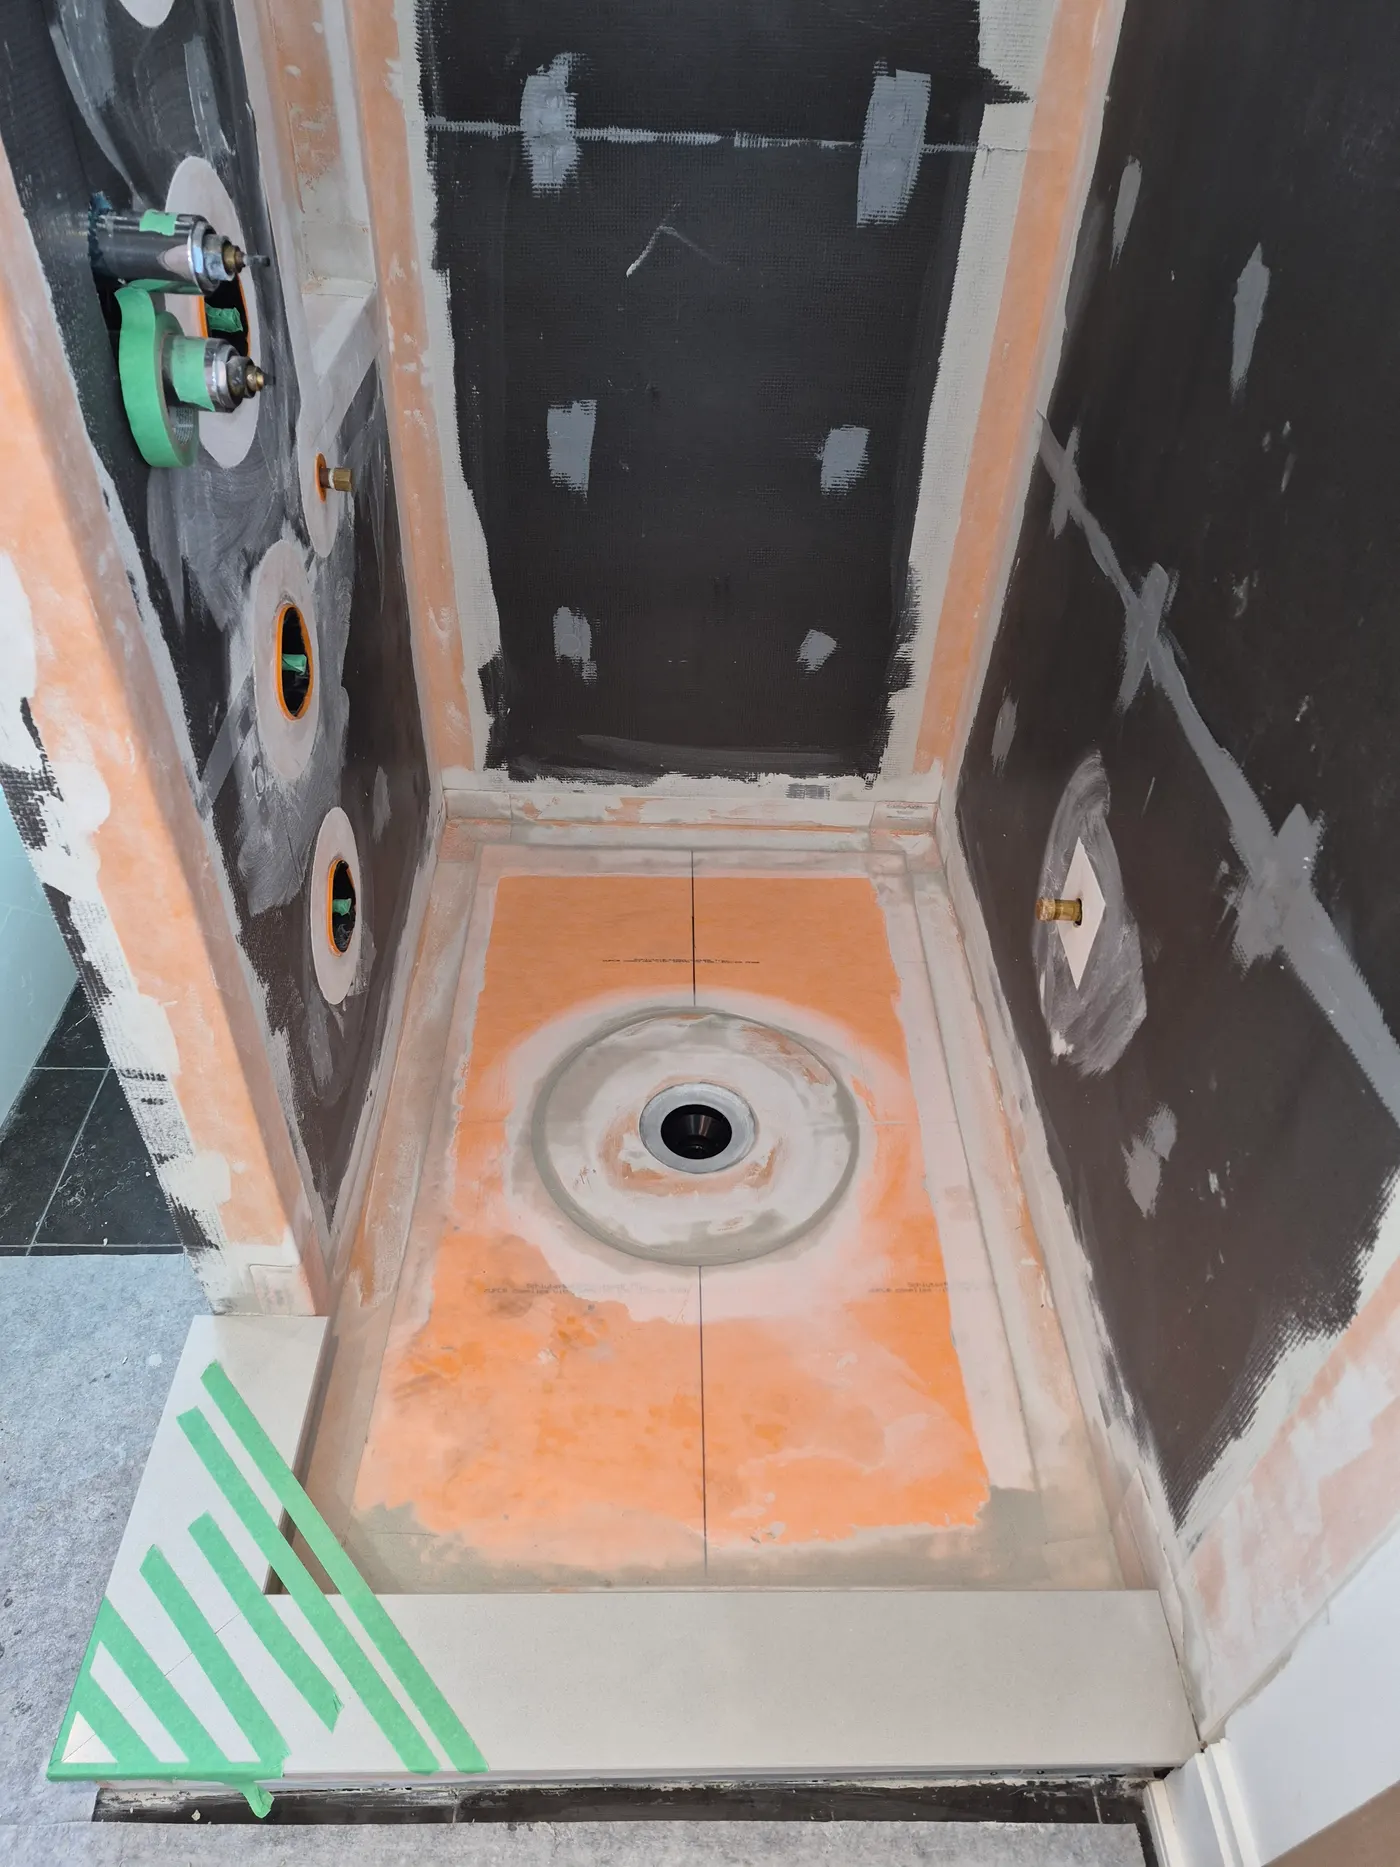
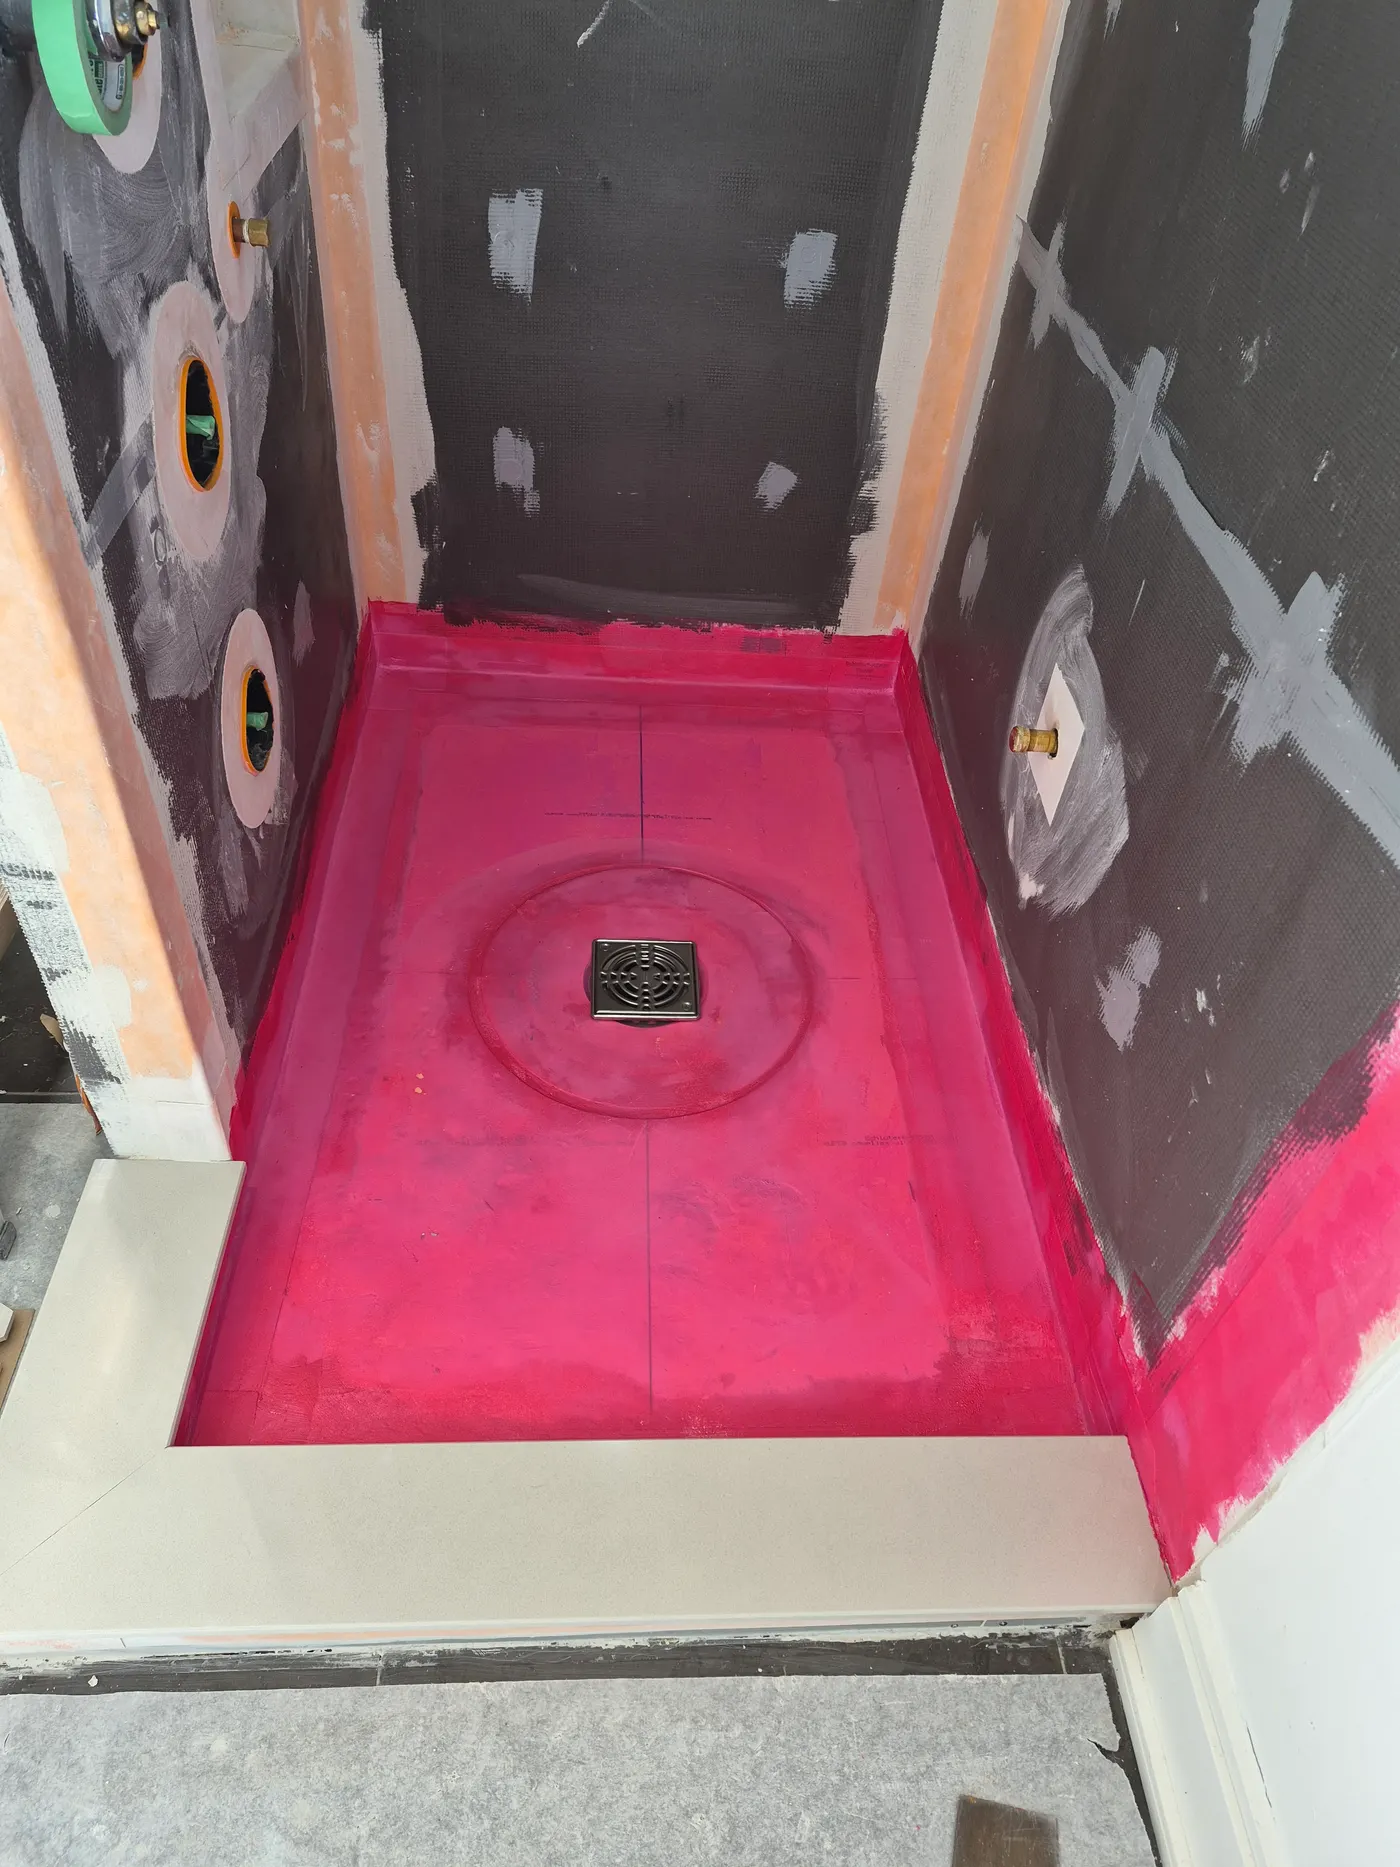
Step 4: the floor and drain
The base is built with a built-in slope toward the drain so water never sits. The curb and floor are sealed before any tile goes on.
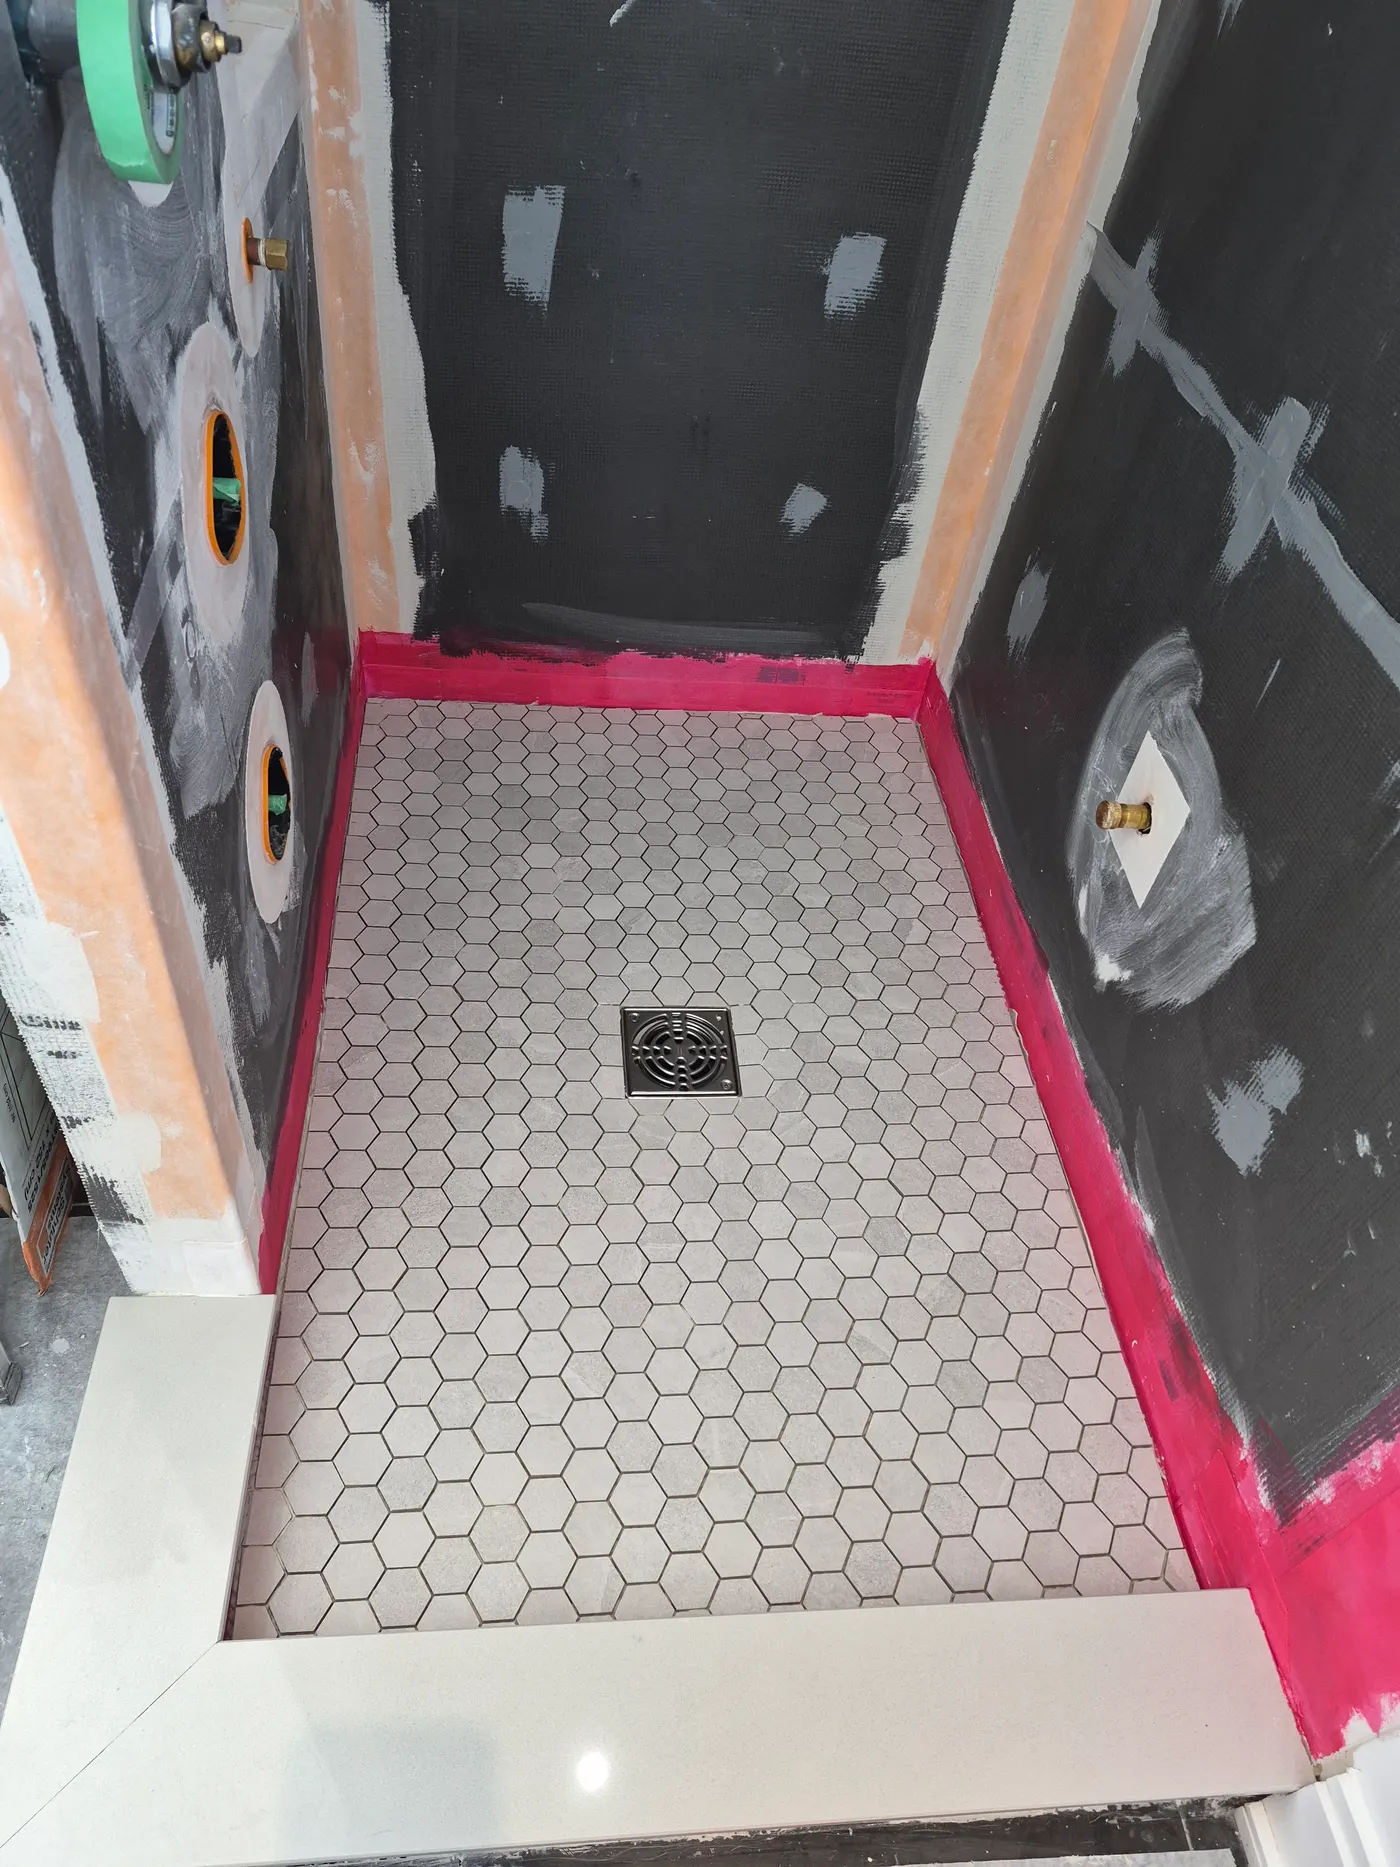
Step 5: tile
Only after the waterproofing is complete does the tile go in. A small hex mosaic follows the slope of the floor and gives grip underfoot.
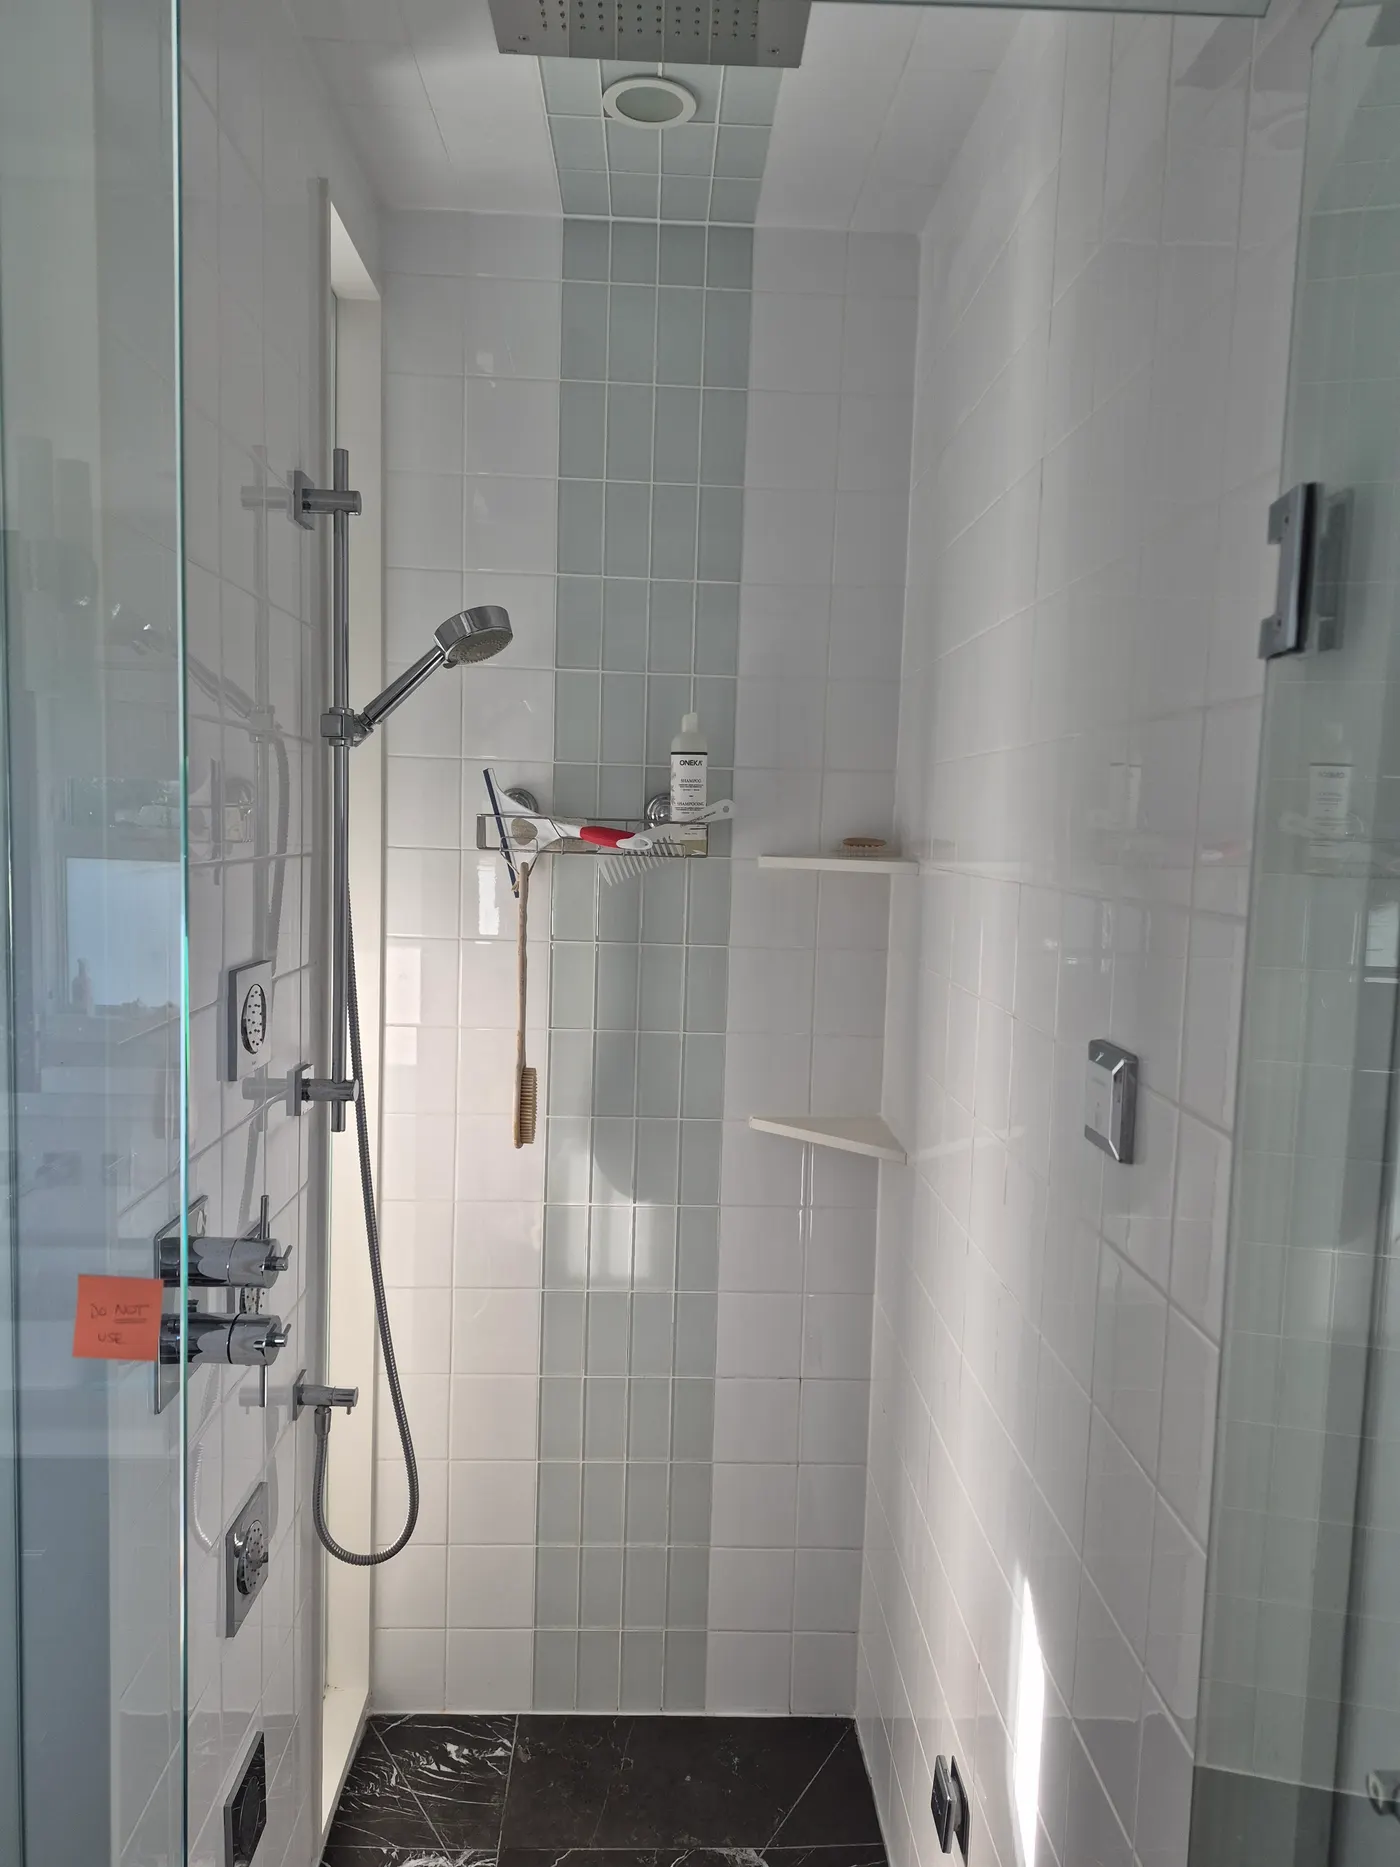
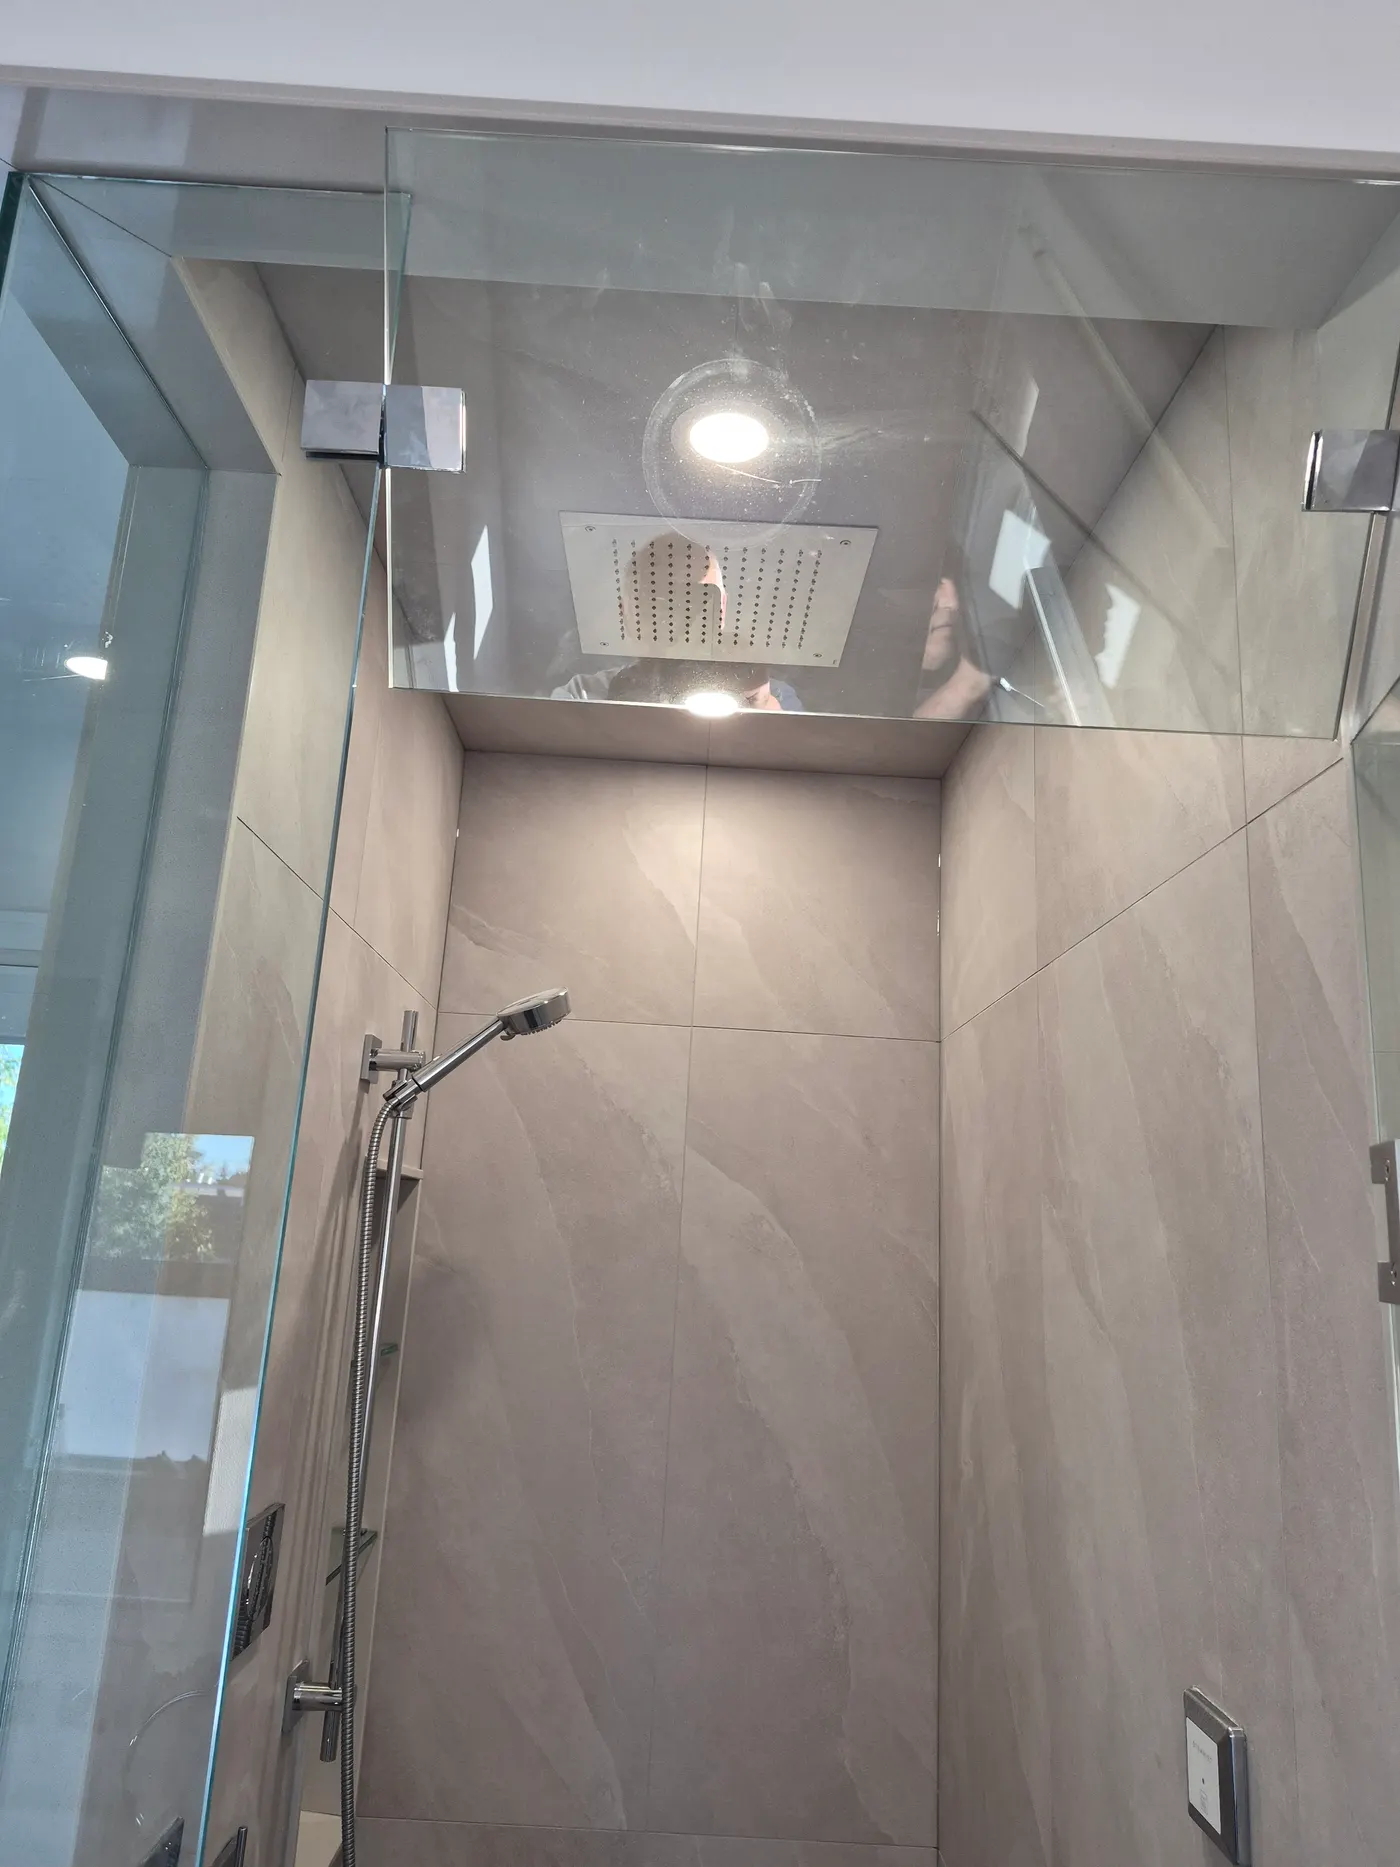
The finished shower
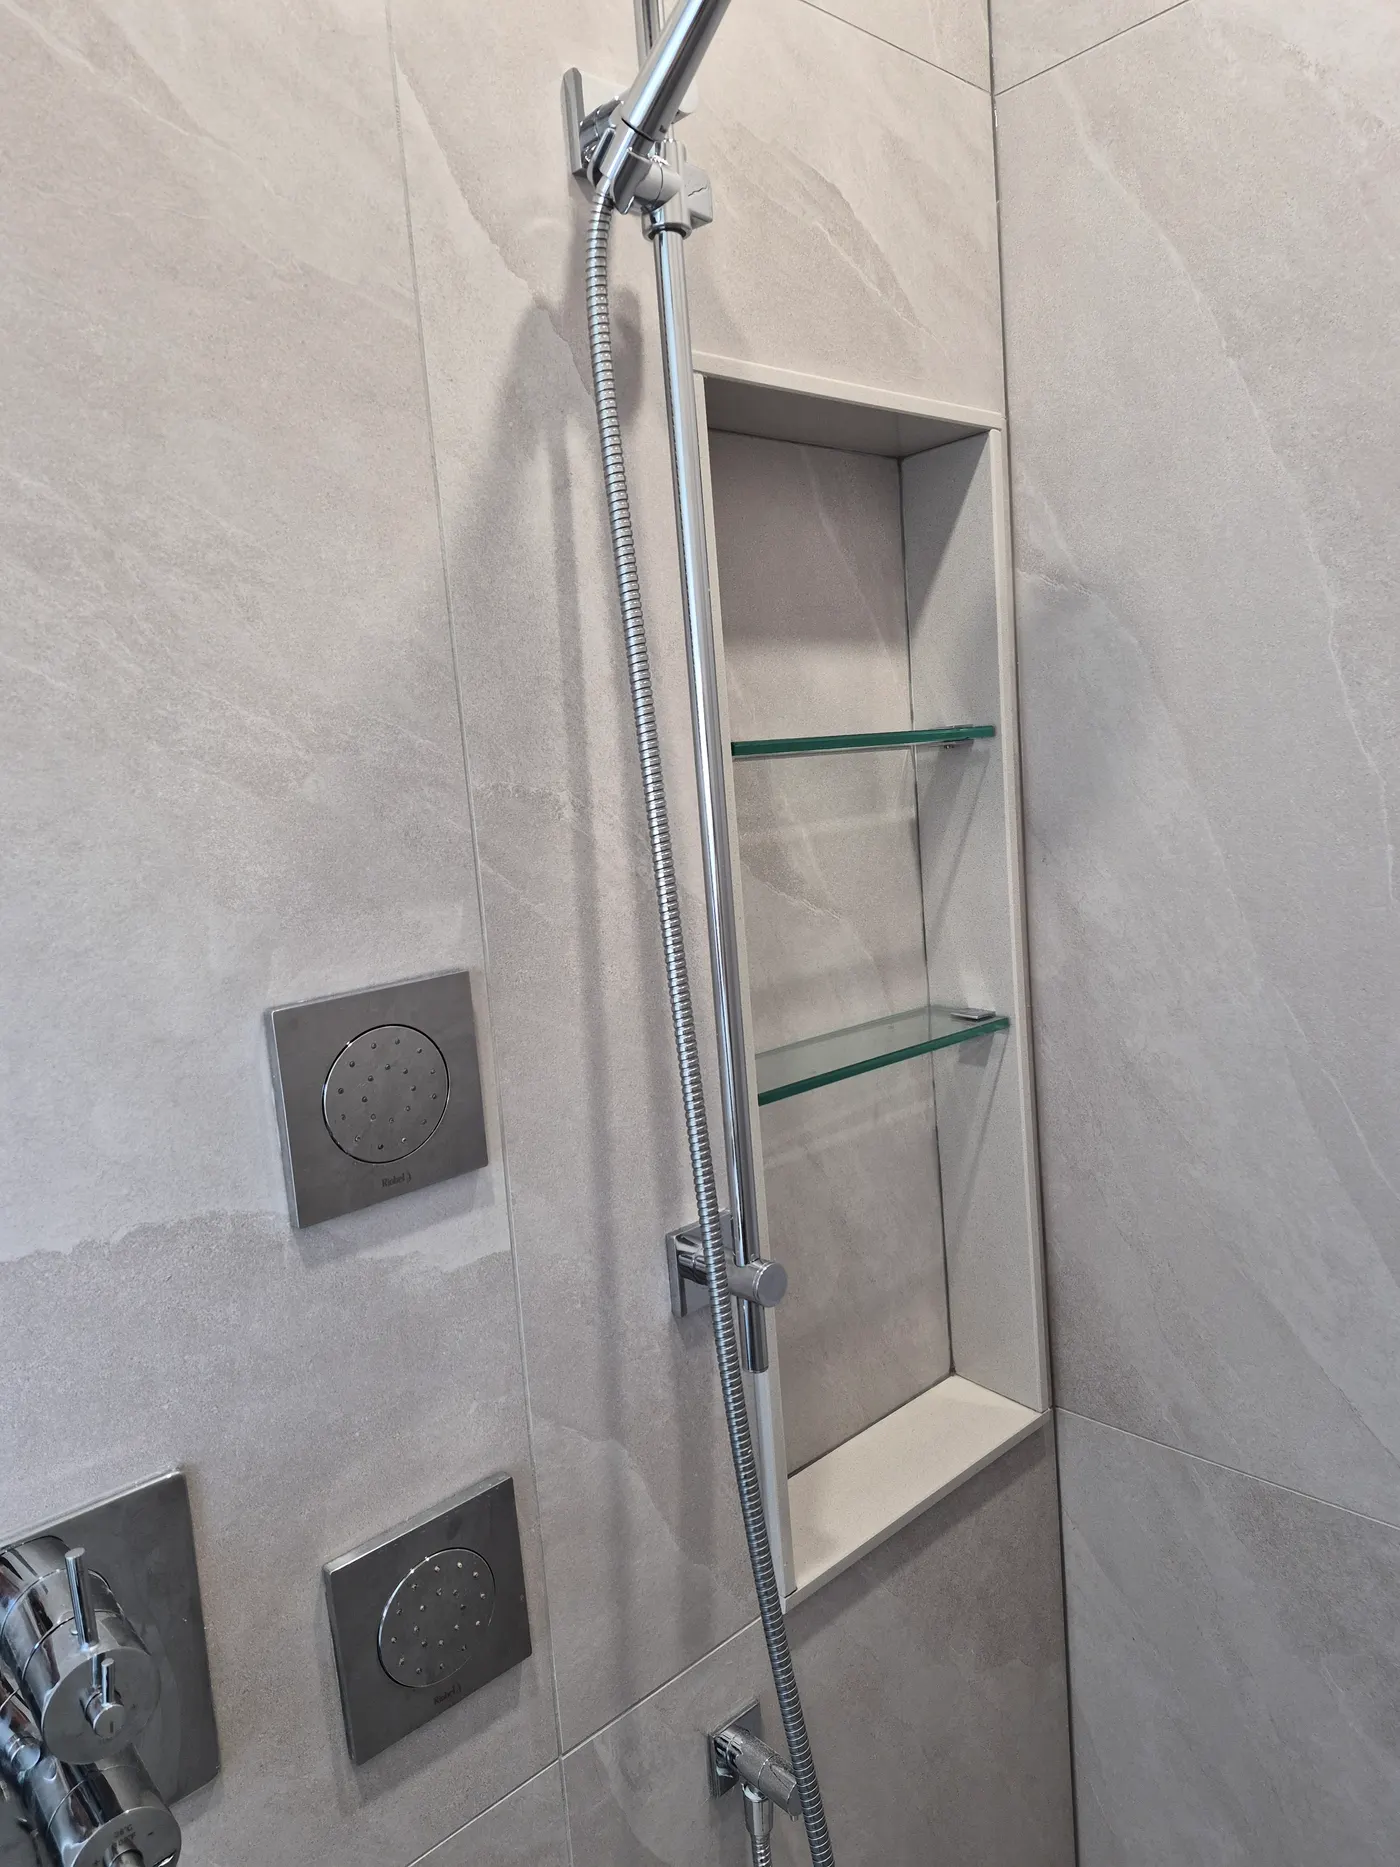
Result: a clean walk-in shower with a built-in niche and a floor that drains properly, built to last. For the cost of doing it wrong, see our shower leak repair in Newmarket.
Planning a shower renovation? Request a free estimate and we will look at the job and quote it clearly before we start.
Need a hand with a project?
Book the VOL Handyman team for the work in this article, or anything else around your home or business.