Opening a tiled shower wall to reach the valves: what we found behind the tile
Shower valves live inside the wall, so a worn or leaking valve means opening the wall. In a finished, tiled shower that is a serious job, and it is one of the reasons we pay so much attention to how a wall is opened and closed. This is a look at a full shower rebuild that started with the tile coming off.
The bathroom before the work
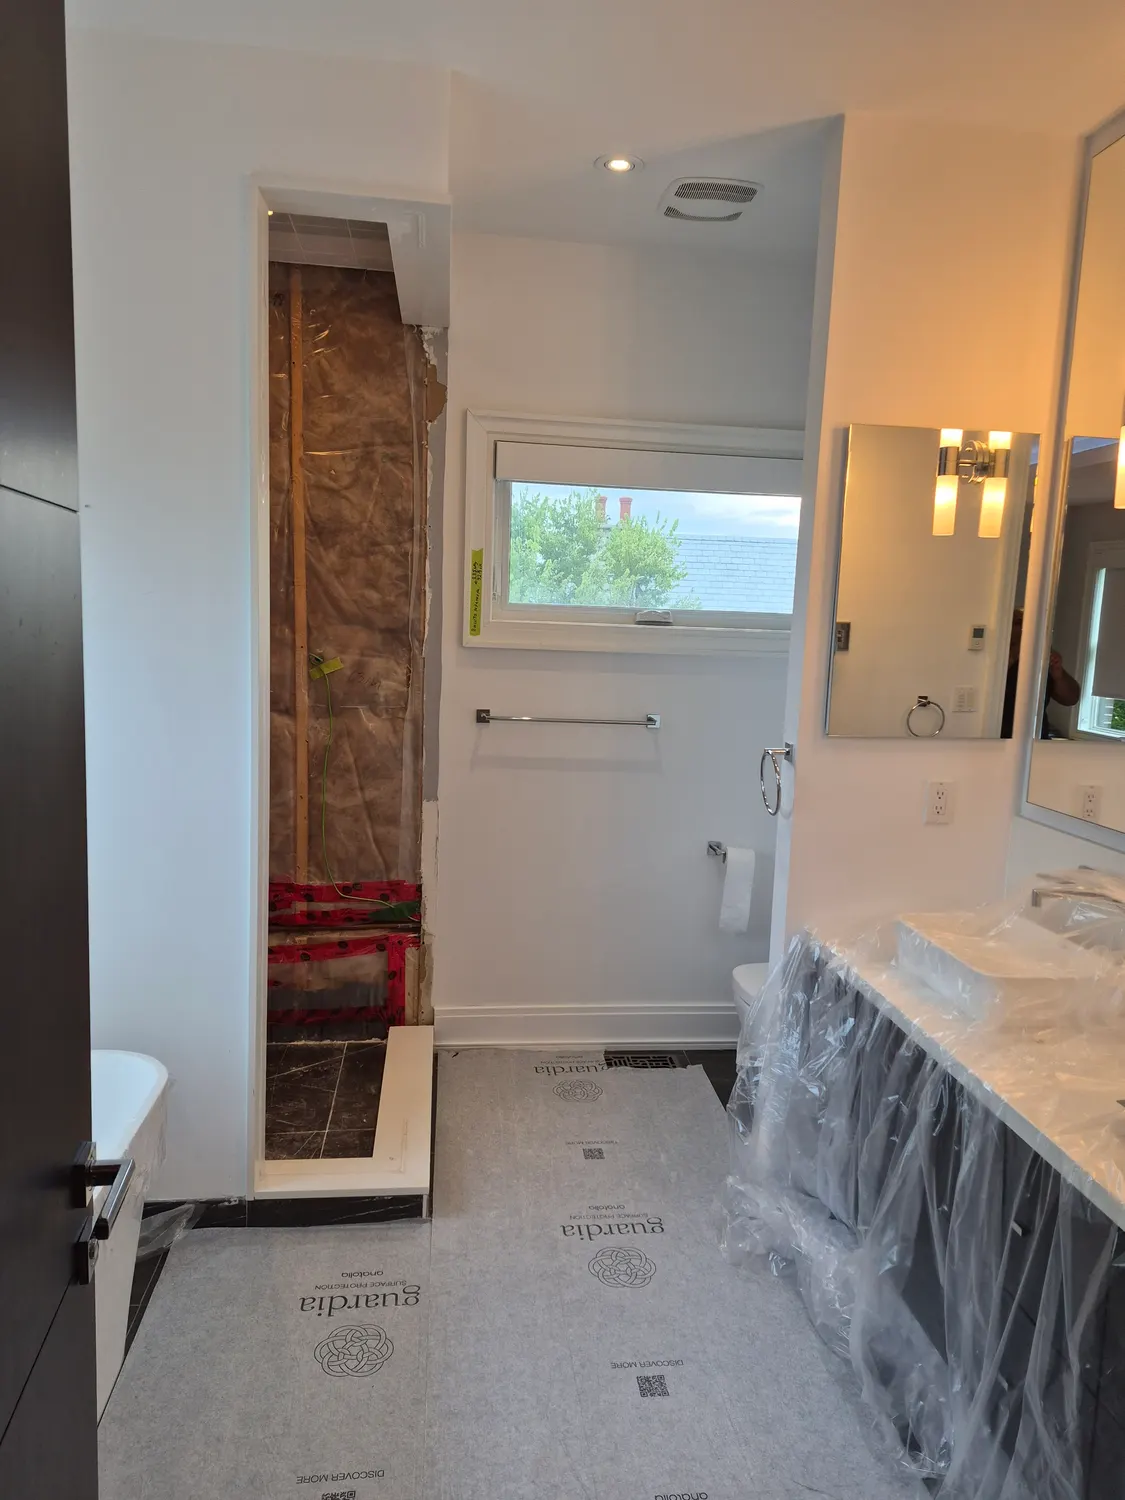
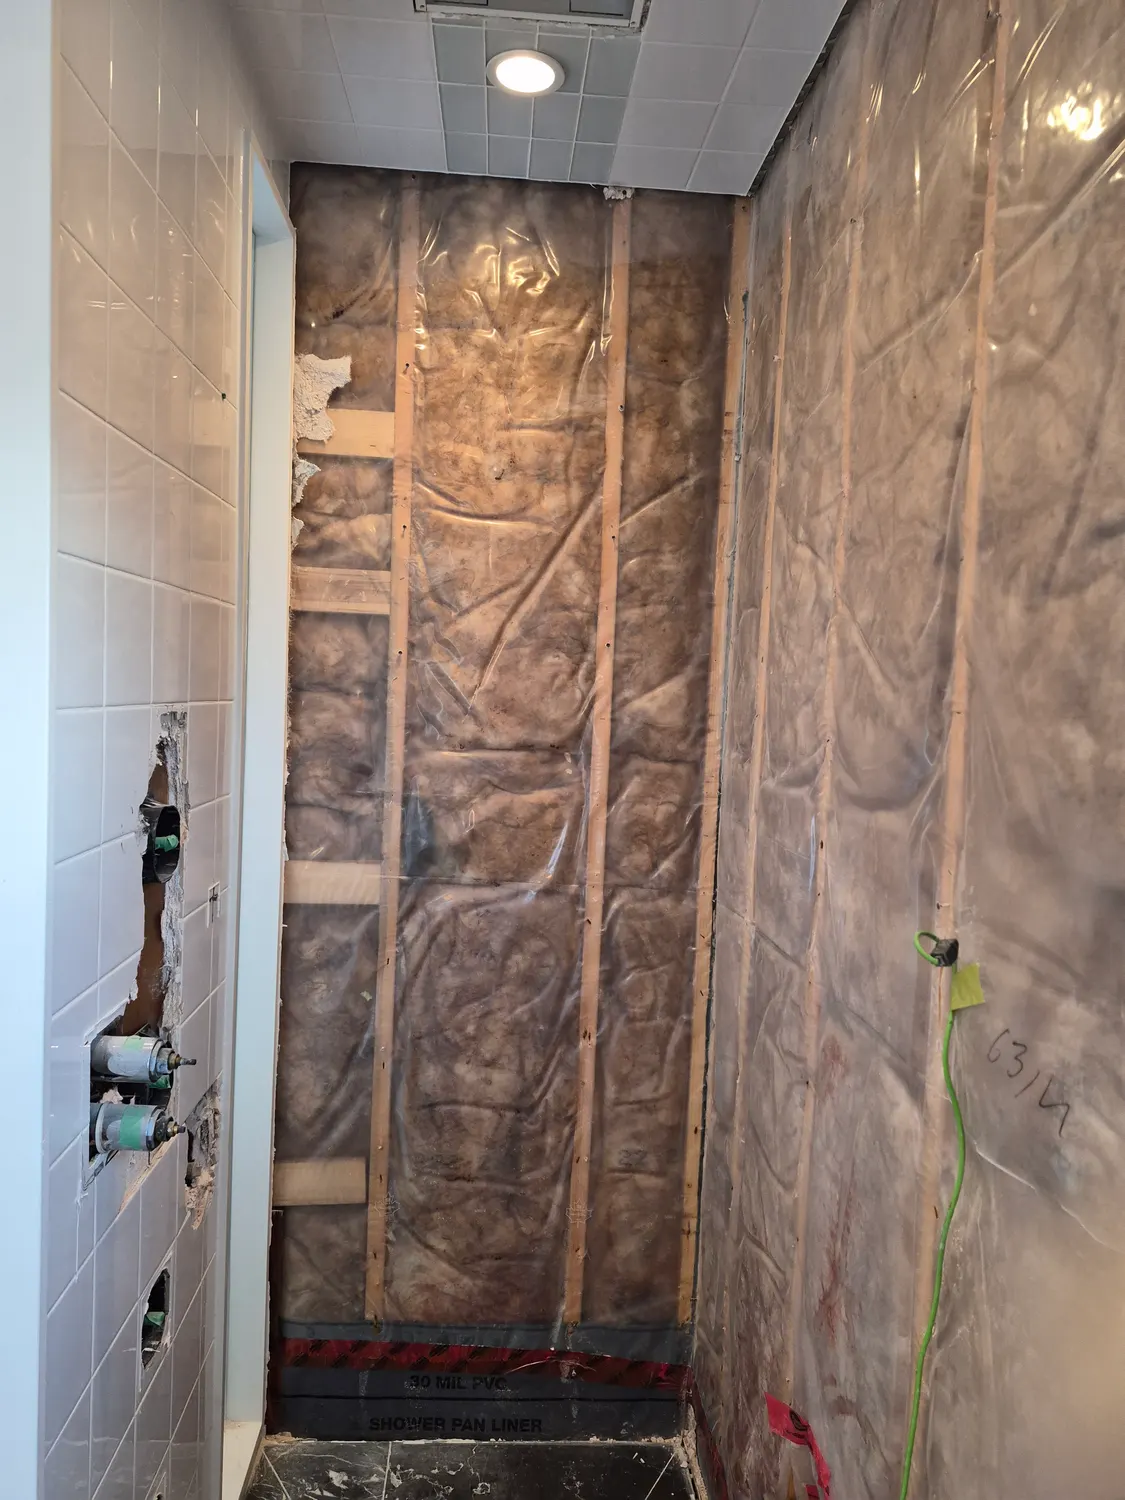
The photo above shows the room with the shower wall open and the rest of the bathroom covered in plastic to protect the vanity and floor.
Behind the tile
With the tile gone, the studs, insulation and plastic vapour layer behind it are exposed. This is where hidden problems show themselves.
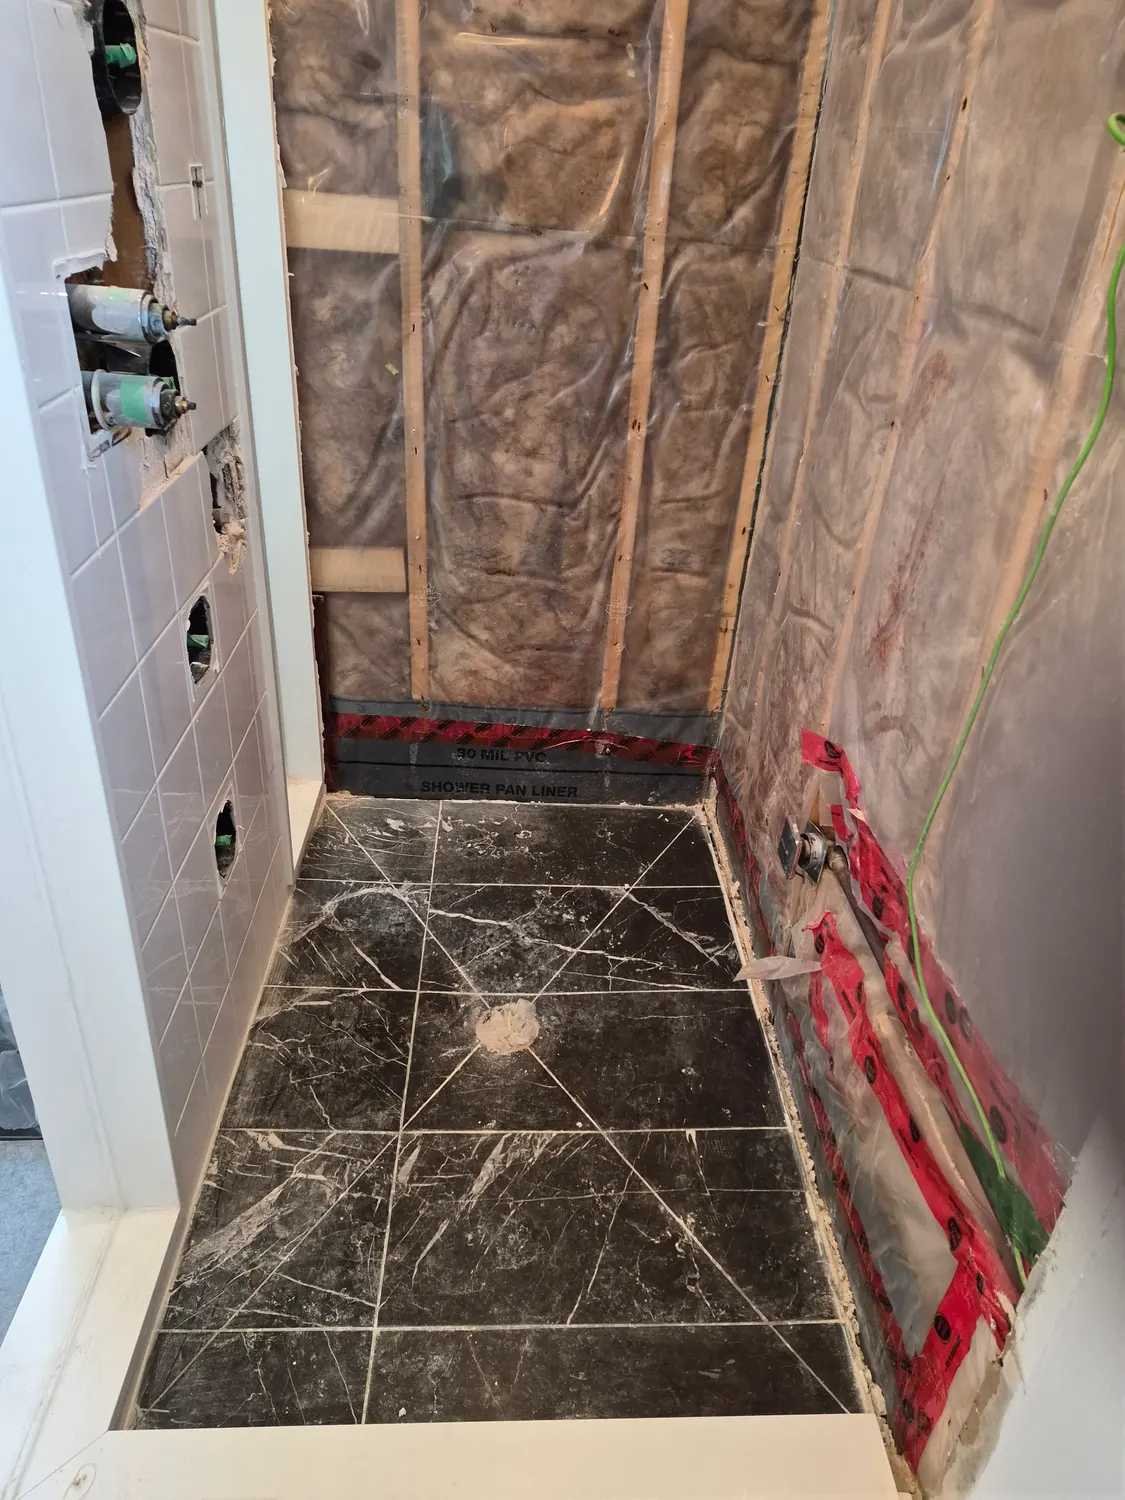
The floor of the shower is dark stone tile, and red tape lines the base of the wall, which is part of the waterproofing.
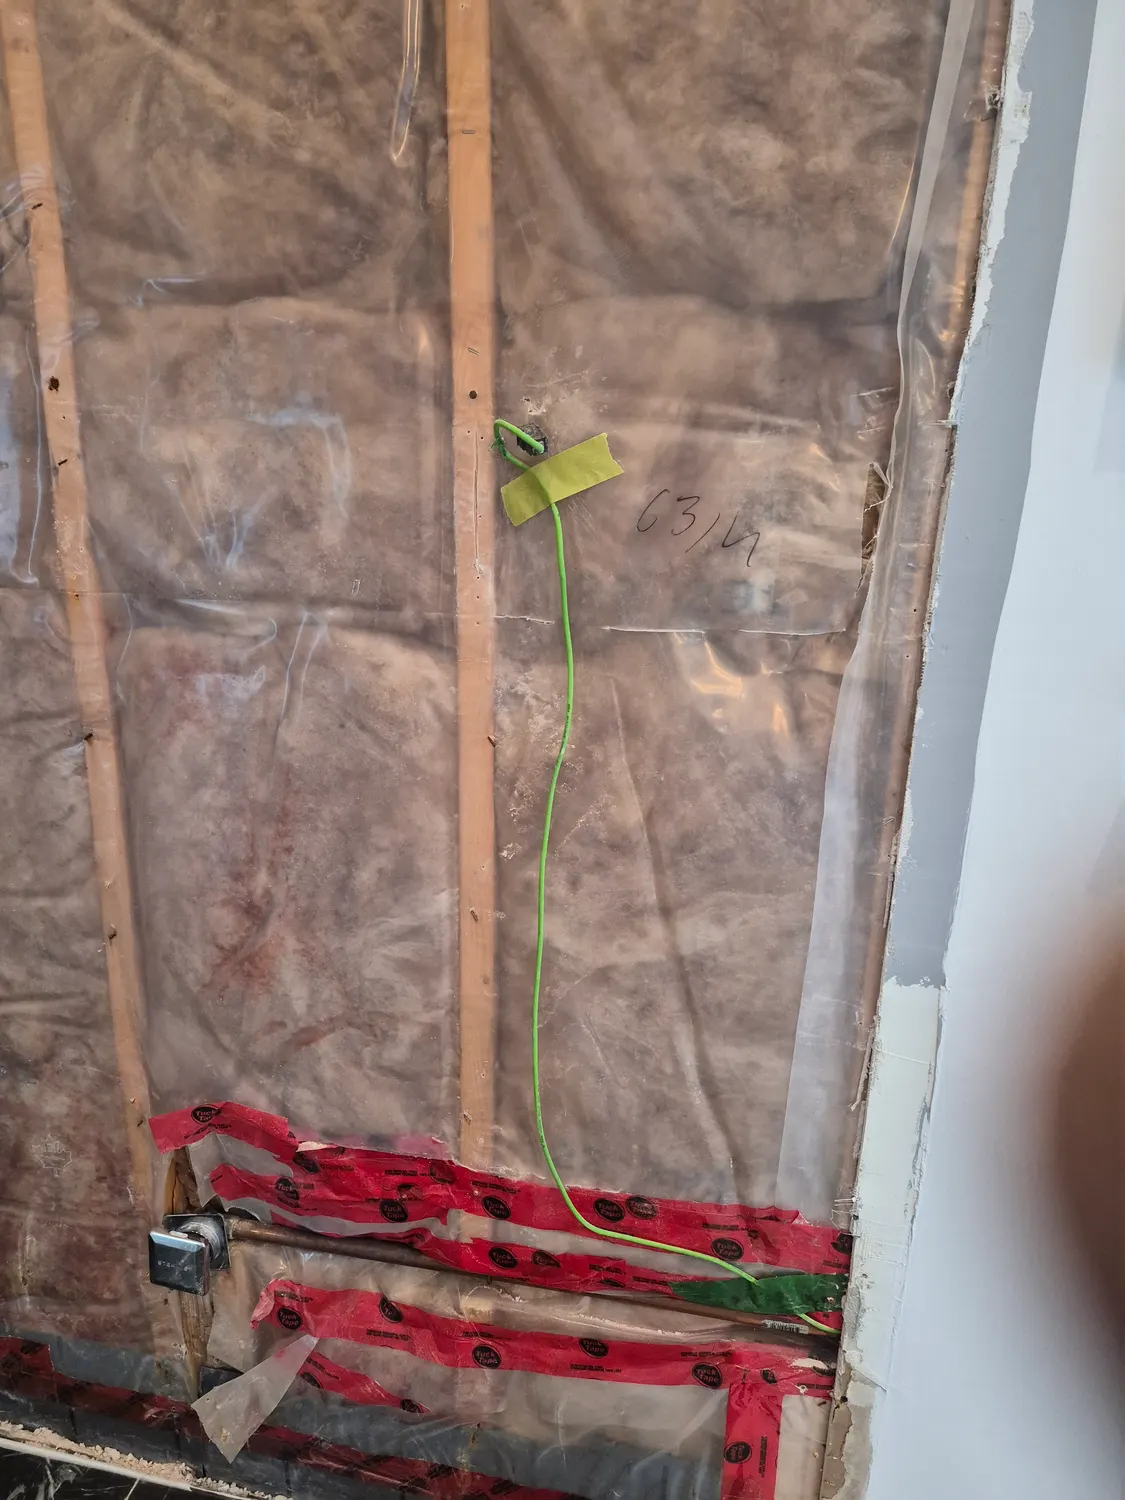
A closer look at the lower wall shows the insulation packed between the studs and the red tape sealing the base.
The valves themselves
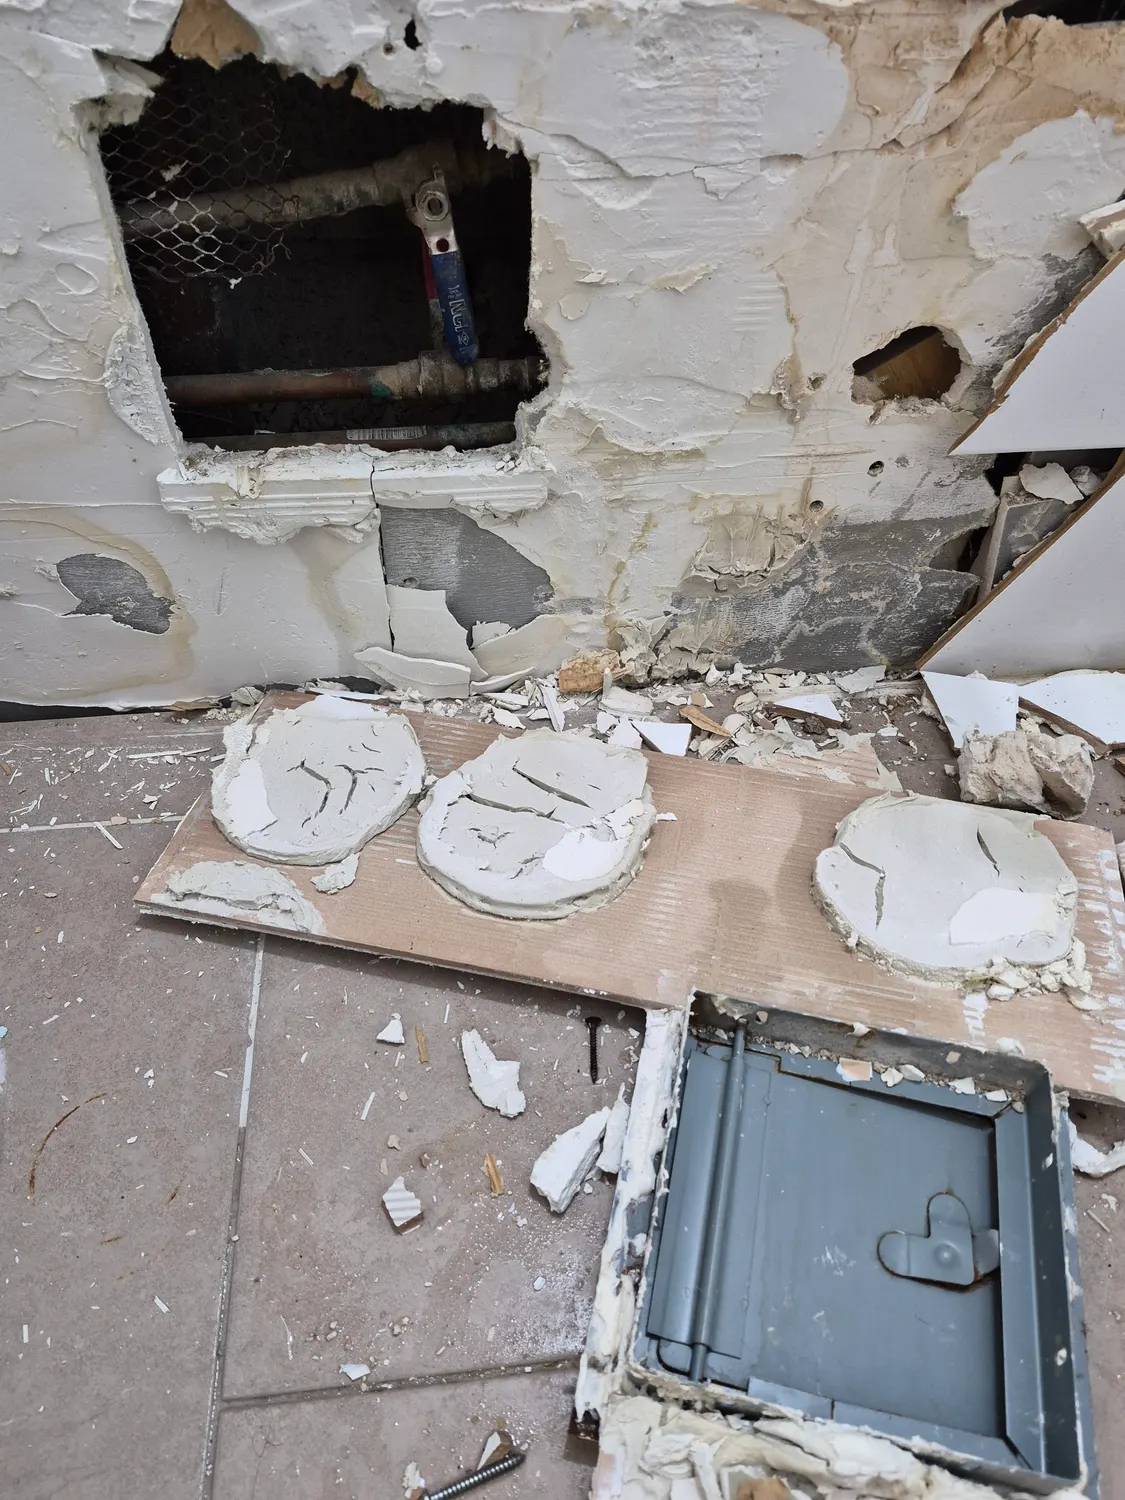
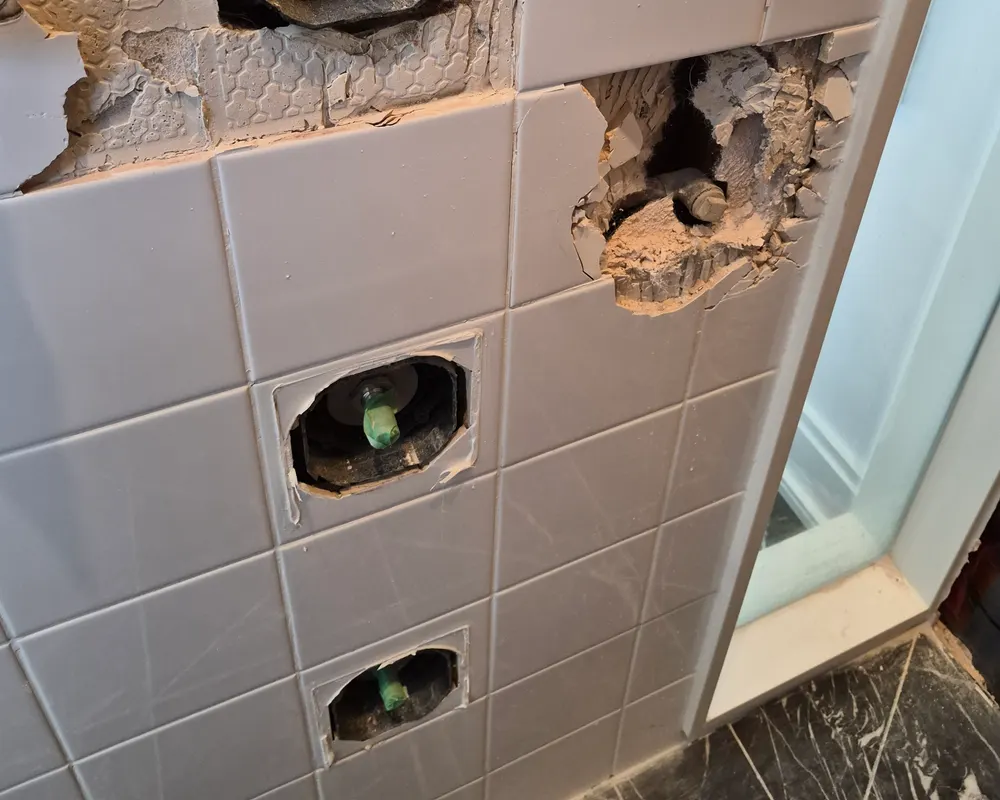
When the tile is removed around the valve bodies, the plumbing is visible. The valve and its connections can be inspected, repaired or replaced from this open position.
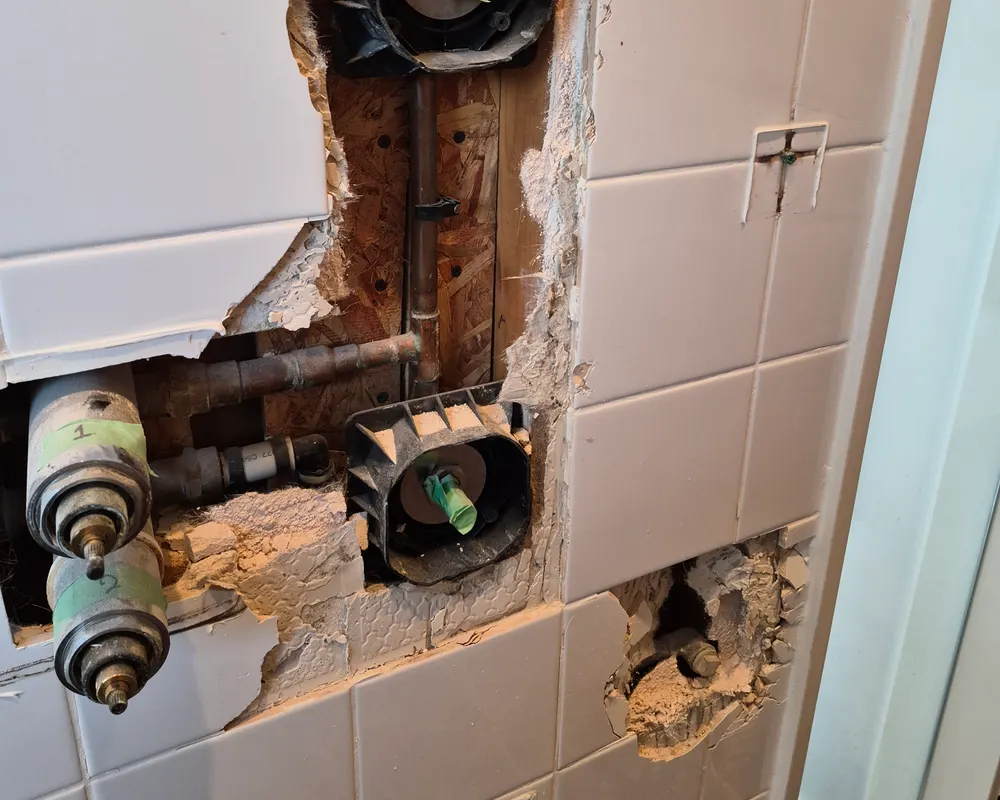
Lower on the same wall, more openings expose the other valve and its protective green caps.
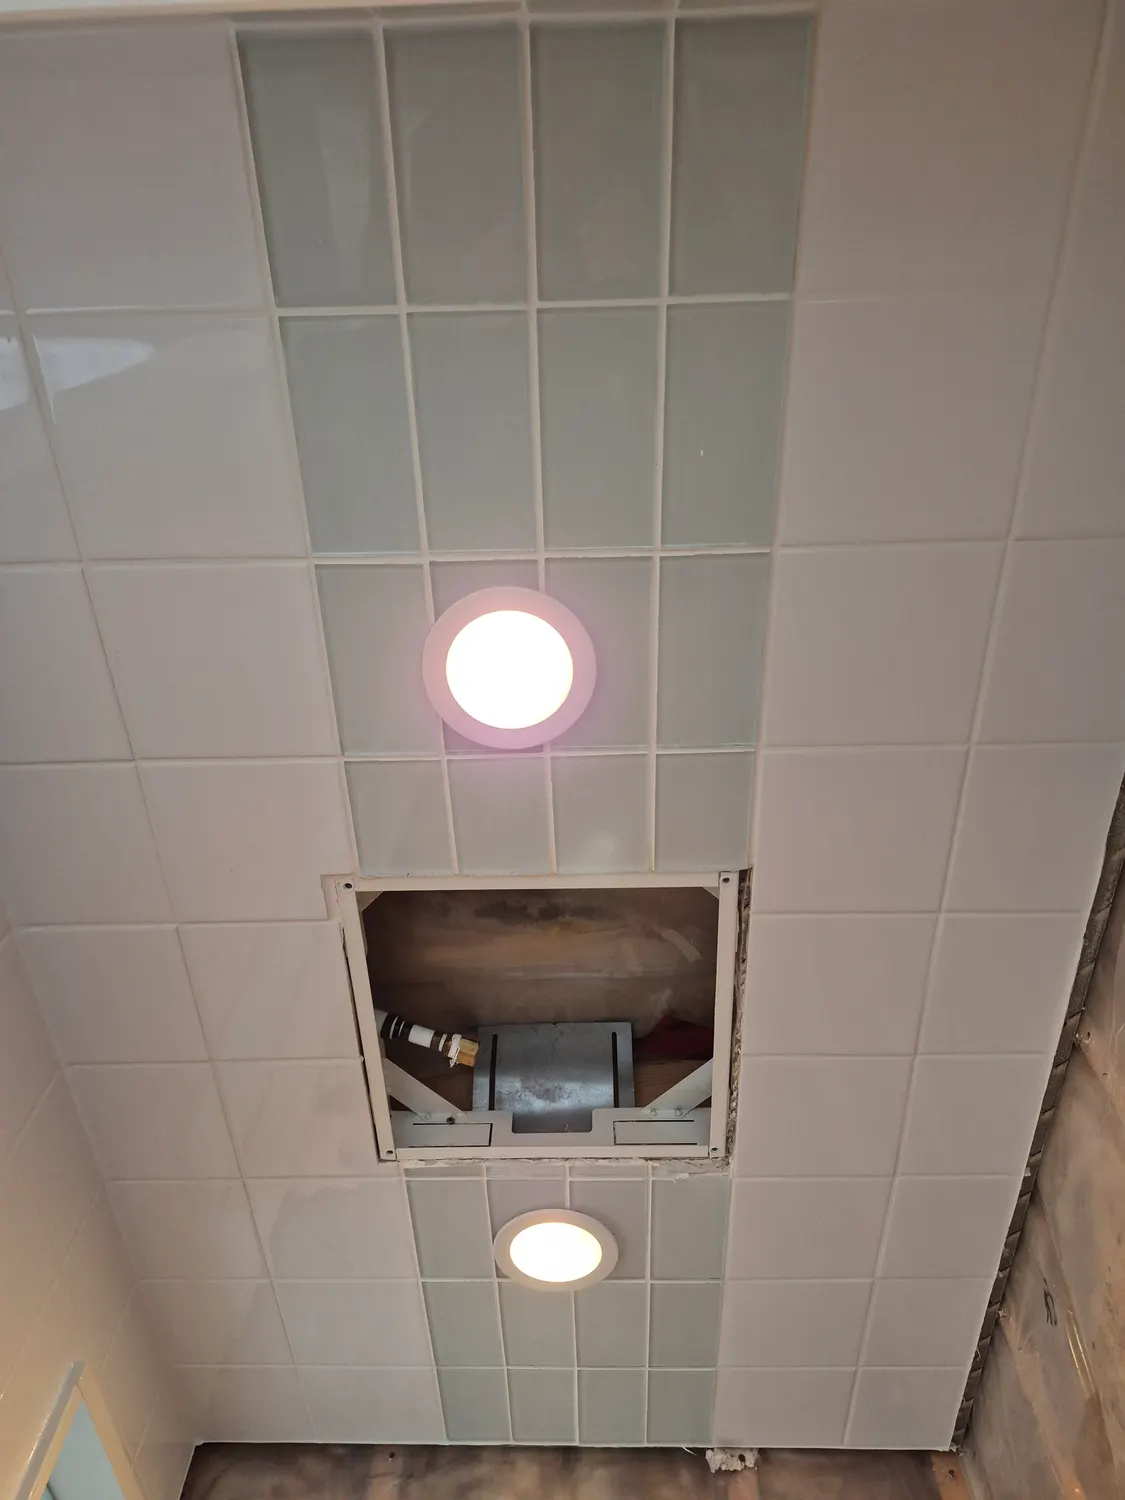
The ceiling and exhaust fan
The ceiling gets attention too. A hatch cut into the ceiling gives access to an exhaust fan above the shower.
Removing hardware from tiled surfaces has to be done carefully so the tile around it is not damaged.
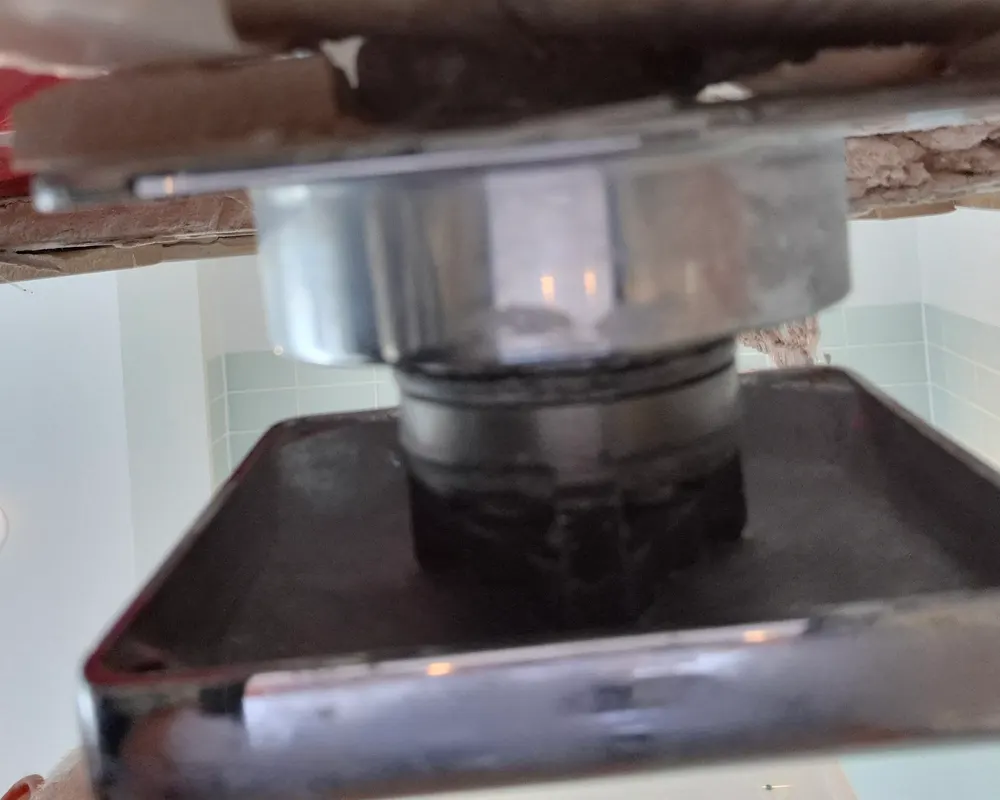
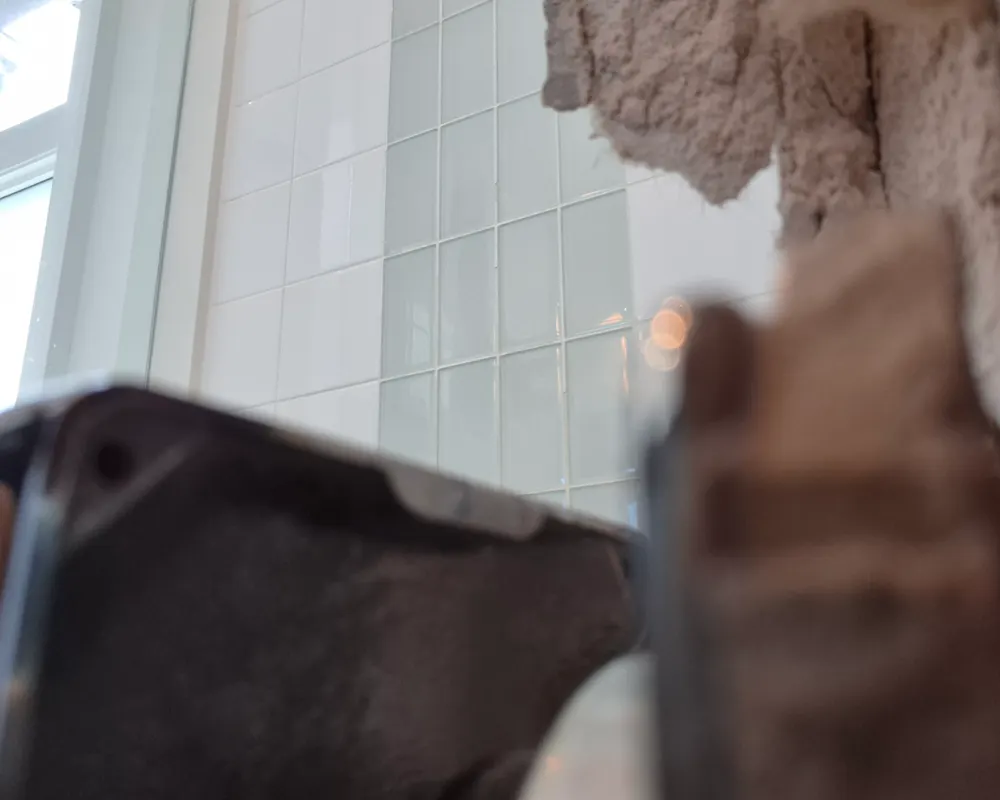
The old fixture comes out in one piece, with the crumbling backing behind it, and the tile beside it is left intact.
Why we open walls the careful way
- Protect the rest of the bathroom with plastic and floor covering.
- Cut tile in clean lines so the surrounding wall can be reused when possible.
- Photograph what we find so you can see it too.
- Plan the rebuild before the first cut, not after.
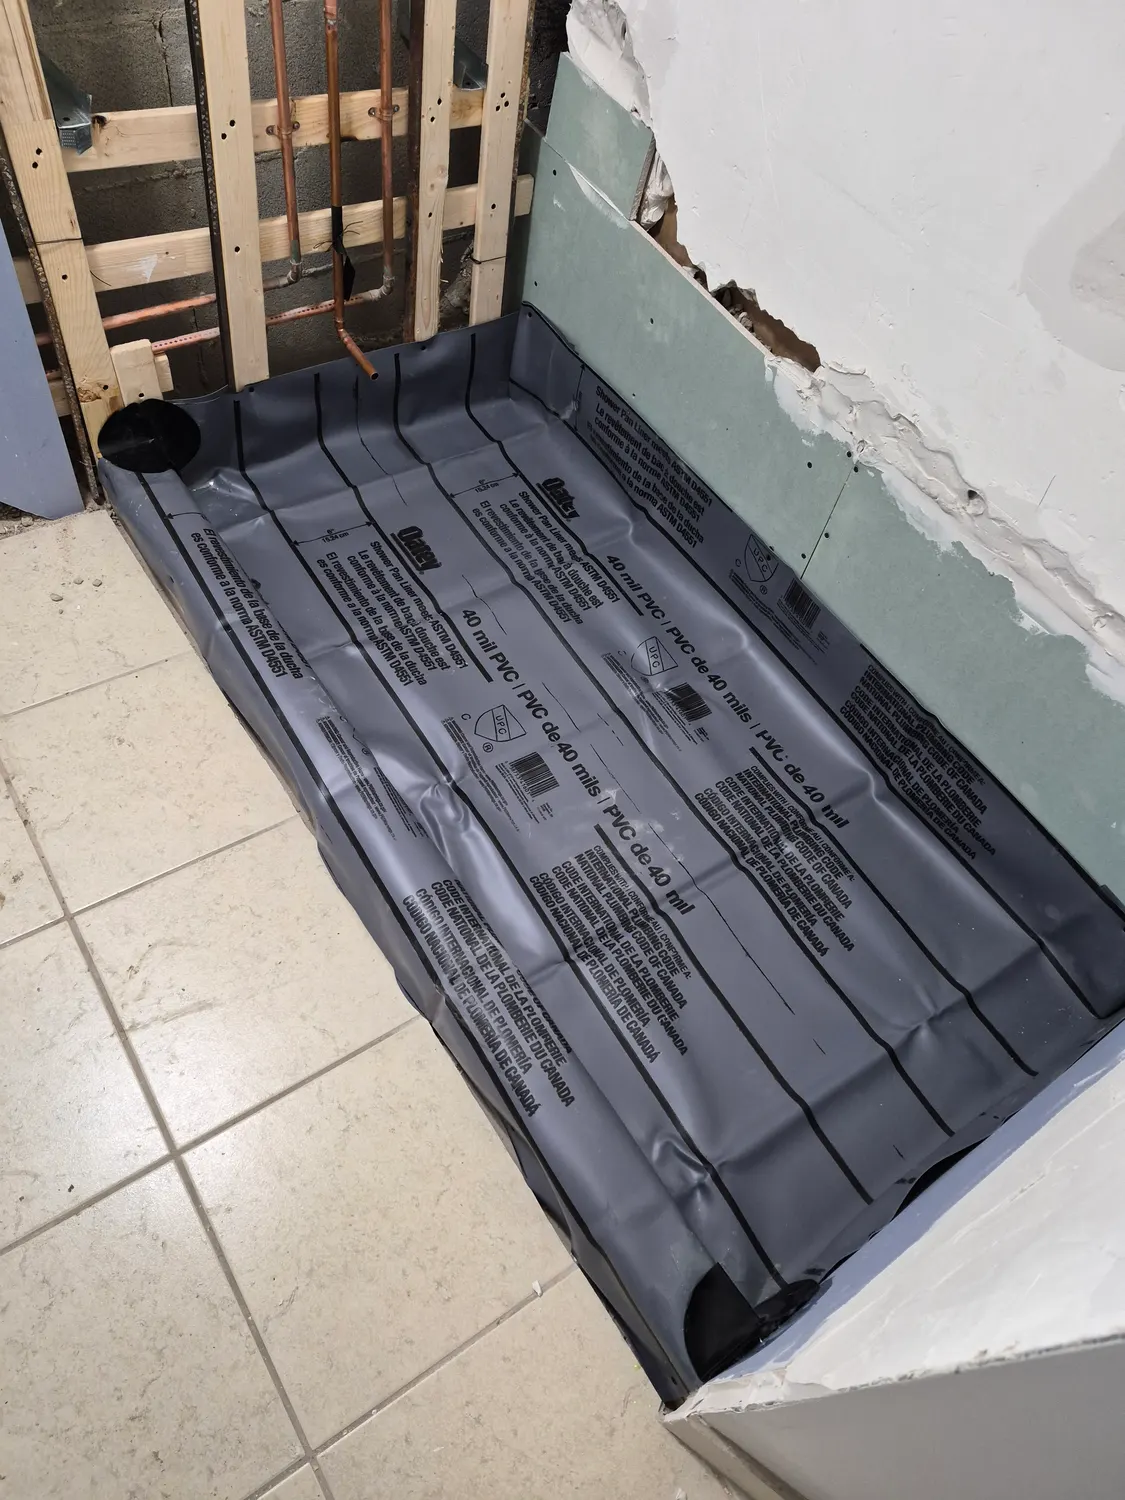
The rebuild that follows is covered in a separate article, with new membrane, boards and fresh tile. See also our shower leak repair in Newmarket.
Is a shower valve dripping or hard to turn? Request a free estimate and we will look at the job and quote it clearly before we start.
Need a hand with a project?
Book the VOL Handyman team for the work in this article, or anything else around your home or business.