Stripping an old tiled tub wall back to the substrate: the messy first step
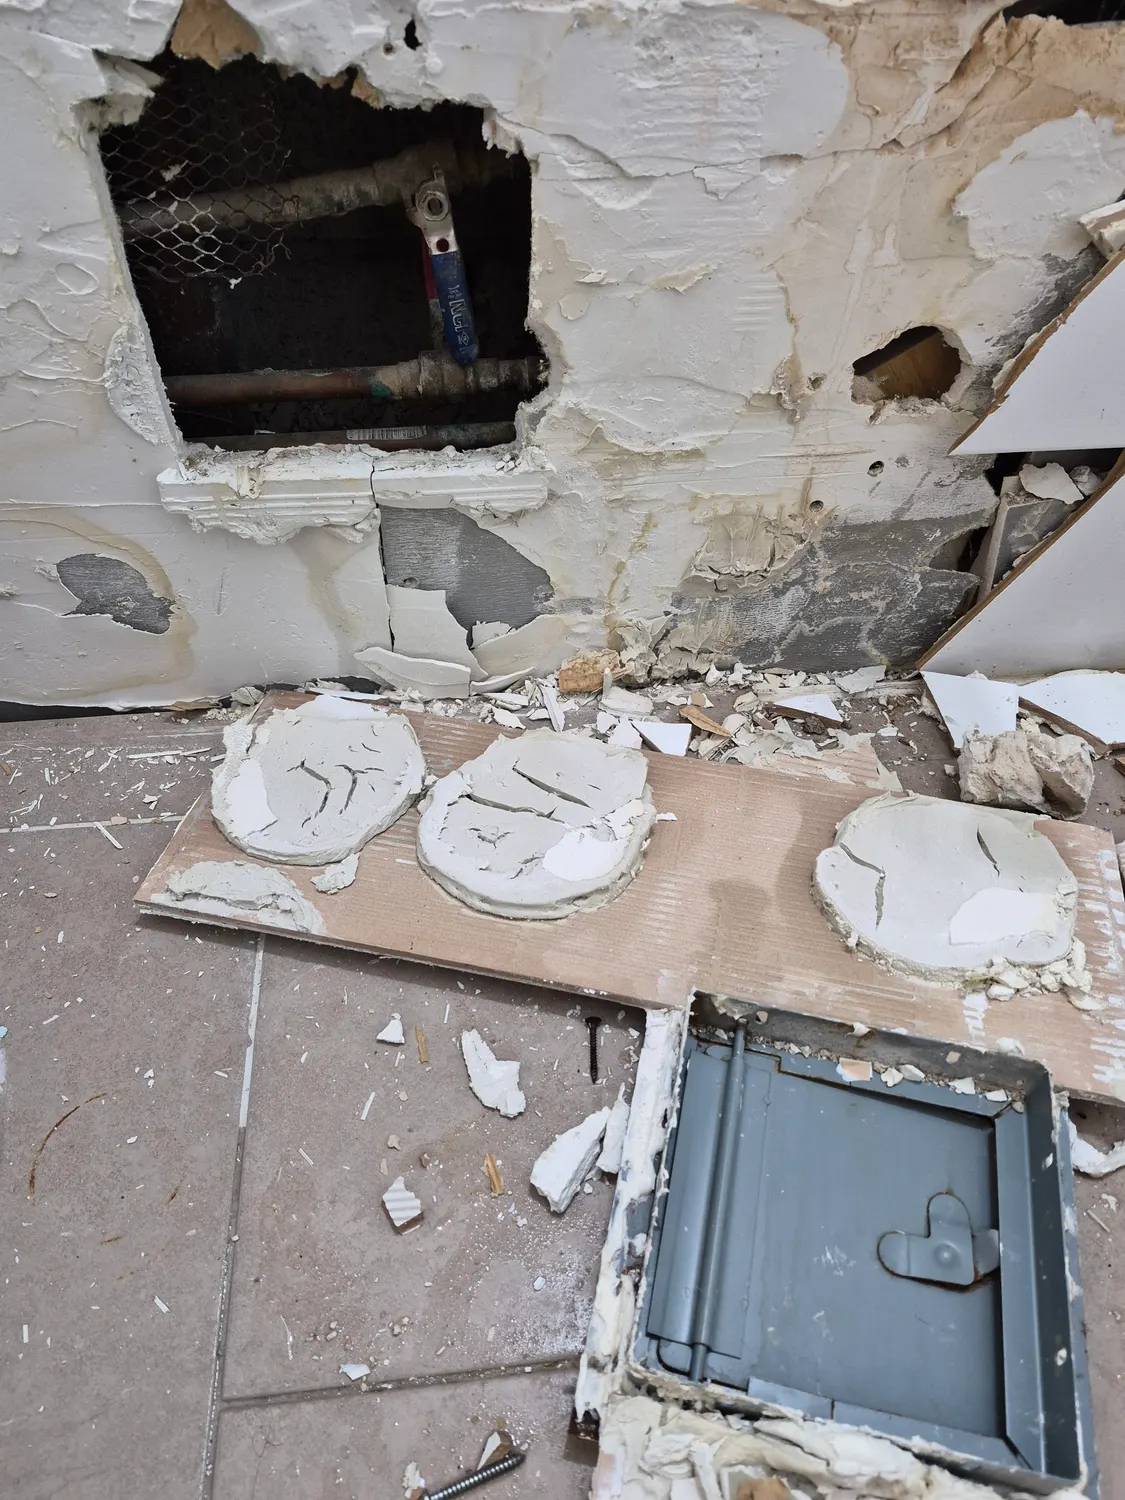
A new tub wall starts with an old one coming off, and that is never a neat process. Tile, adhesive and plaster come away in pieces, and the plumbing behind is suddenly in plain view. This is the stage that decides how the rest of the project goes, so we take our time with it.
Opening the wall and finding the pipes
In the photo above, a section of the wall has been opened and the plumbing is visible behind it, with broken tile and an access hatch lying on the floor. Seeing the pipes before the tile is gone lets us plan where the work needs to stop and start.
Adhesive and what is left behind
When tile comes off, a thick layer of adhesive and scraps of backing stay stuck to the wall. This has to be removed or levelled, or the new surface will never be flat.
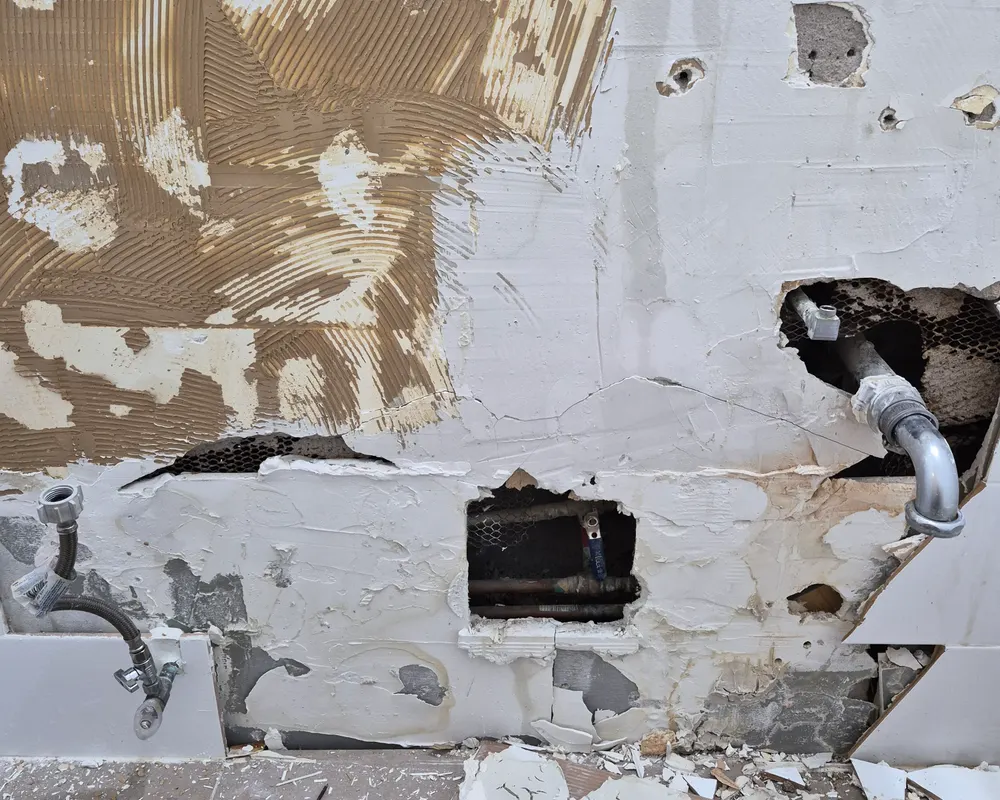
Tile that is already loose or cracked is a sign of how long water has been getting behind it.
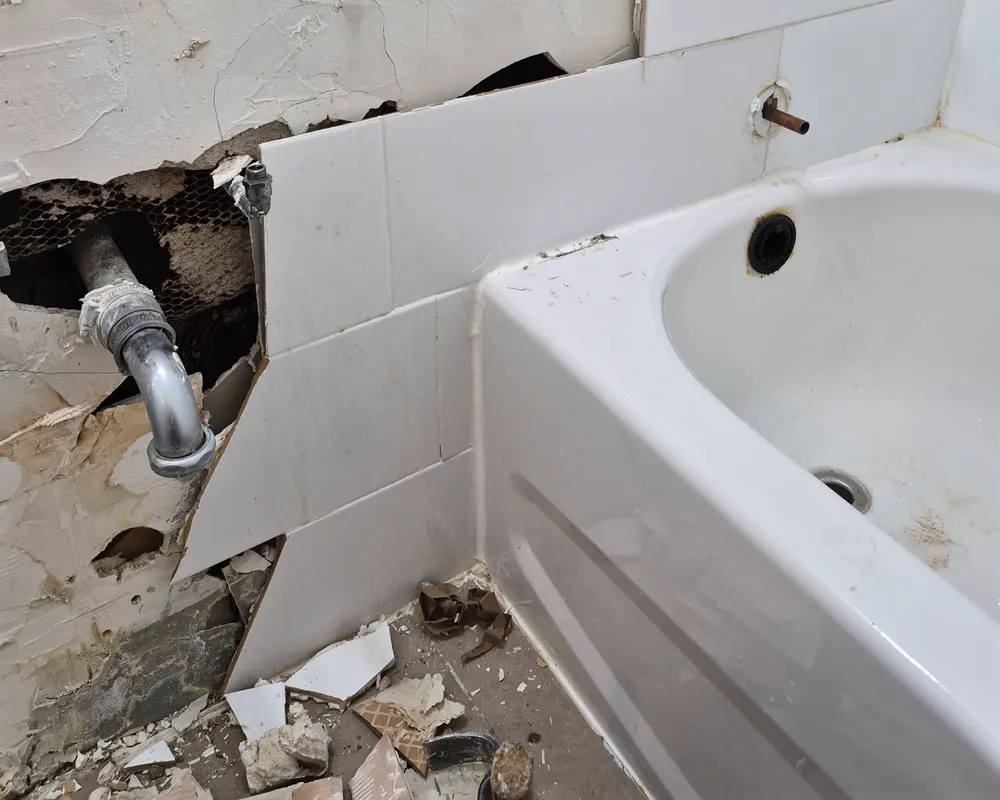
Where the wall meets the tub, tile and backing break away together, and what remains is rough and uneven.
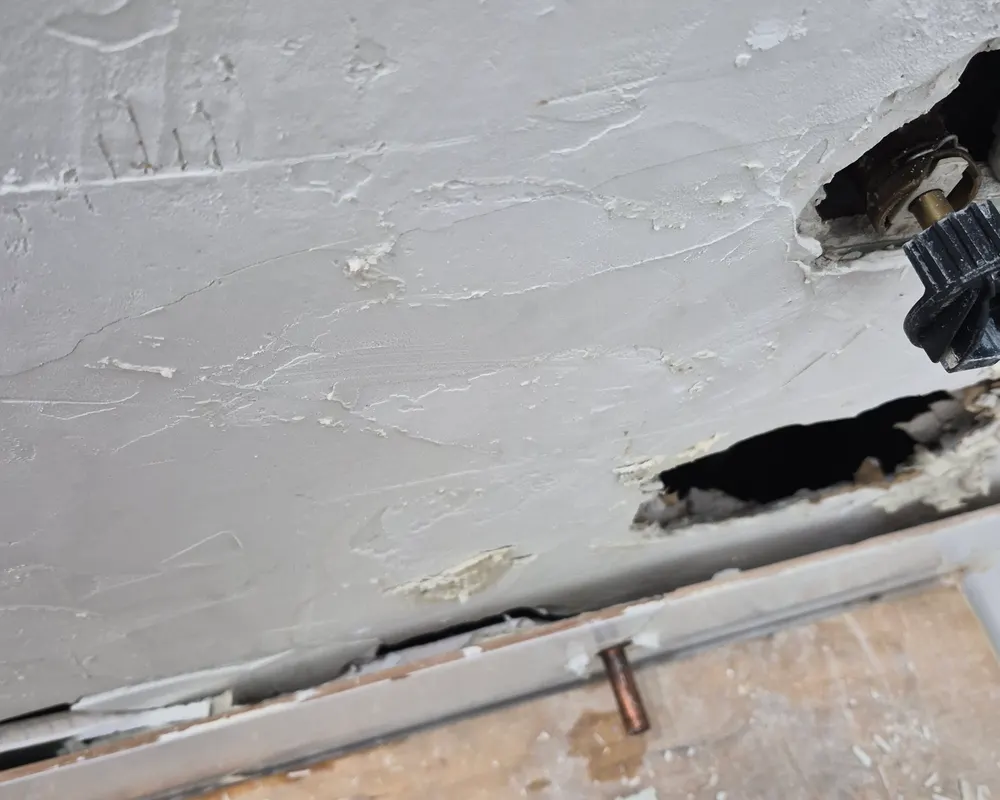
Scarred surfaces like this one cannot simply be tiled over. They are cut back or built up until the wall is sound and flat.
Taking it down in stages
We work from the top down, removing sections and checking what is behind each one. A wall that looks fine from the front can hide softened backing, so we keep going until we reach material that is solid and dry.
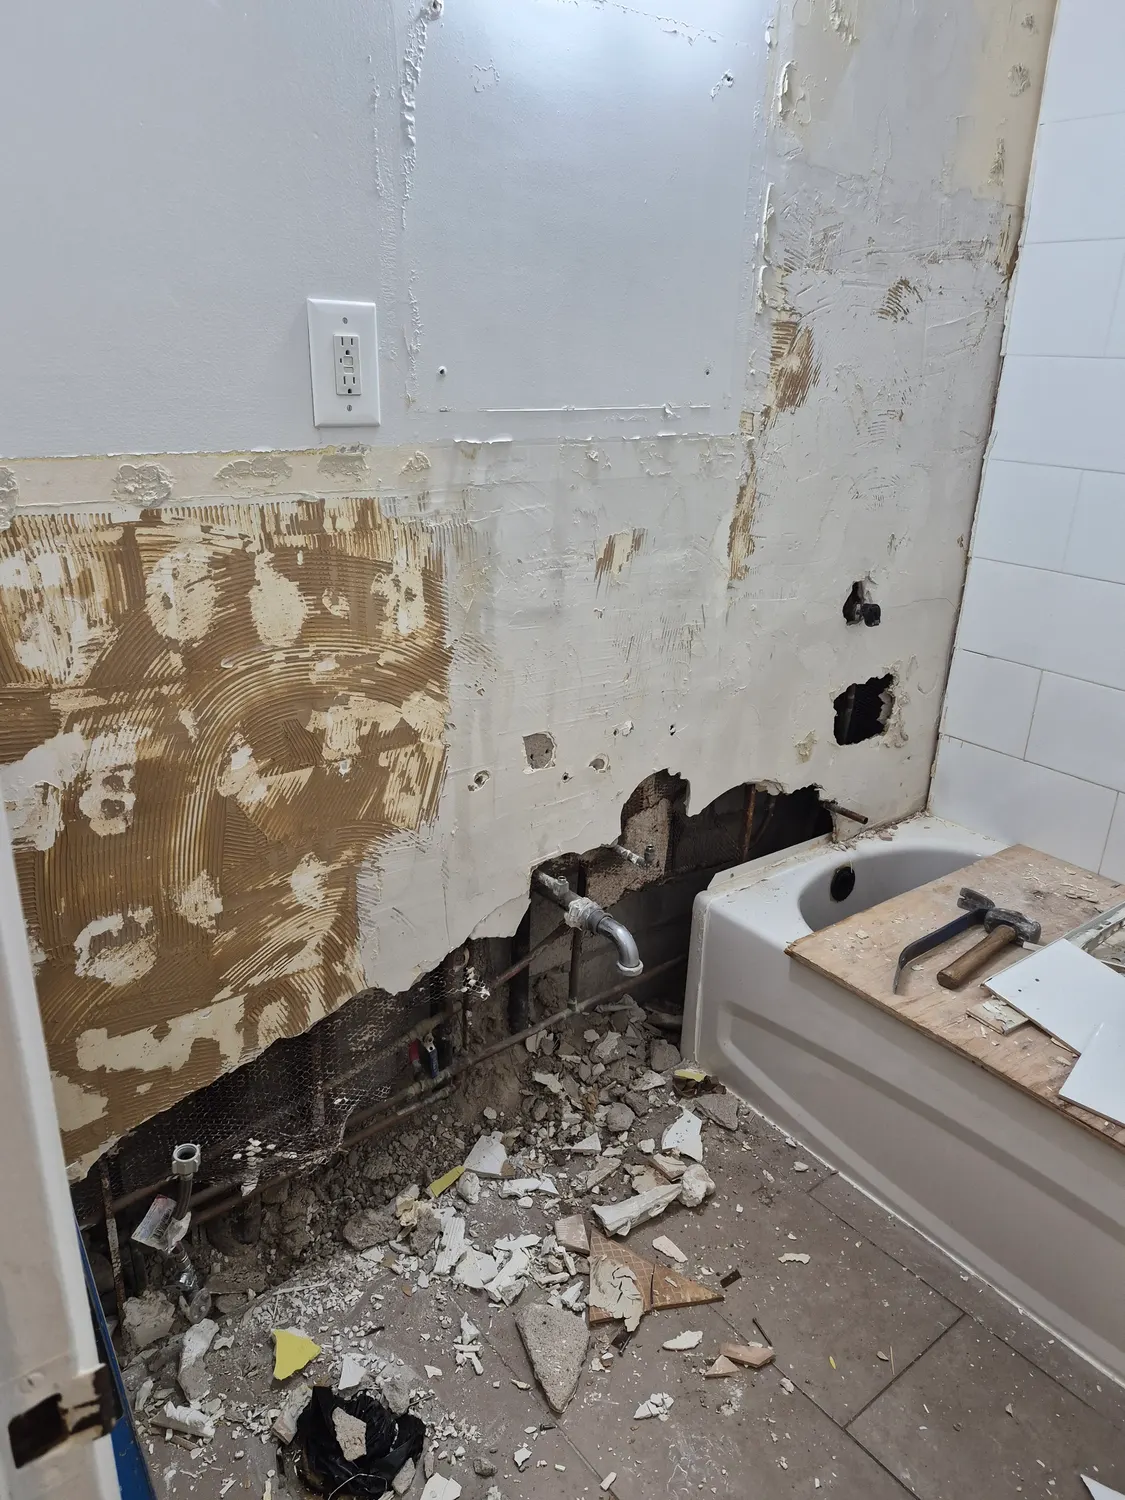
Patchy remains of adhesive show where tile used to be. Some areas come away easily, and others have to be scraped and ground out.
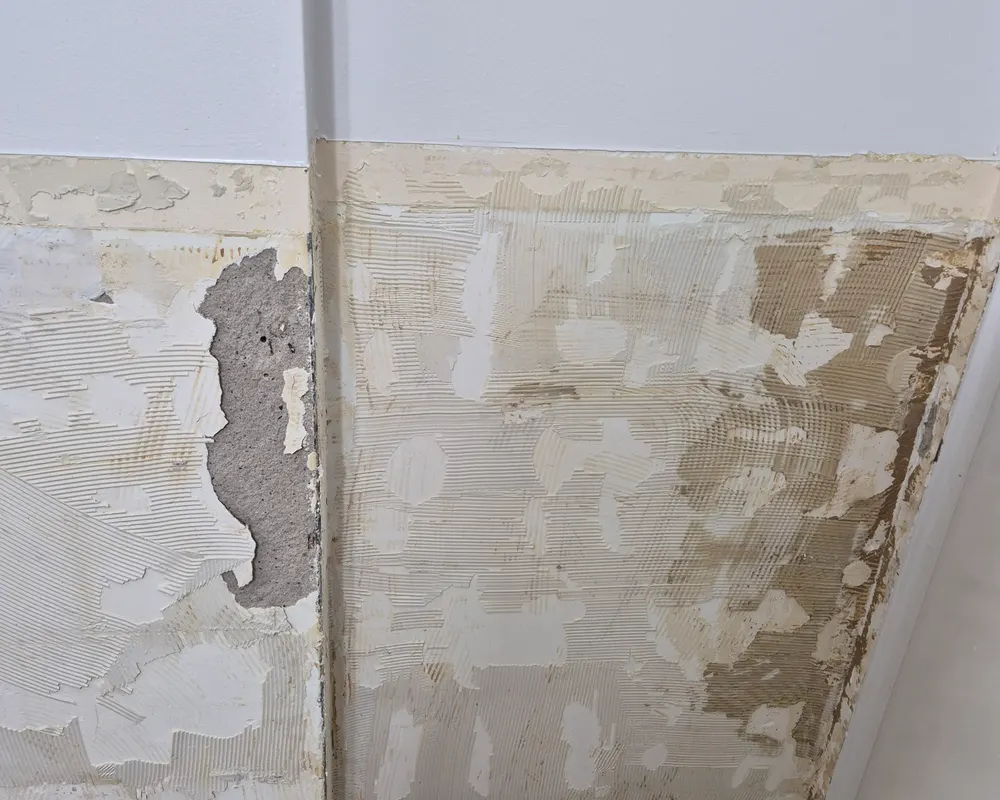
The patchwork of grey plaster and tan adhesive shows how unevenly the old tile was bonded to the wall.
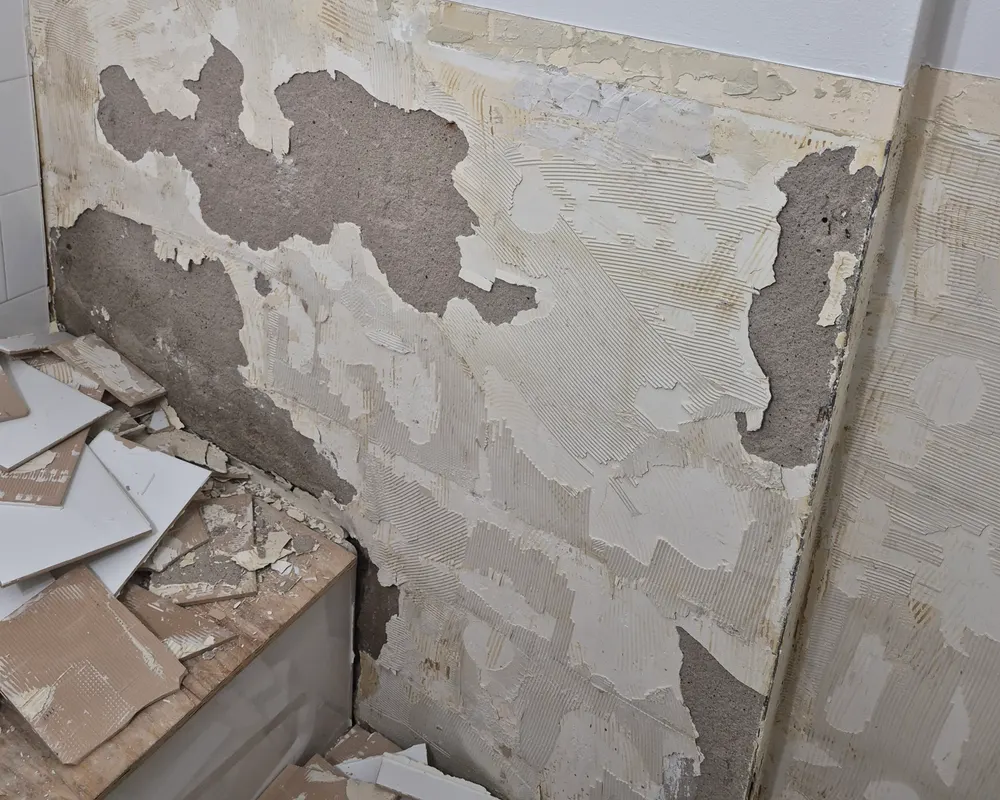
Dealing with the last stubborn areas
Near the end, a few stubborn sections of tile remain, along with the cleanup. Edges around the last tiles can be fragile, so we take them off by hand.
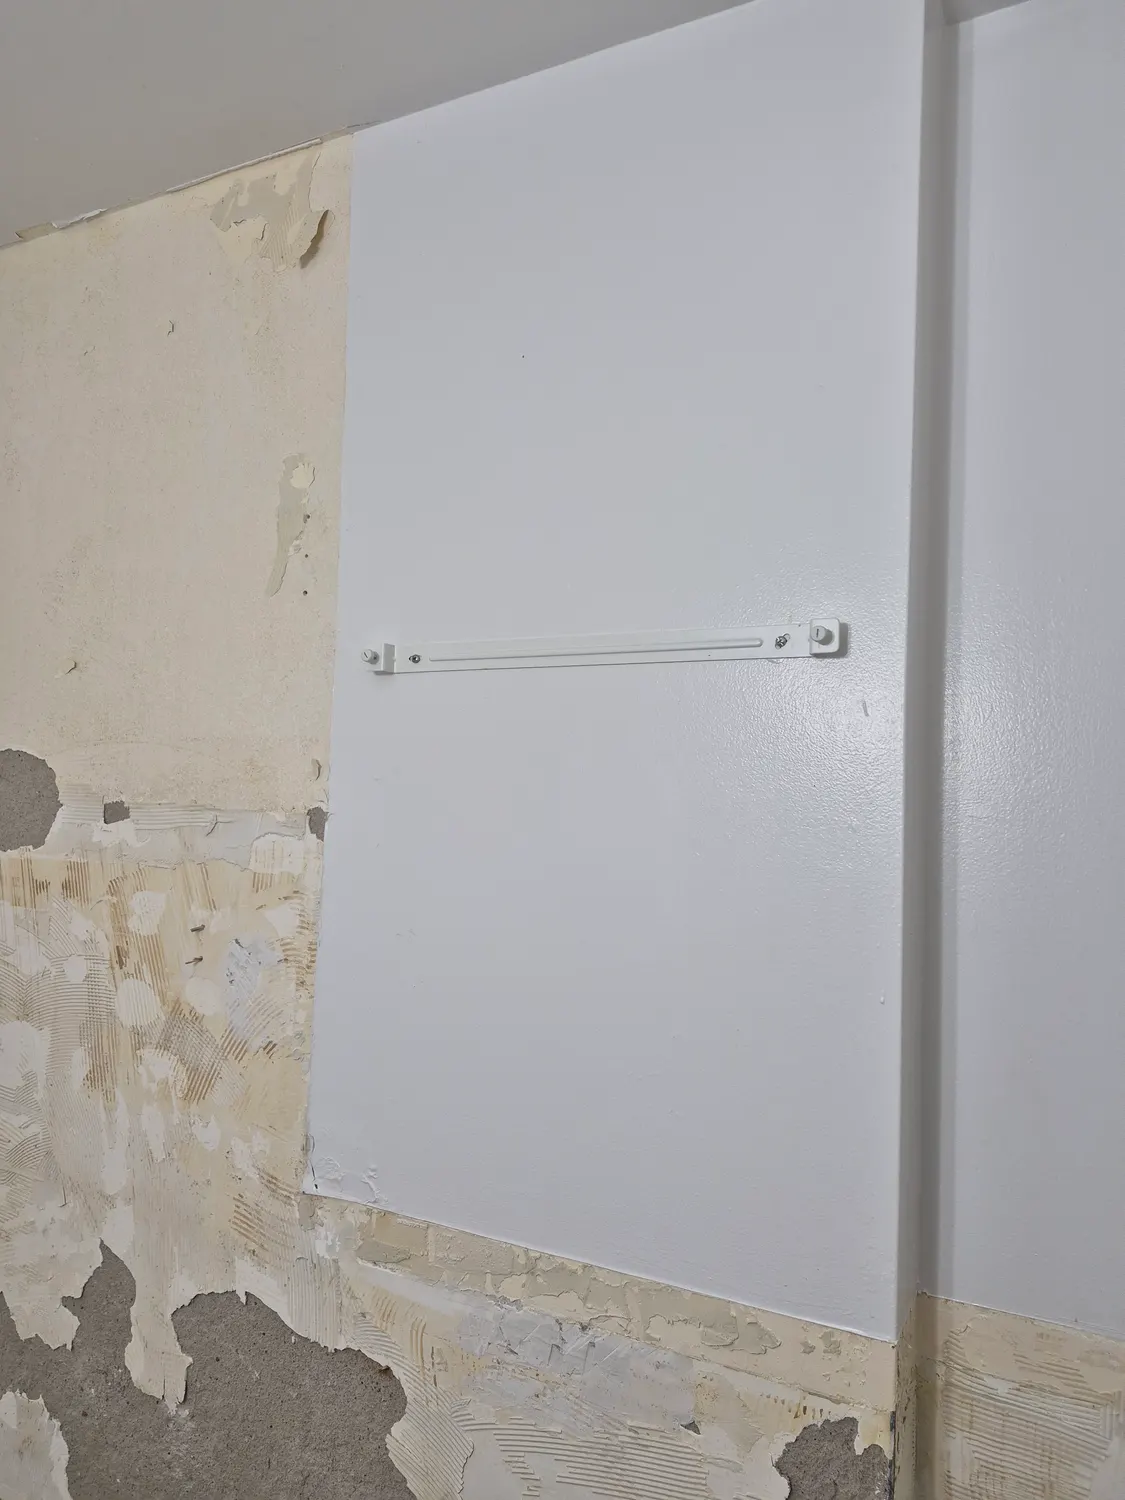
The painted section above stays in place for now, and the tile below comes off to a straight line.
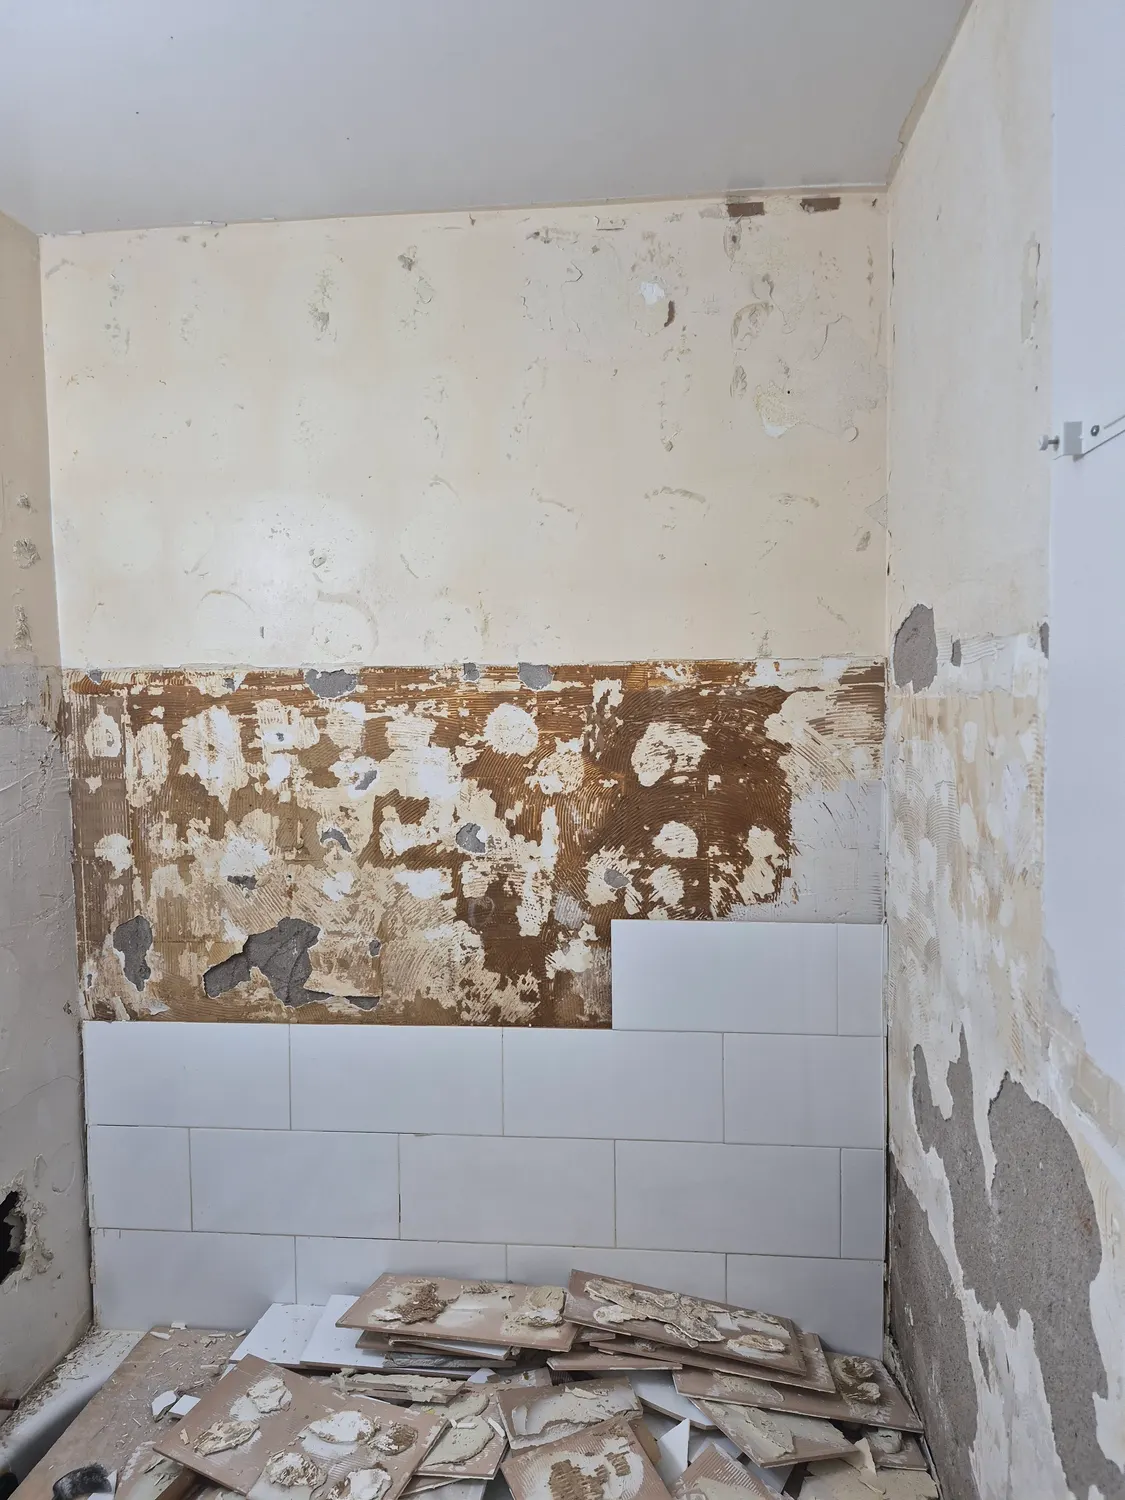
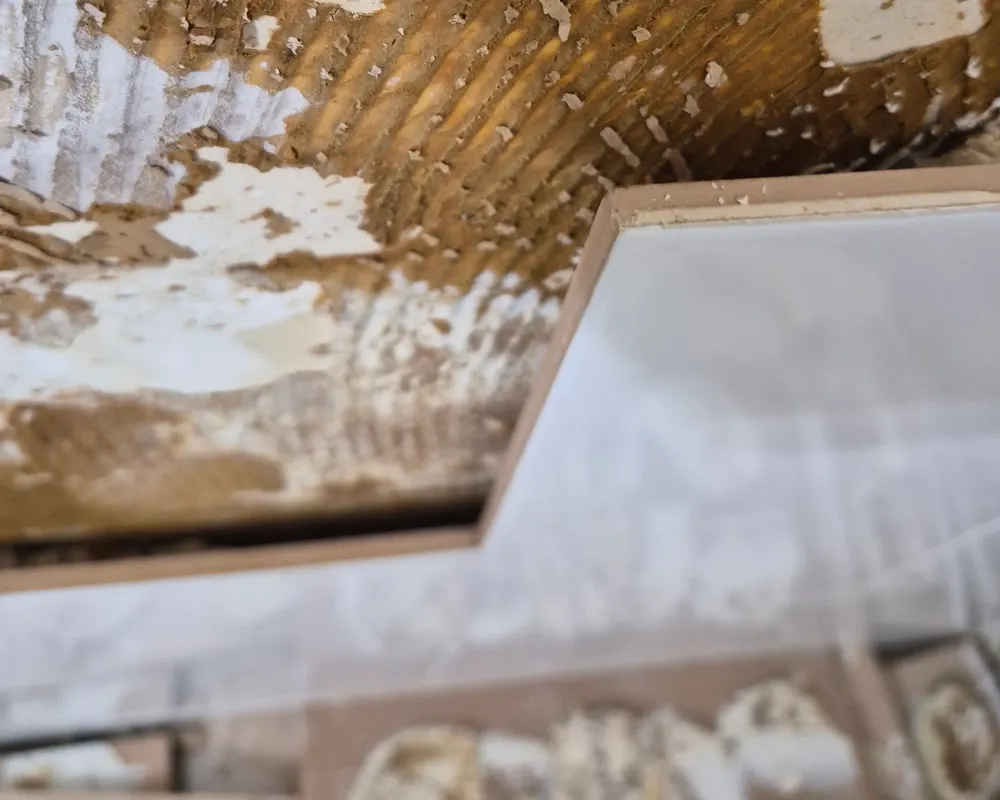
A close look at the transition from tile to bare wall shows how much adhesive has to be dealt with.
Why the mess is worth it
A clean, flat, sound wall is the only thing a good tile job can stand on. When the old surface is removed properly, the new tile sits flat, the lines stay straight and the waterproofing has something dependable to bond to. The result of a rebuild like this can be seen in our bathtub surround retile in Aurora.
Have a tub wall with cracked or hollow tile? Request a free estimate and we will look at the job and quote it clearly before we start.
Need a hand with a project?
Book the VOL Handyman team for the work in this article, or anything else around your home or business.